|
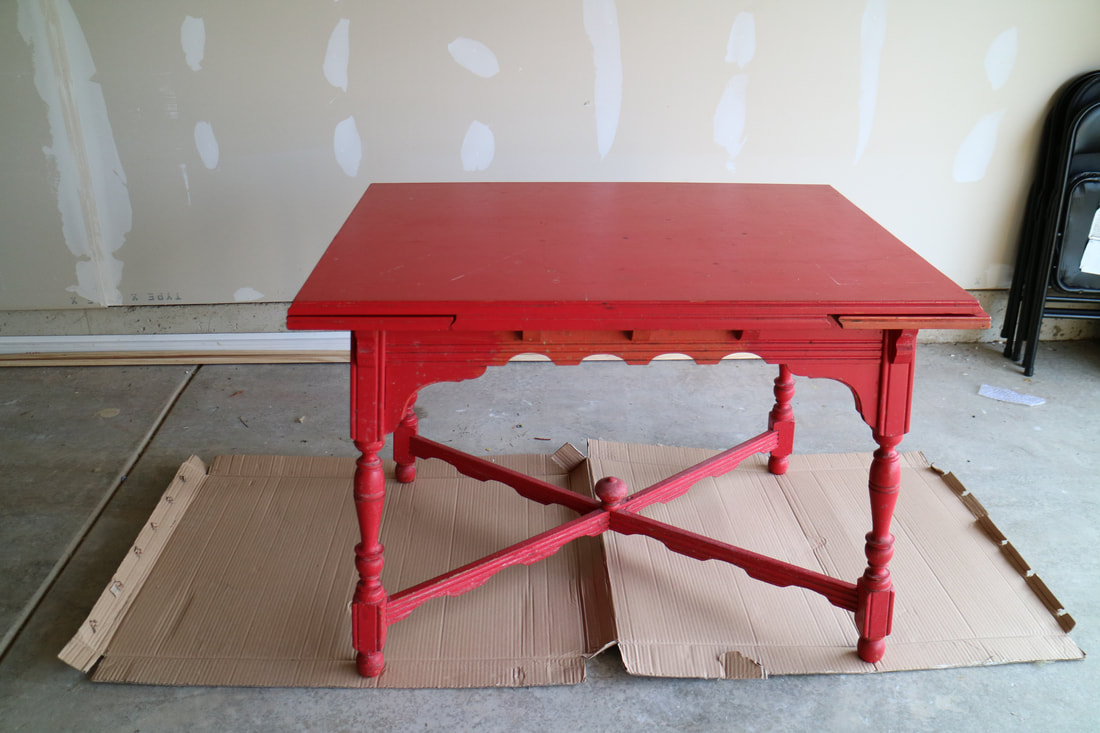
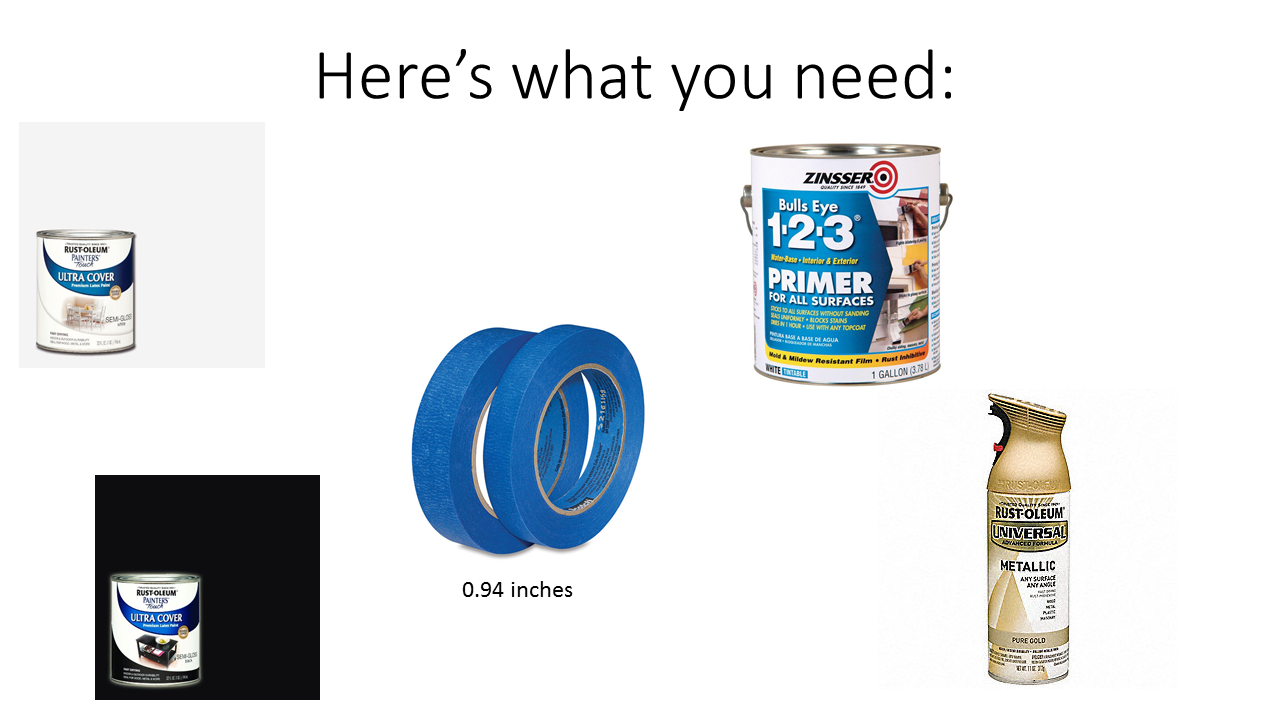
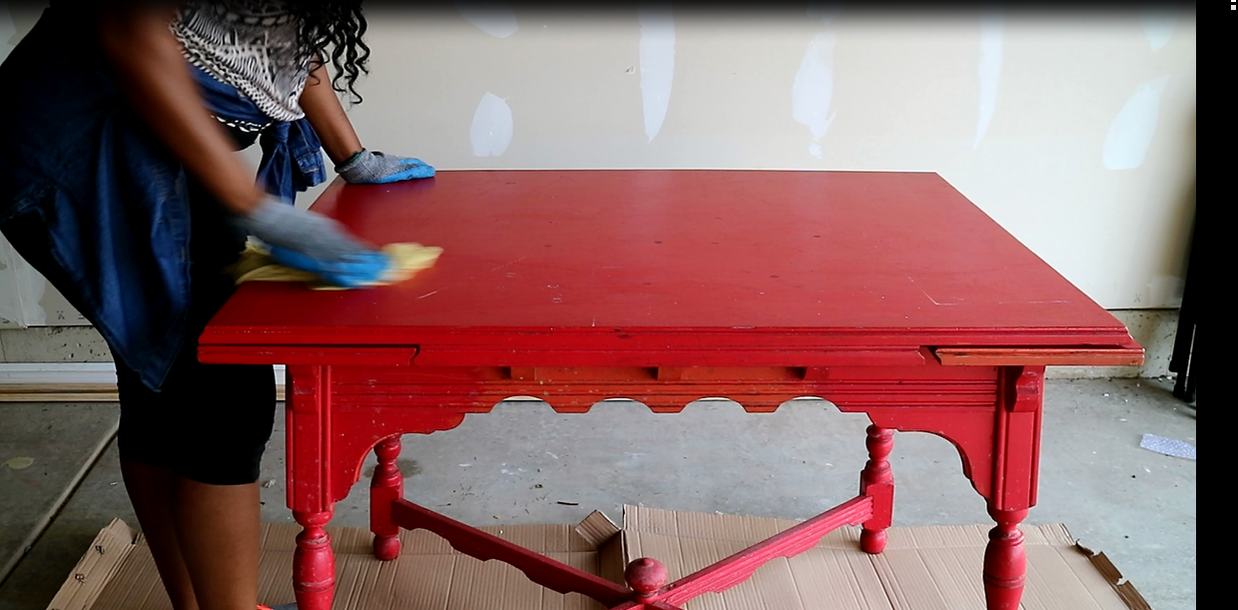
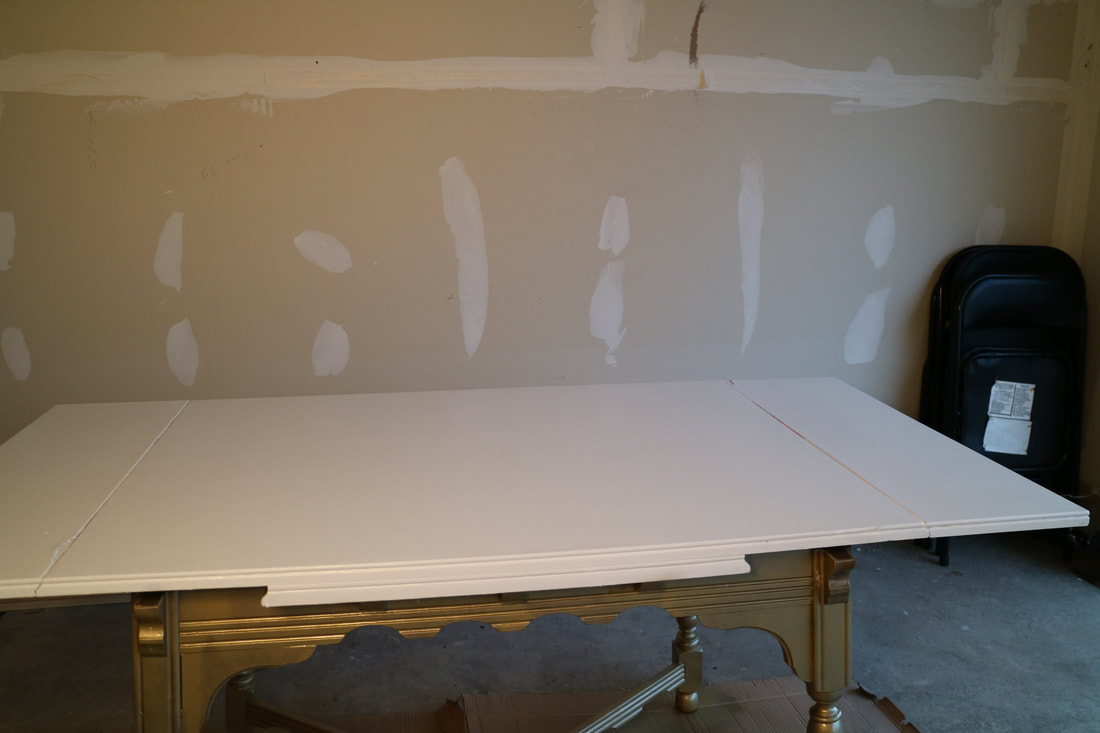
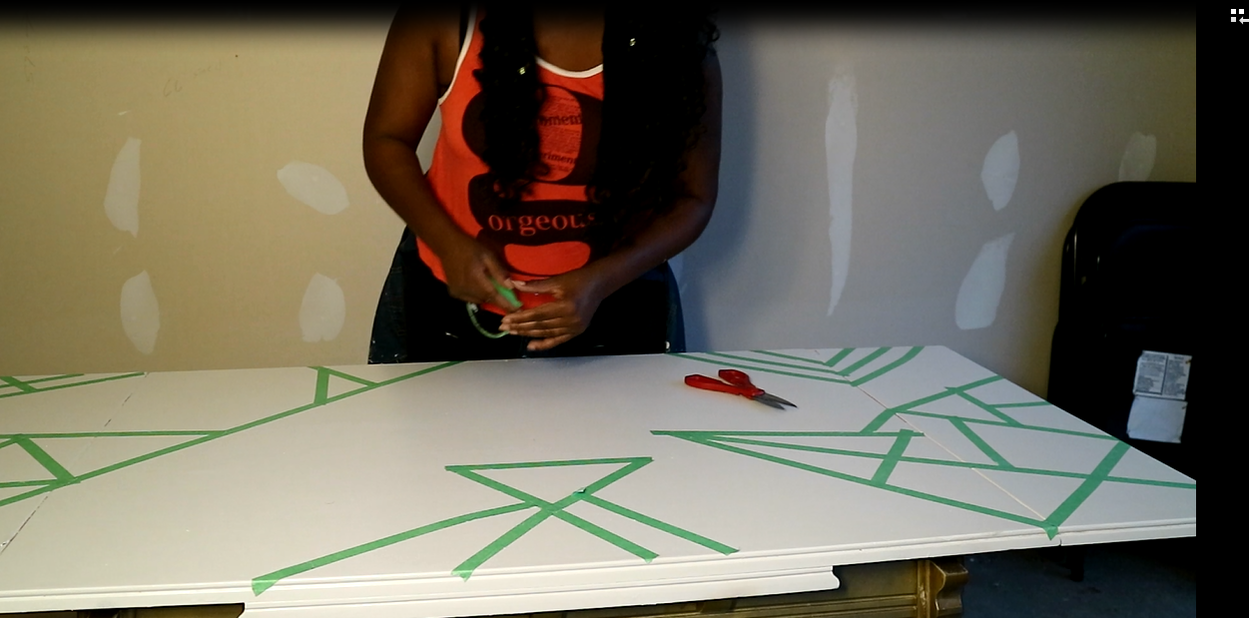
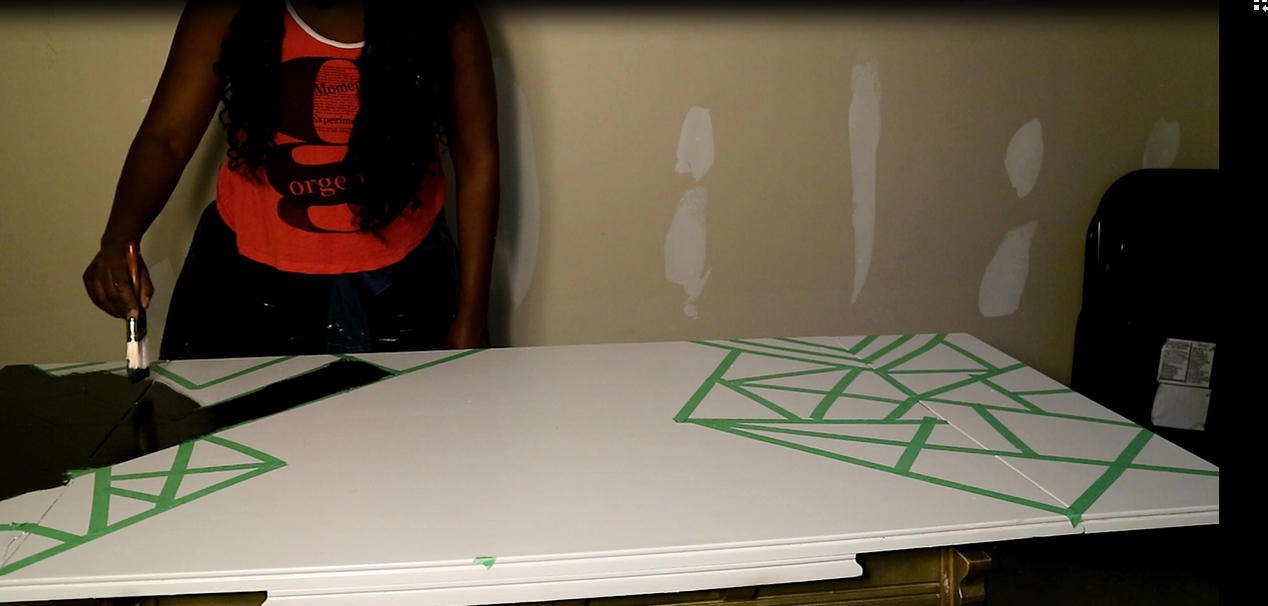
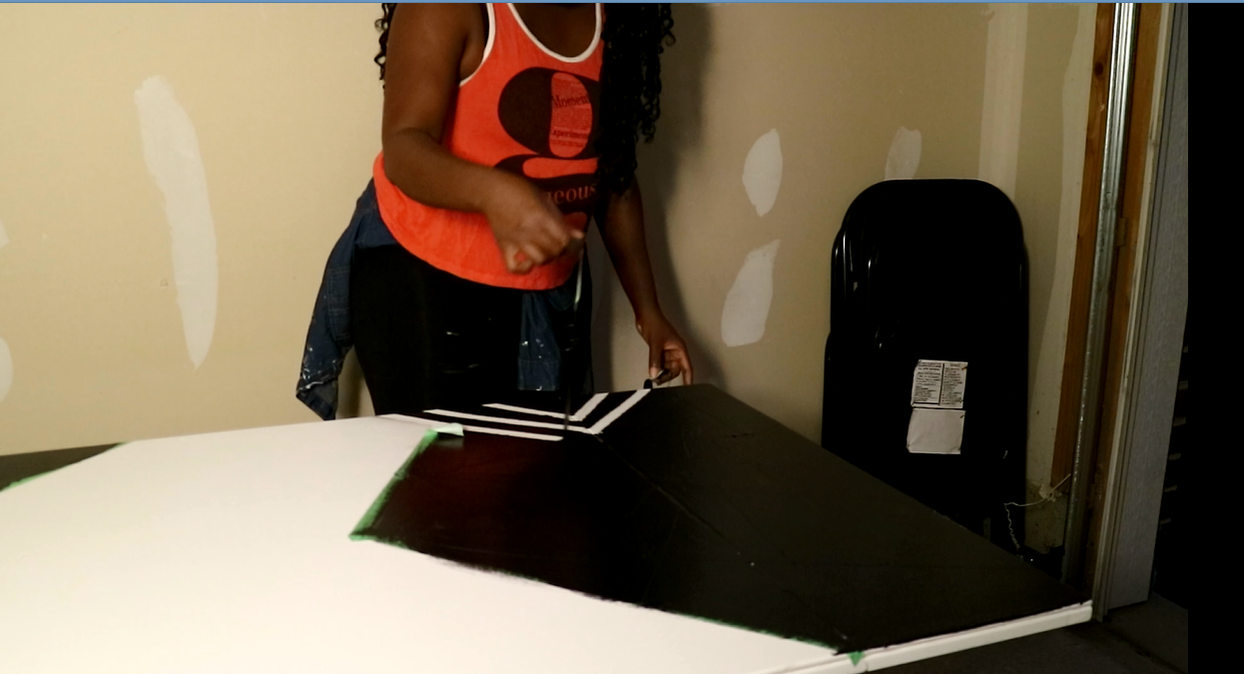
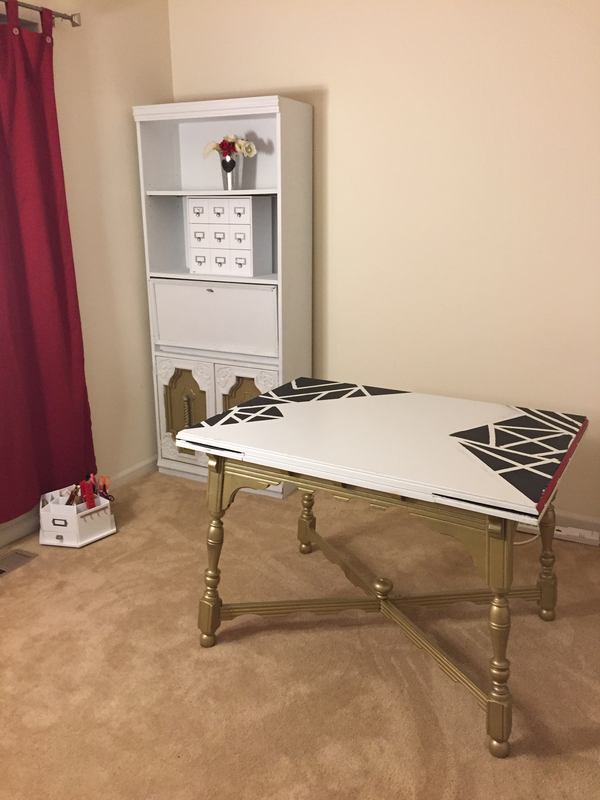
Hey guys! Welcome back to the blog. I brought this table from Habitat for Humanity. I purchased this for $35 and turned it in to a desk. Both sides of the table have an extension leaf. This is ideal for my office space. Step 1: This table was filthy so I cleaned it first. 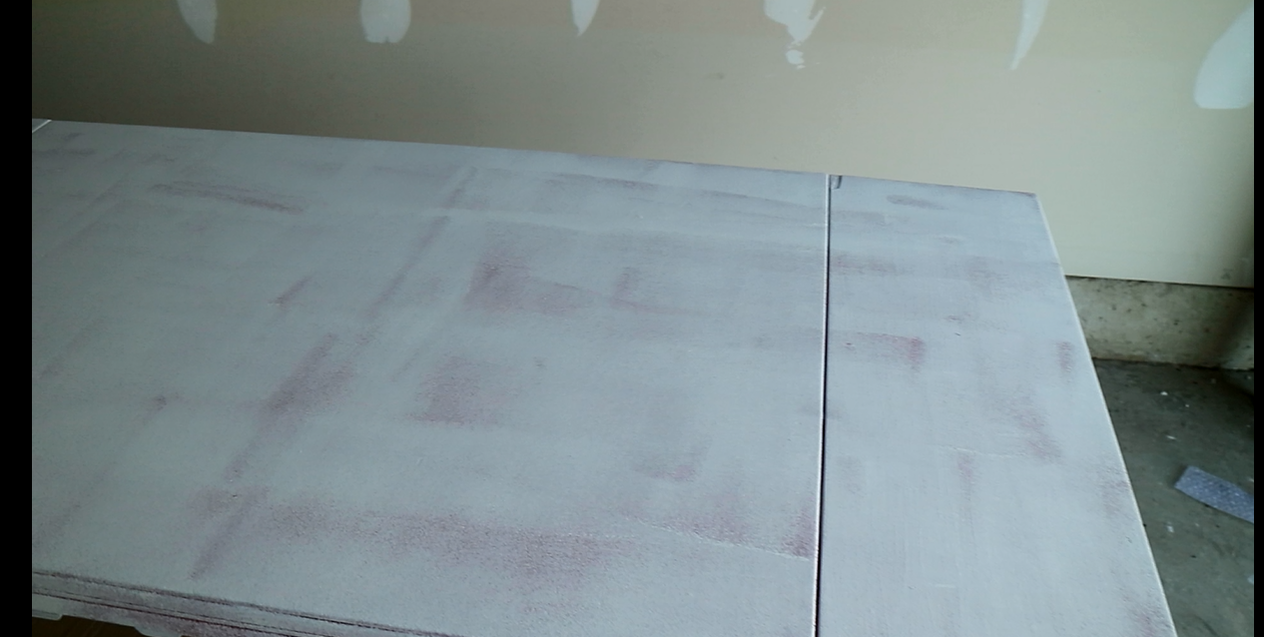 Step 2: Priming! Step 3: After the primer dried;I spray painted the base of the table. After the spray paint dried; I painted the top of the table white. Step 4: I used painters tape and my imagination to come up with a design. I saw this on HGTV and thought it was a cool idea. Step 5: Use the color of your choice and and over your custom design. Step 6: I let the paint dry for a about an hour and then peeled of the tape. I wanted to remove the paint while it was still wet. It's harder for me to peel the tape when its completely dry. This is the finished project!I really love it.
Let me know your thoughts below! XOXO, Shani
1 Comment
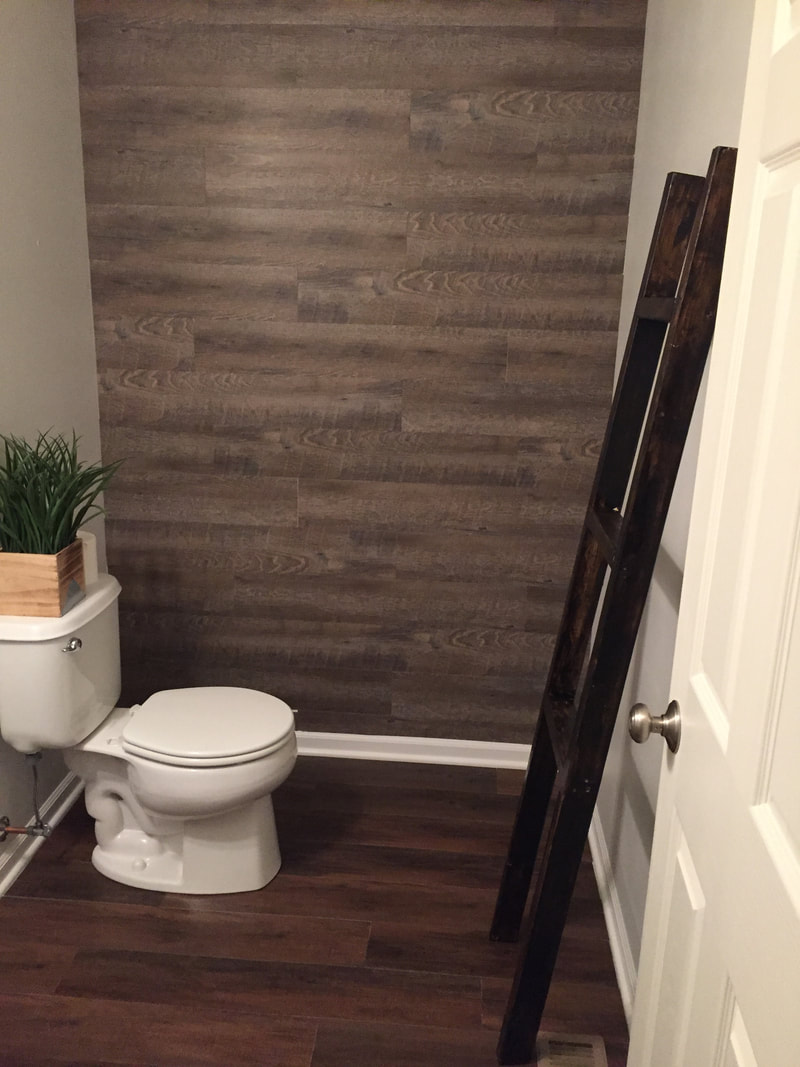
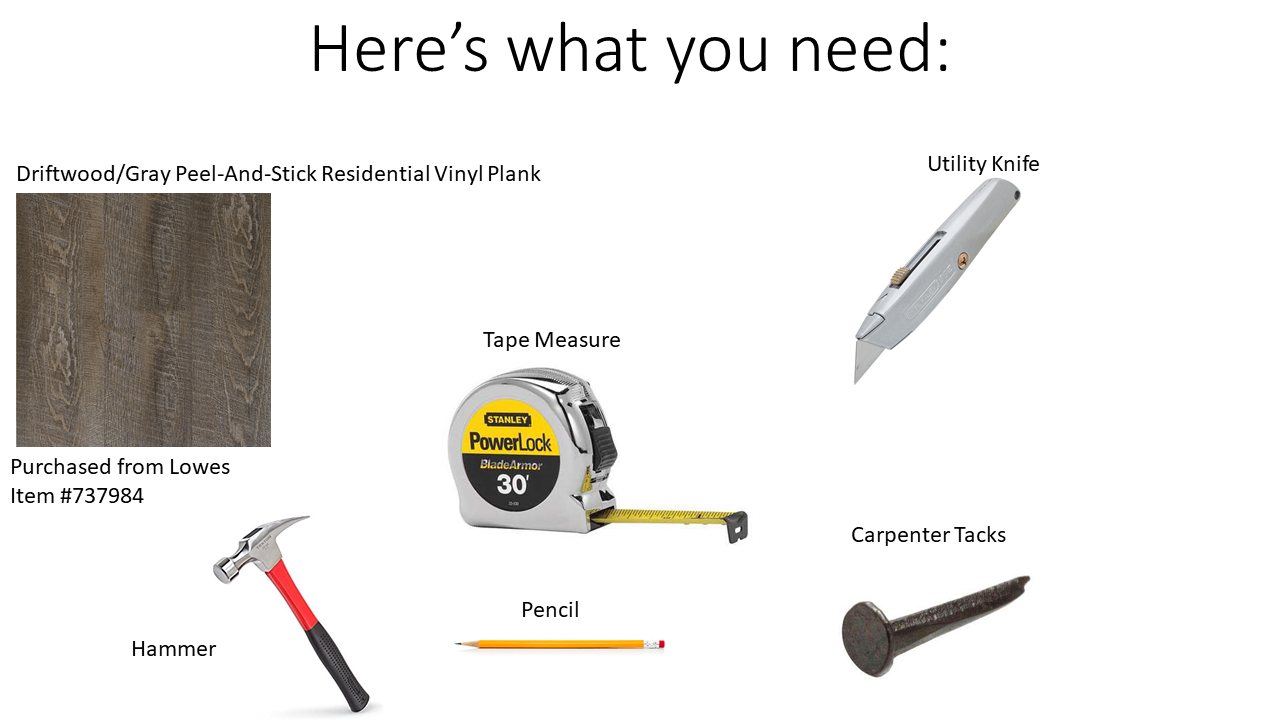
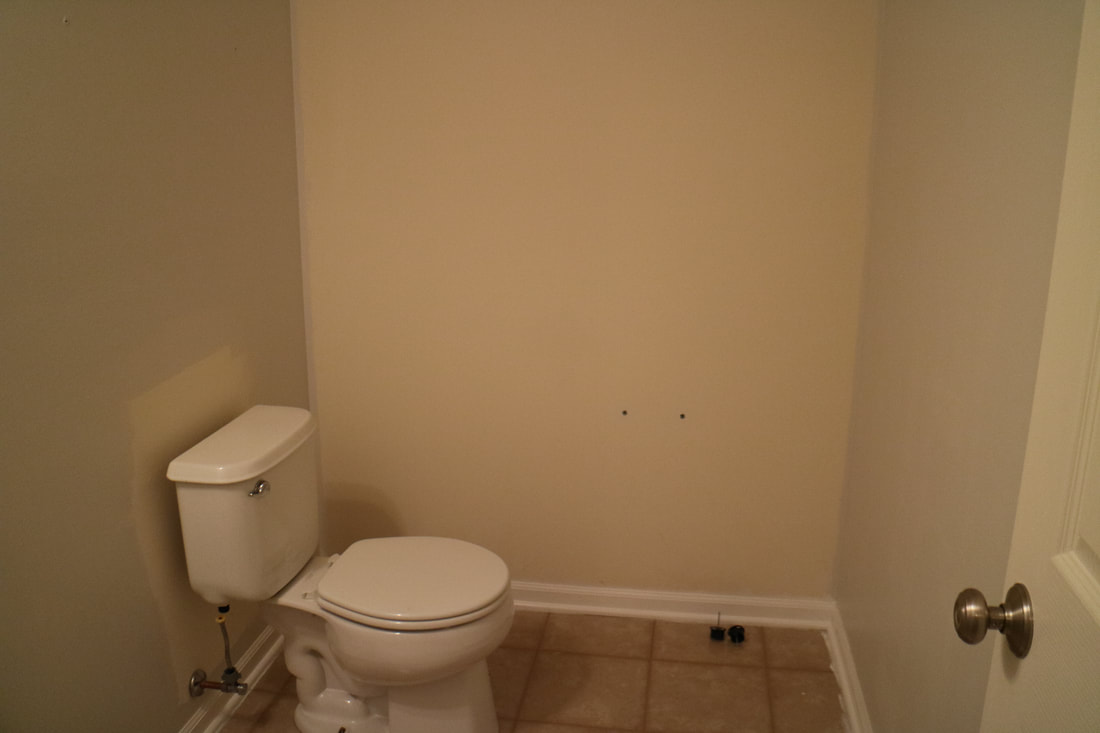
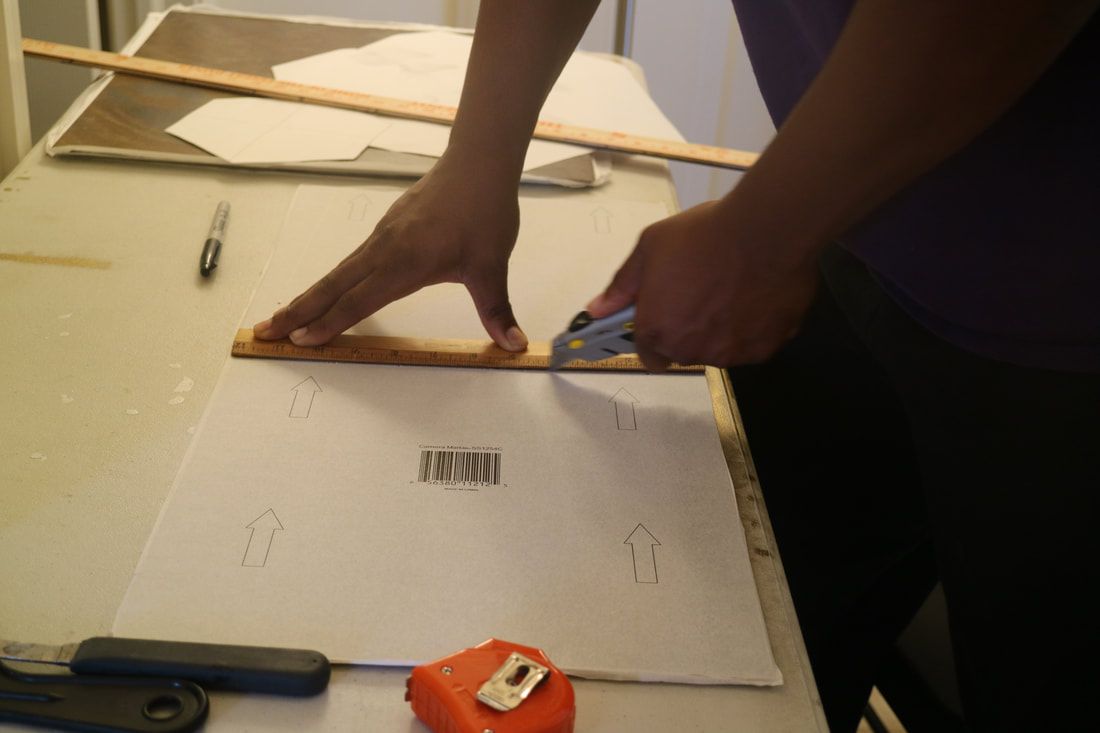
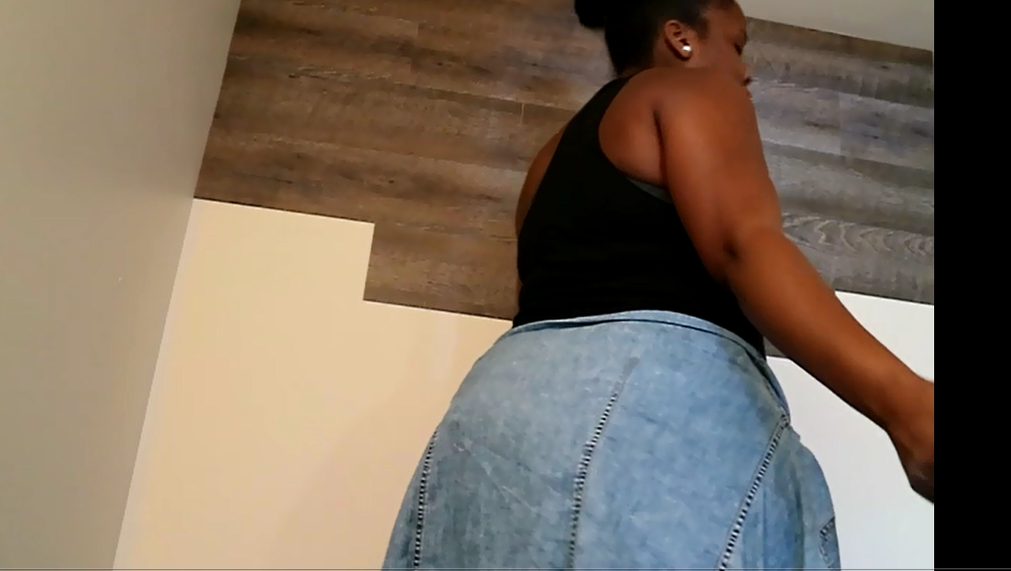
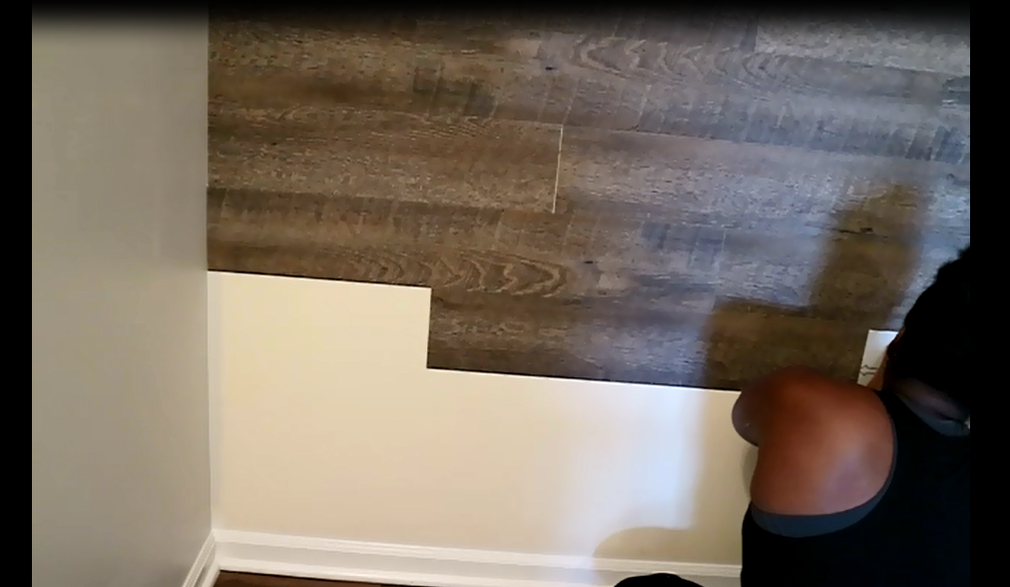
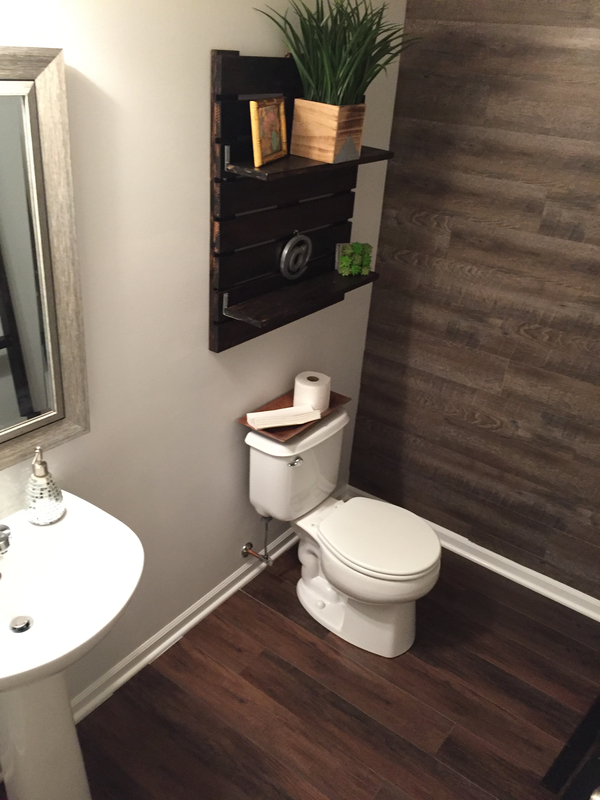
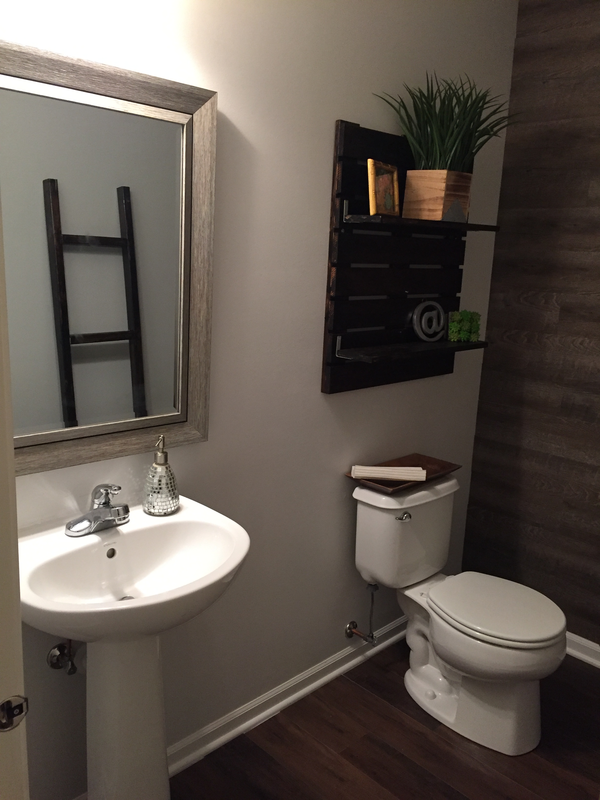
Hey guys! Welcome back to the blog! Today we will finish up my bathroom makeover. I am really happy with the results. It took about 2 days to complete the entire process. If you have a weekend to spare try it out. Now let's jump into the details... Material List Plank Floor (Lowes) 0.98 cent a sq ft https://www.lowes.com/pd/Style-Selections-6-in-x-36-in-Driftwood-Gray-Peel-And-Stick-Residential-Vinyl-Plank/999957677 We used almost an entire box. Step 1: Make sure your surface is clean (free from all dust!) Step 2: Measure your space to determine the number of planks you need. Step 3: Apply the plank to the wall. In order to apply your planks correctly -follow the arrows on the back of the plank. Ok.. this is not the best picture but I wanted you to see how I staggered the planks. I started on the left side then worked my way to the right. And repeated this process. I always started in the middle for every toher plank. Do this make sense? If not leave a comment below and I can walk you through it. Step 4: After you apply of of your planks go through and add tack to the planks. We originally used the Self Stick Tile Primer and it did not work well for us. The day after we put up our wall it fell down do to gravity. We went and brought black carpenter tacks and we have not have any problems. The wall has been up now for 4 months.
I hope you enjoyed this super easy affordable diy! Let me know your comments below! XOXO, Shani &Zo |

Welcome!
Hi I'm Shani! I'm a newlywed that loves Jesus!! I am passionate about living a frugal life style, but still having a beautiful home on a budget, I will show you how to tackle different projects for those starting out with Diy. Archives
January 2020
Categories |
 RSS Feed