|
Hey guys!!! In today's blog I will be showing you the process of updating my terrible basement stairs. This was a long tedious process. Hopefully my tips will help you to make yours an easier process. I had so many ideas of how I wanted to update these stairs but ... I kept it safe and went with white. I originally wanted to stain the entire stair case but the wood was not the best even after sanding and removing layer upon layers of paint. Our house was built in 1955 and all the caked on paint showed that. COST
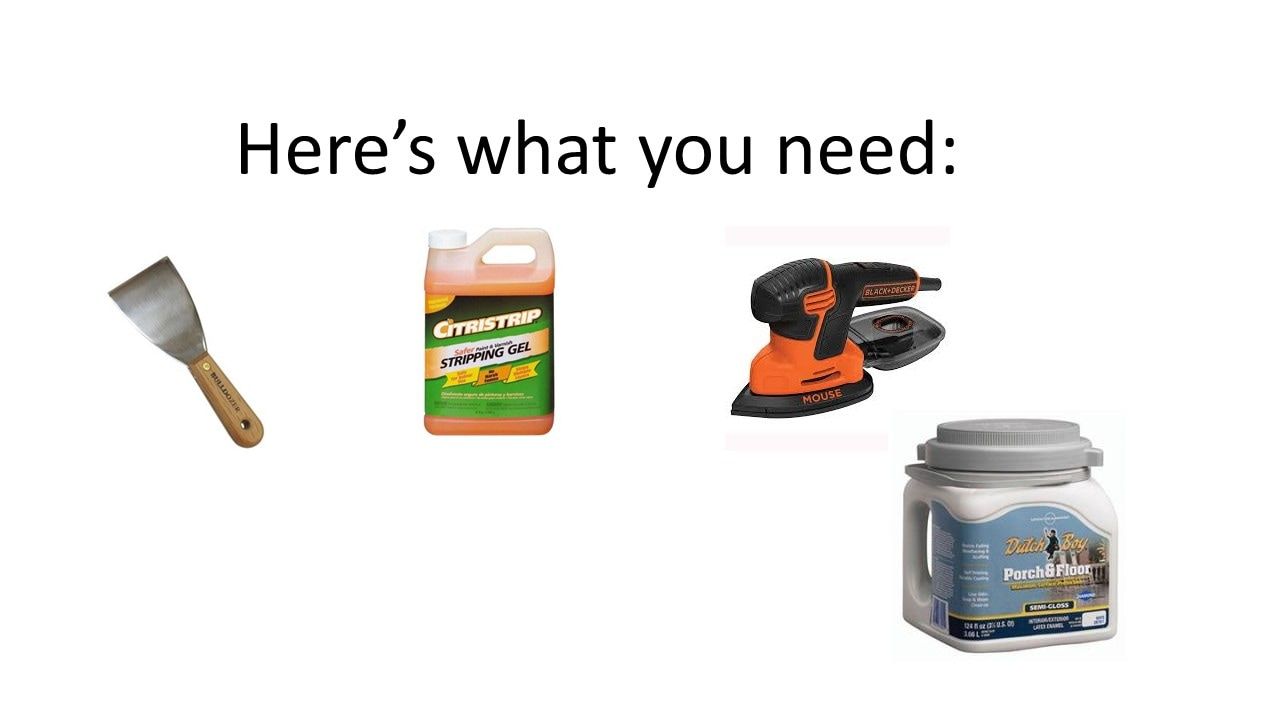
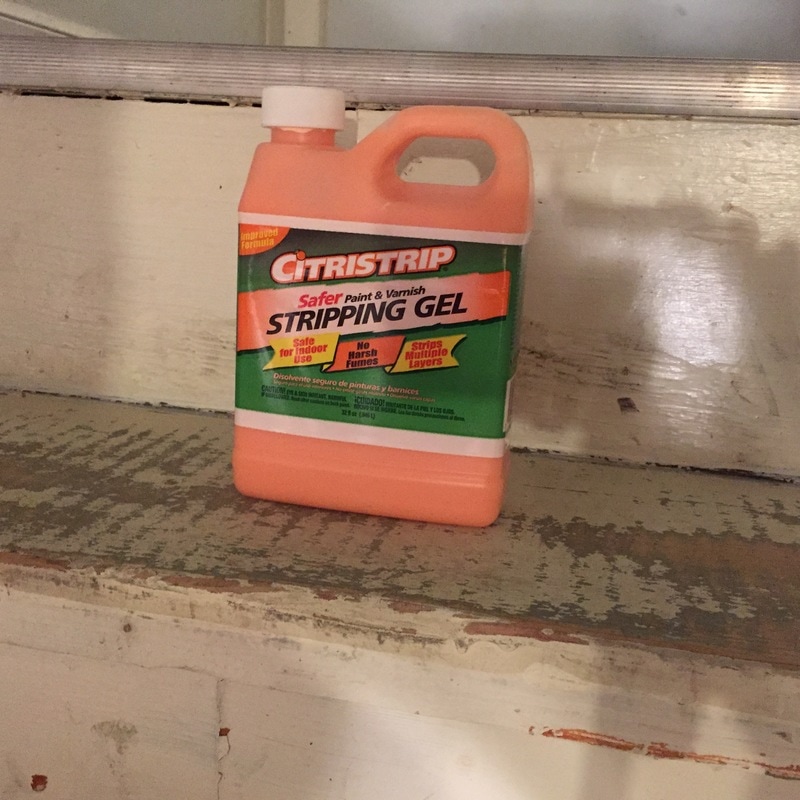
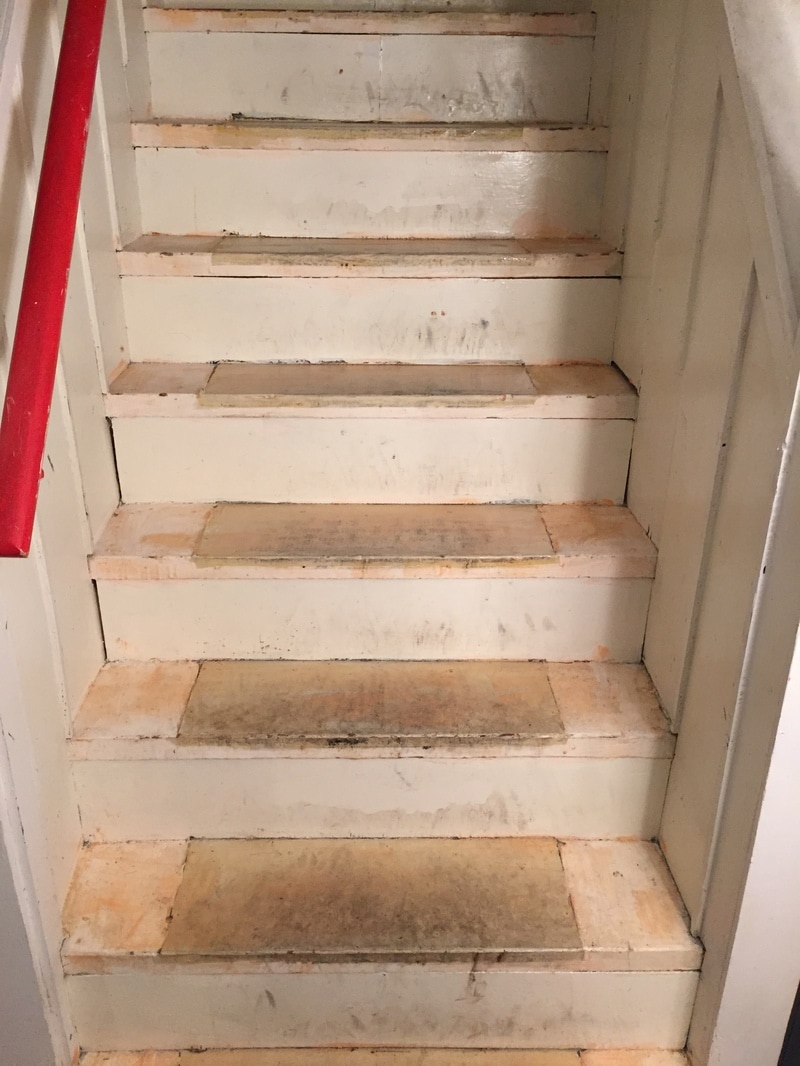
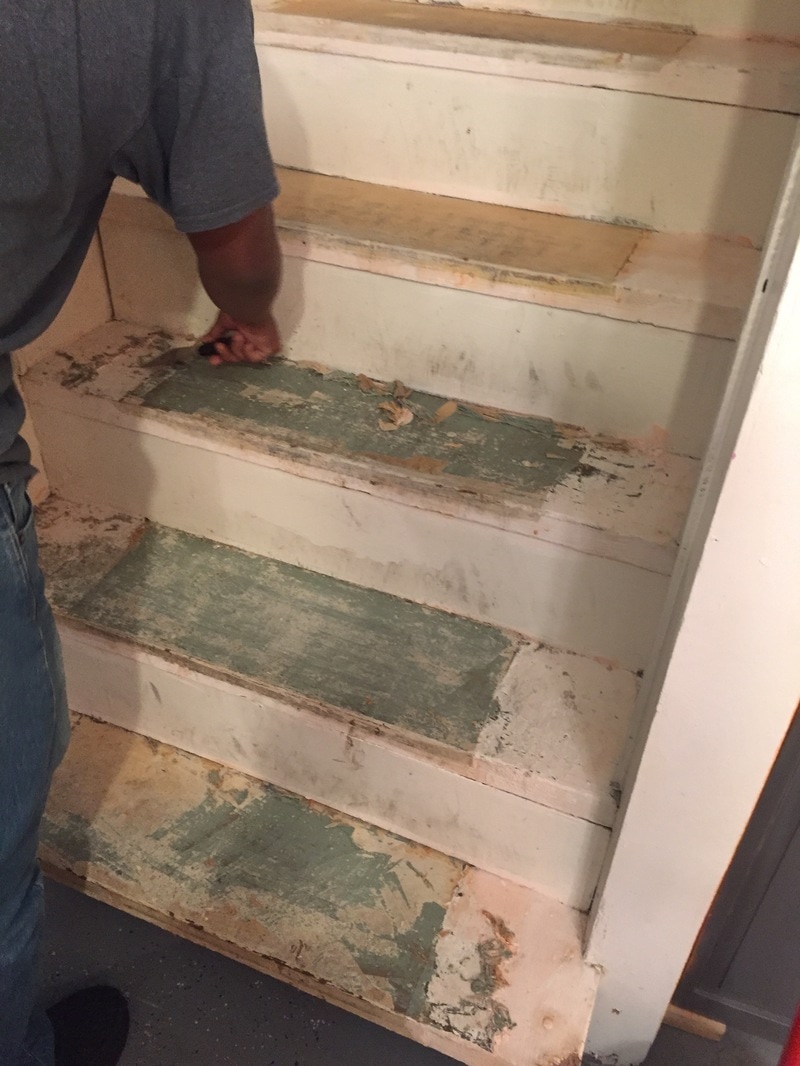
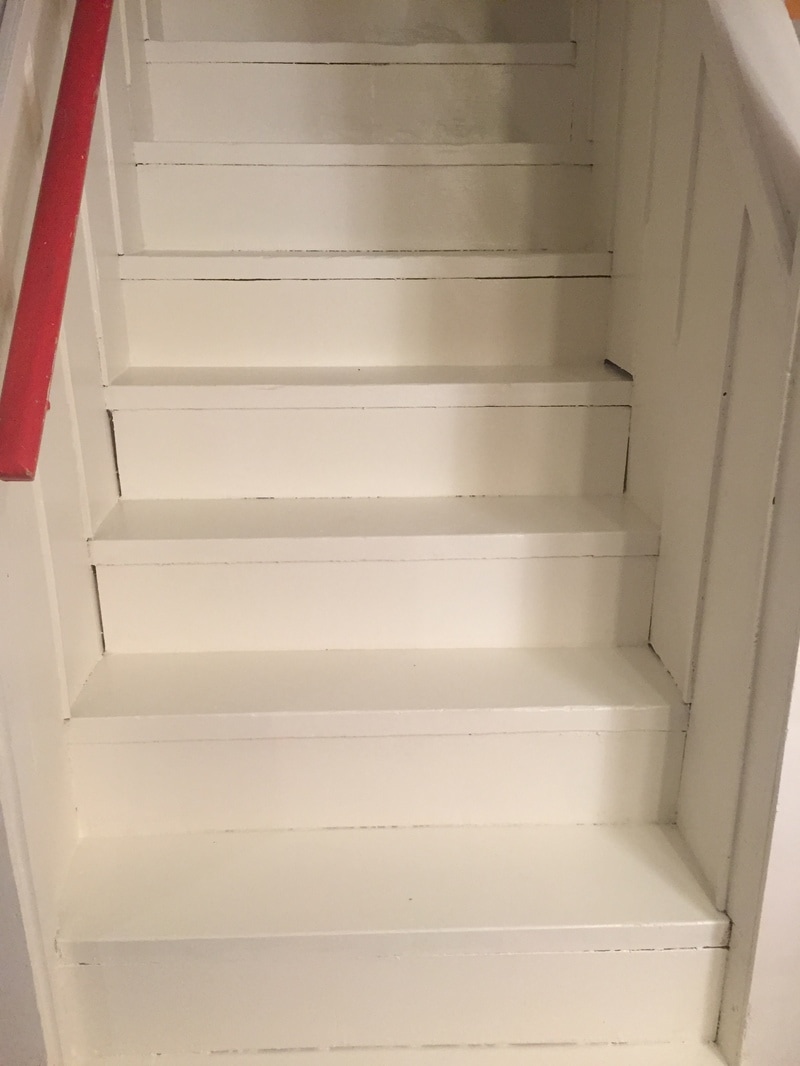
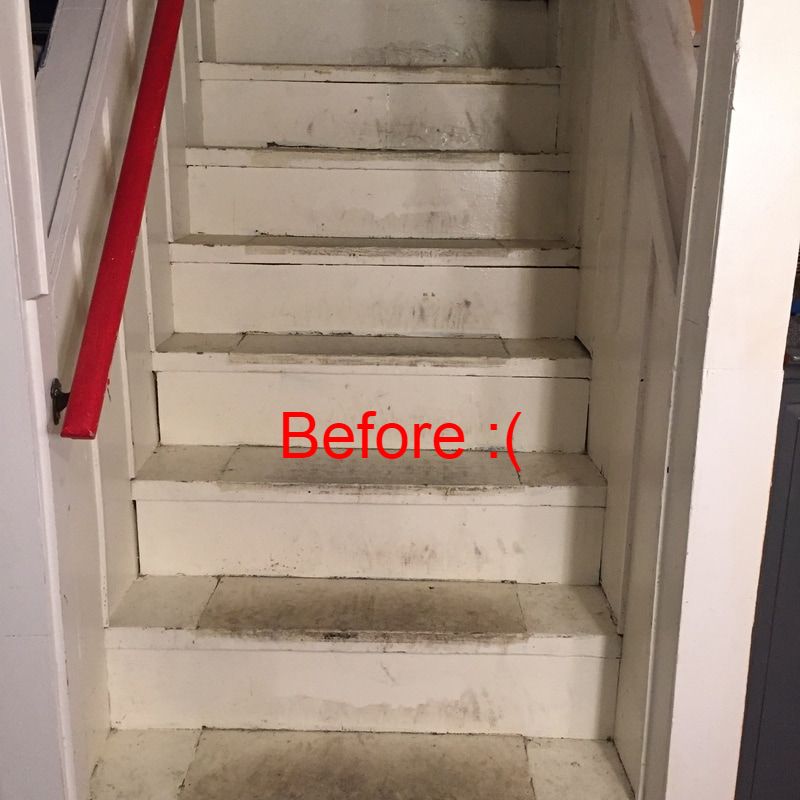 Yikes!!! Here are my terrible stairs. before. The outline that you see was were the treads . This paint stripper is like magic. You will need to apply it with a paint brush. DO NOT use a foam brush, the gel will eat through it. This is what it looks like once you apply the gel. We let this sit for 1 hour. It comes off so easily. I will definitely be using this product for future projects. We did scrub the stairs down after we scrapped off the old paint. This is the After!!!!!!!! So much better. We are not sure if we plan to put the treads back on. Let me know in the comments below if you have ever considered painting your stairs.
0 Comments
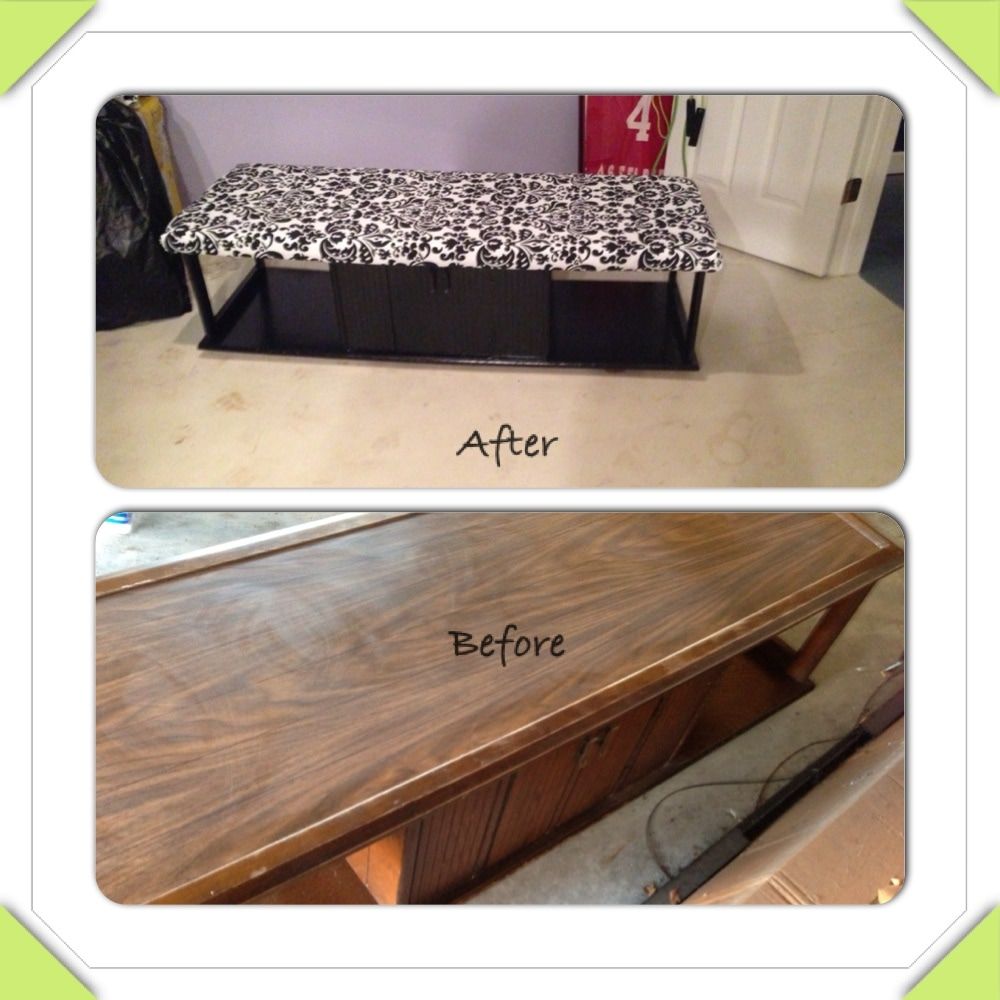
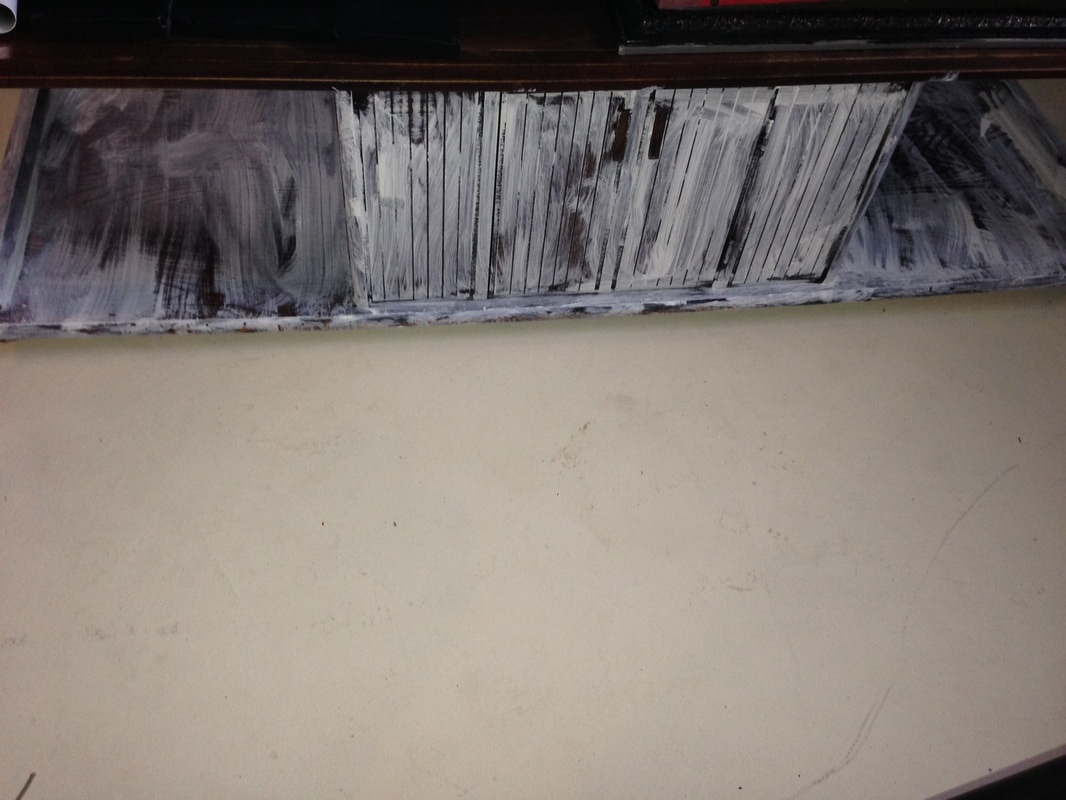
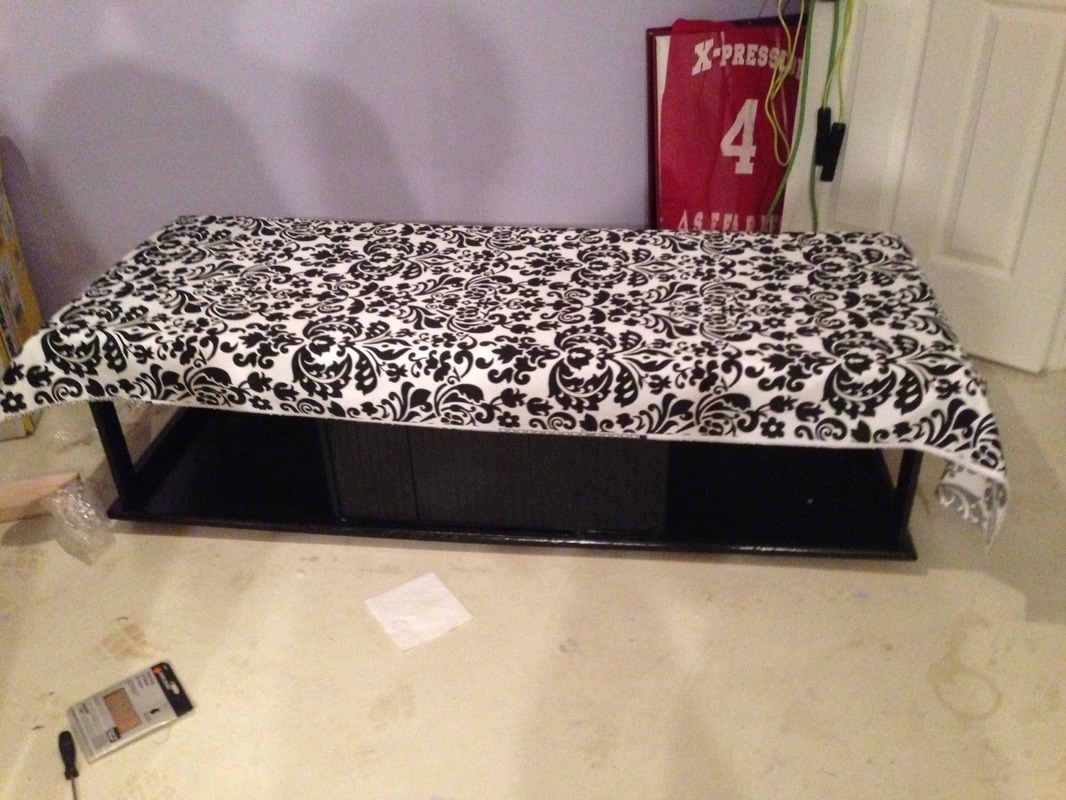
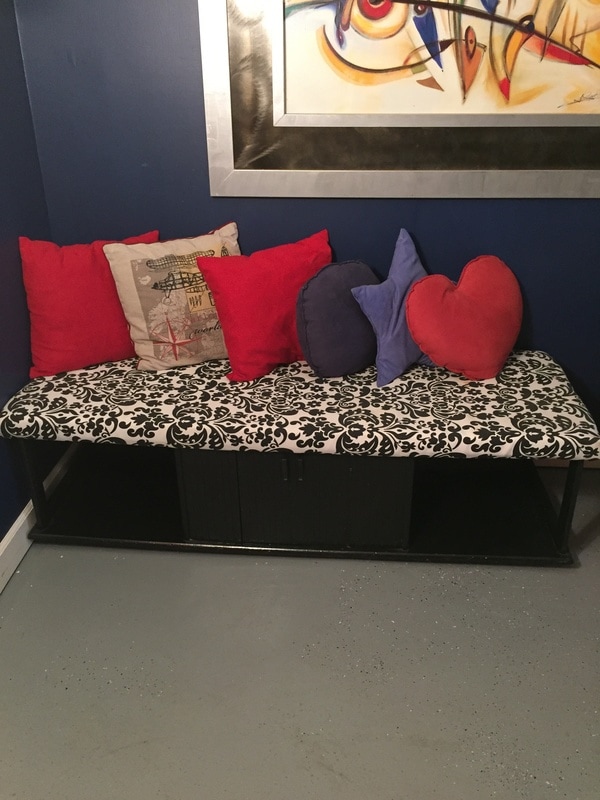
Hey guys!!! In today's blog I will share with you how I turned a thrift store coffee table into extra seating for my home. Let's break down the cost first: Coffee Table $12 Fabric $10 ($5 a yard) Foam Cushion $20 (local fabric store) Paint $7 (1 quart) Total:$49 (not too bad) I would have paid triple if I purchased this brand new Here is the before and after of the bench. When I originally purchased this coffee table I knew right away that I would turn it into additional seating. I also loved that it had storage. Here is my terrible priming experience. I actually had some primer that was on the brink of going bad. It was sticky and a mess. The frugal side of me did not want it to go to waste. After you prime and paint the bench you want to work on your foam and fabric. 1. The first thing you need to do it cut your foam to fit the bench. 2. After you cut the foam down to size you need to place the fabric on top of it . In this photo you can see that I let the fabric hang over just a bit. This is because you want to pull the fabric tightly and staple it to the wood. 3. Make sure you staple all the fabric to the wood. I put at least 5-7 staples on each section of the bench. I wanted to ensure that it was secure. Here is the final product and for only $49!!!!!!!!!!!!!!! I will be putting wheels on this soon so that it moves about freely!!!
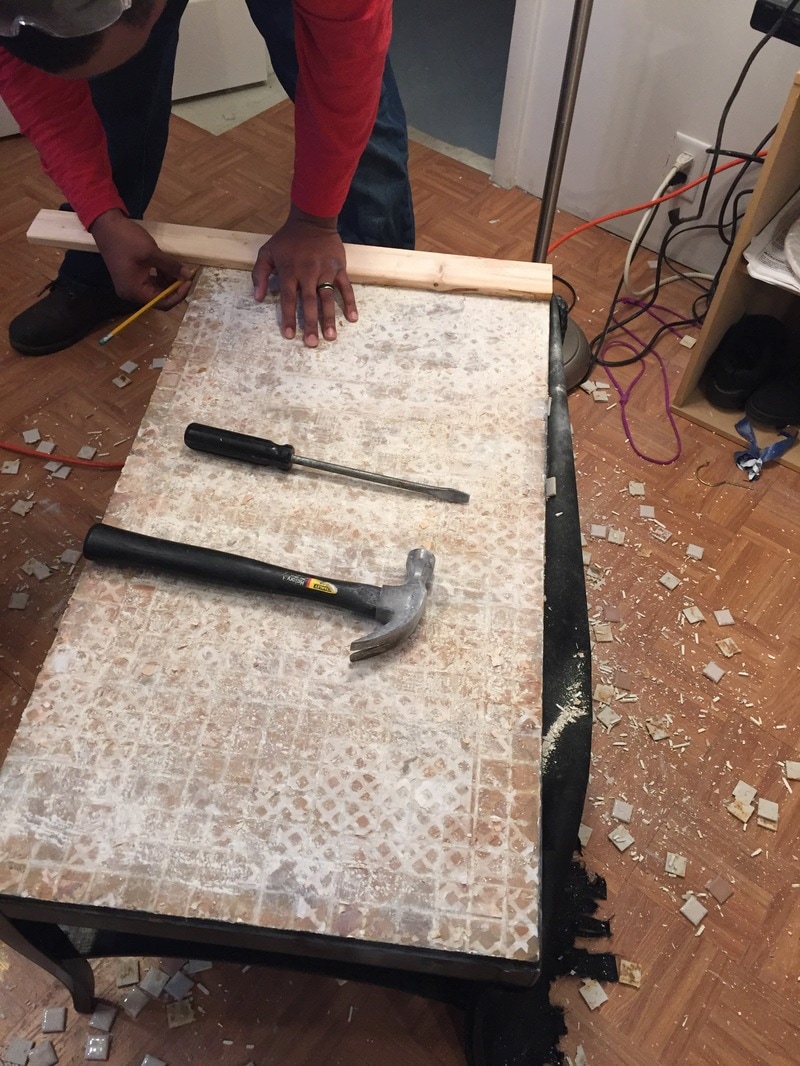
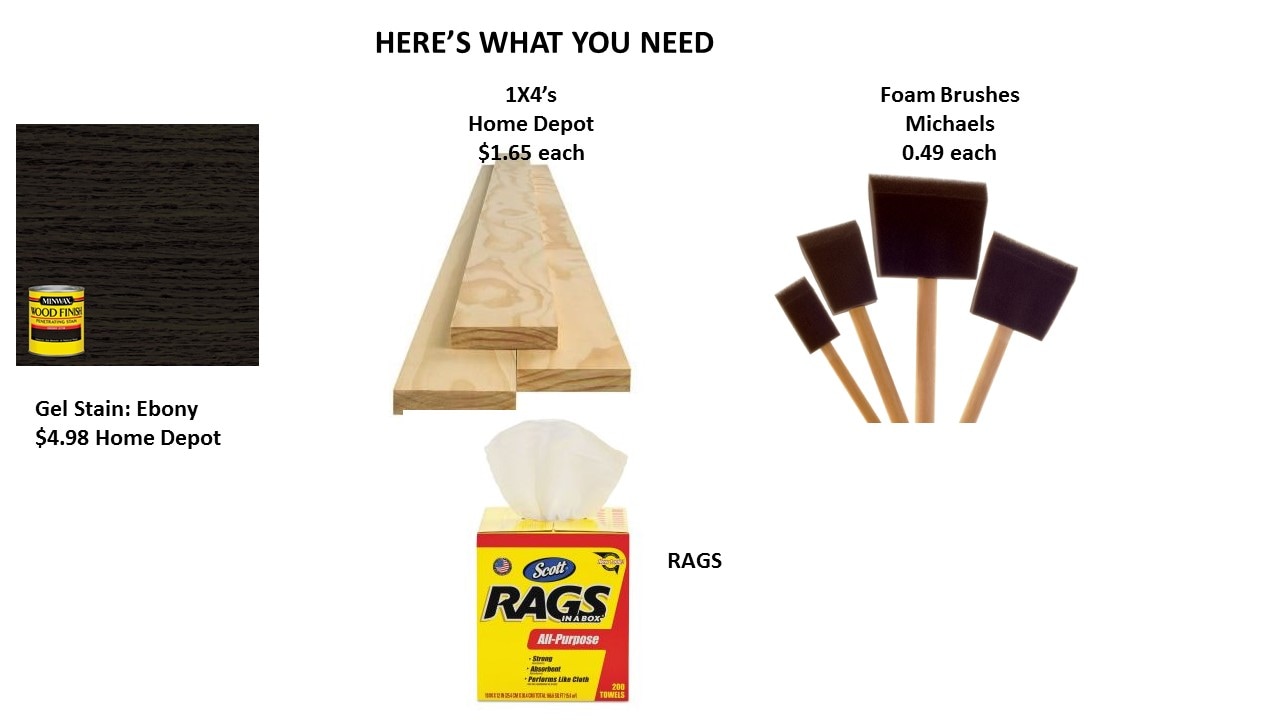
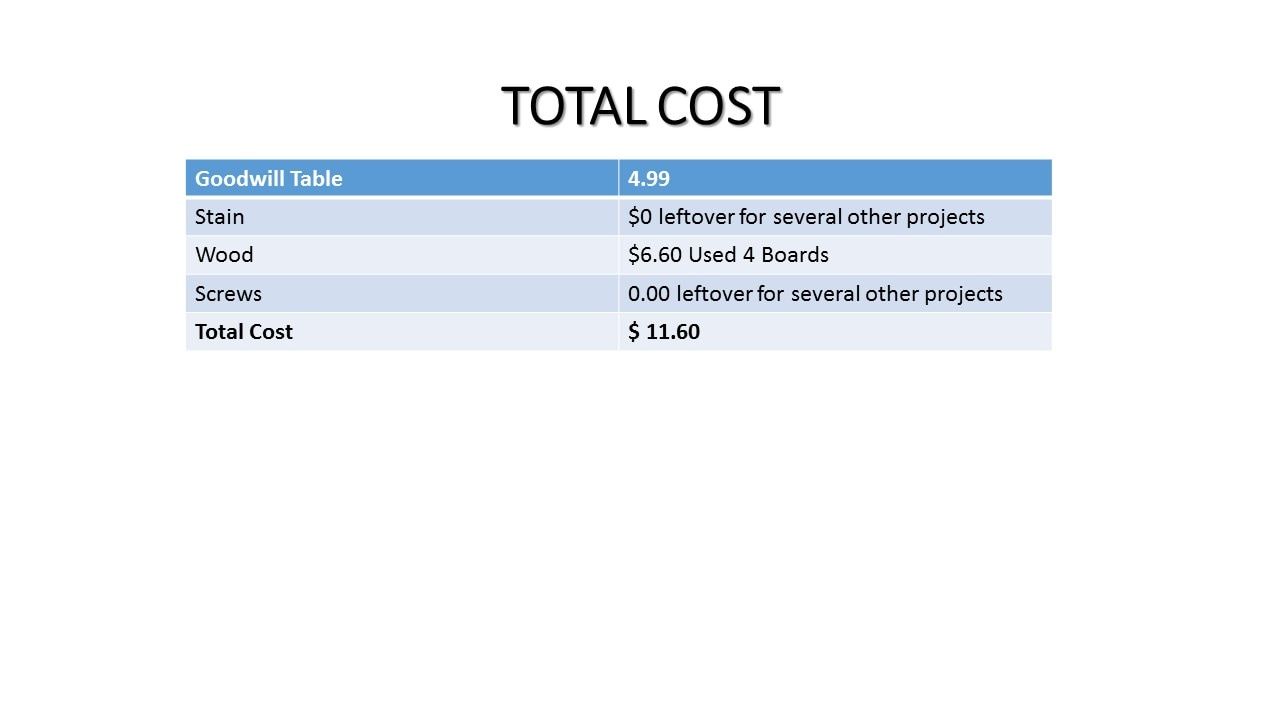
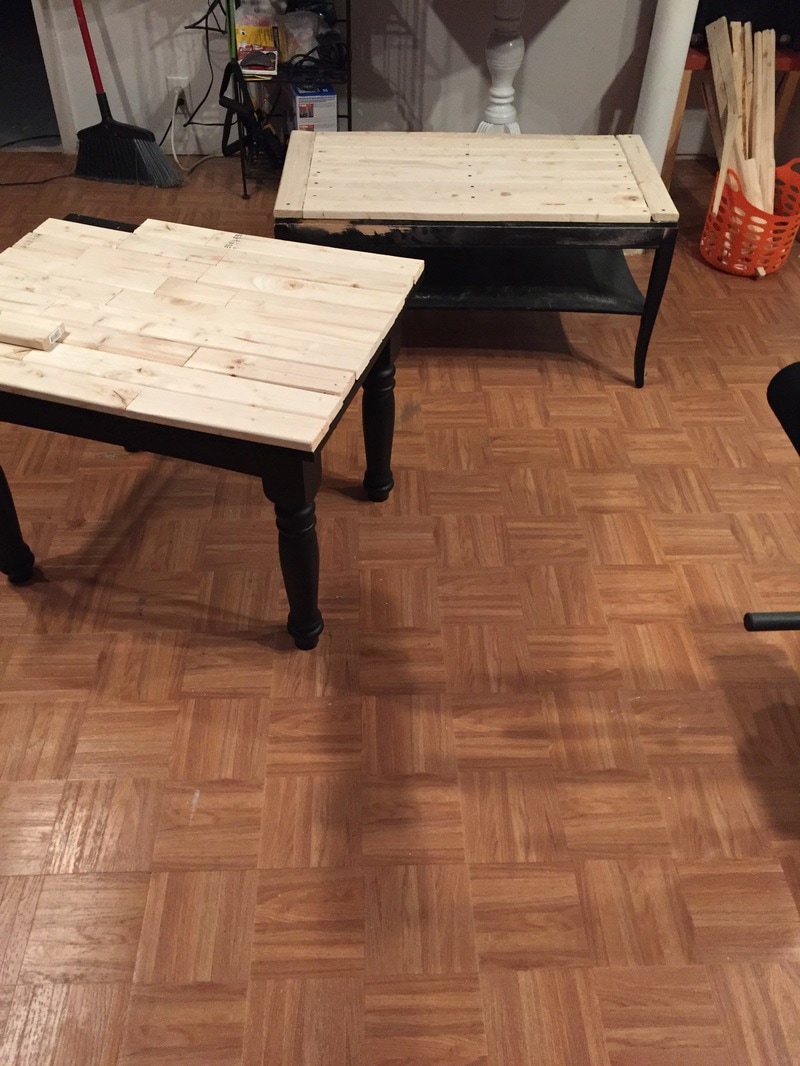
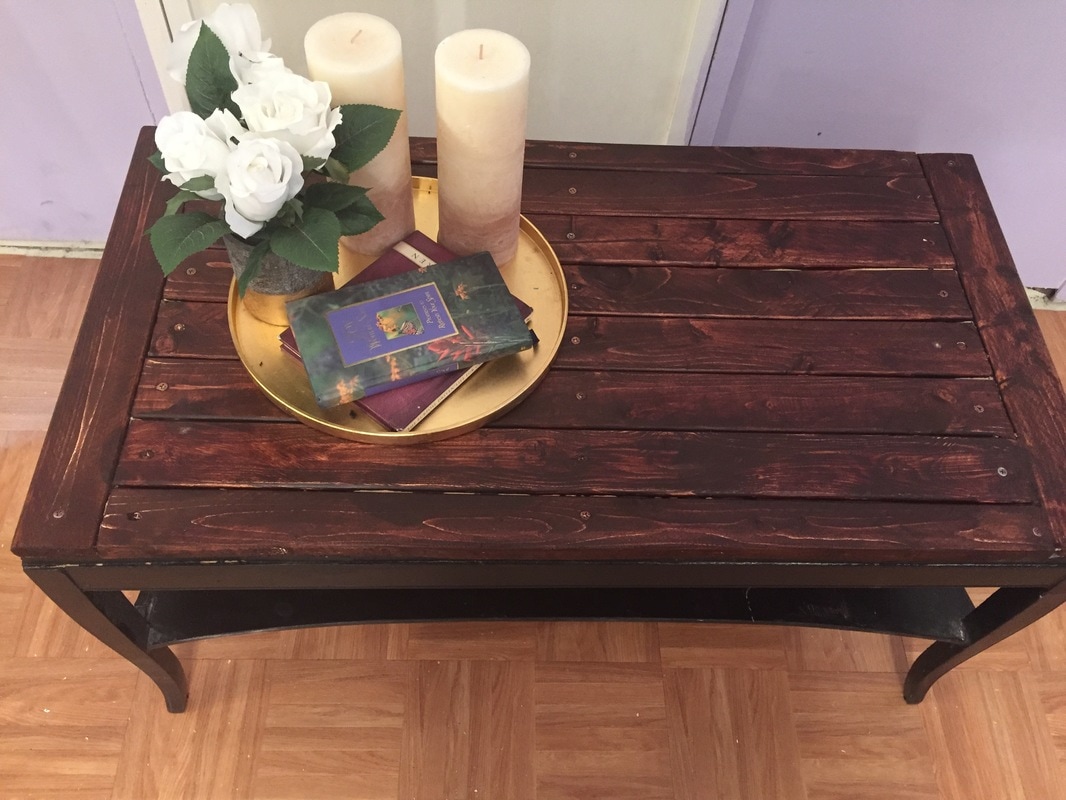
Would you guys do a diy like this? Share below! Hey guys!!! I have really been falling in the love with rustic home decor lately. I recently made over my living room. We had a coffee table that I previously covered with fabric because it had tile all over it, It was so terrible. My husband chipped away all the tile and added 1X4 to the table and we later stained it. It was easy and inexpensive. This is the before picture.... Such a mess. Here is a shot of two of the tables that we are making over. We used a miter saw to cut the 1X4's, It makes life so much easier! After we sanded the wood forever (maybe like 1 hour) we dusted it off and stained. You guys, I HATE sanding. It drives me insane but most of our projects need to be sanded. I am very please with the result and may sanded it a bit more. I think this would look cool with a distressed look.
Does this project seem simple to you? Would you try it? |

Welcome!
Hi I'm Shani! I'm a newlywed that loves Jesus!! I am passionate about living a frugal life style, but still having a beautiful home on a budget, I will show you how to tackle different projects for those starting out with Diy. Archives
January 2020
Categories |
 RSS Feed