|
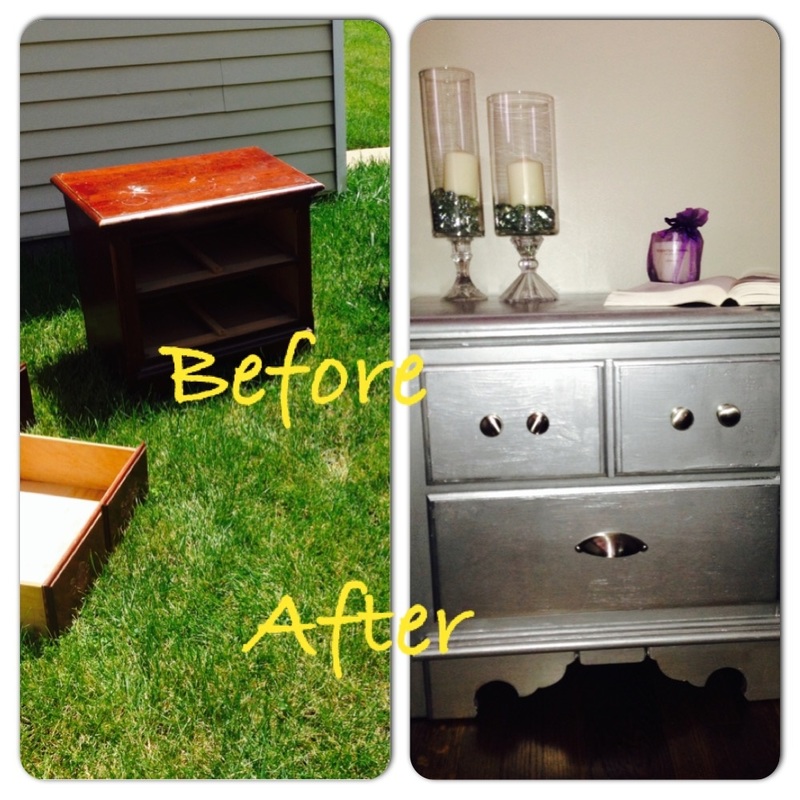
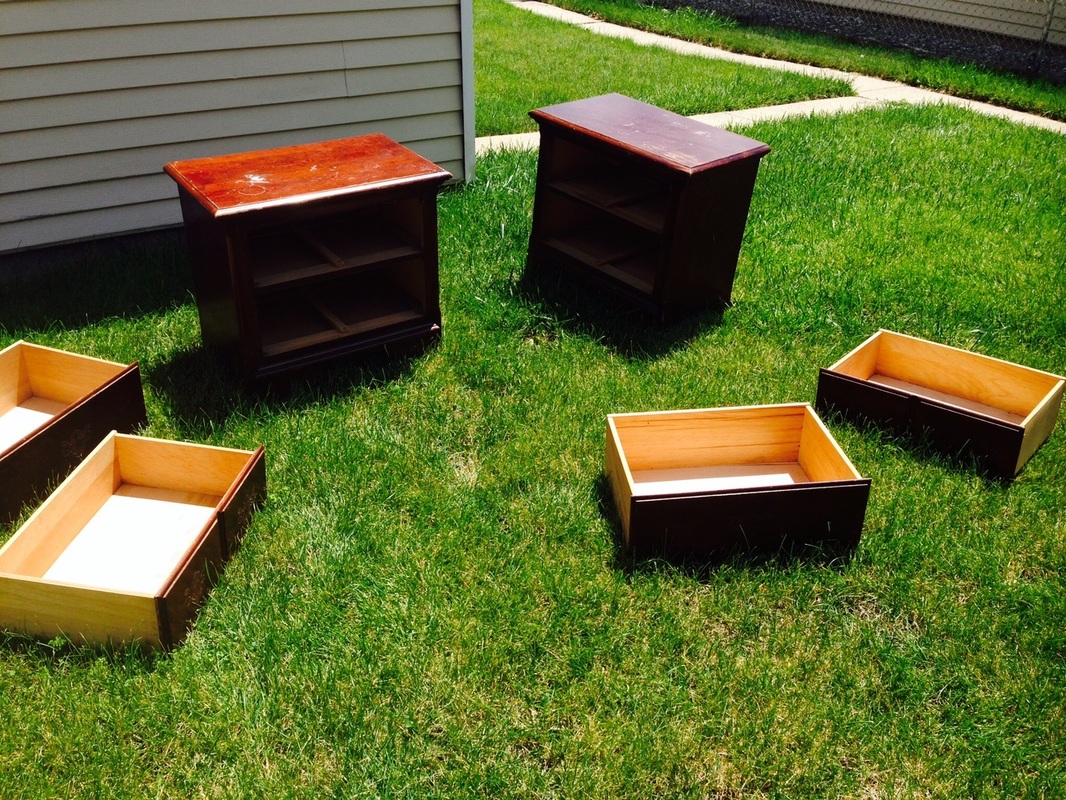
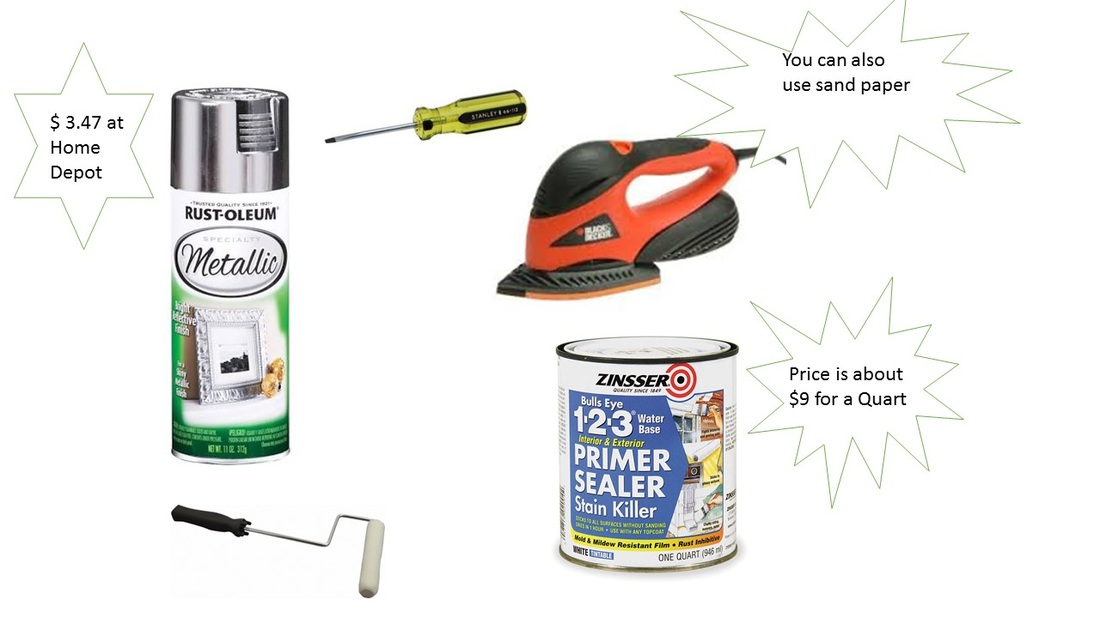
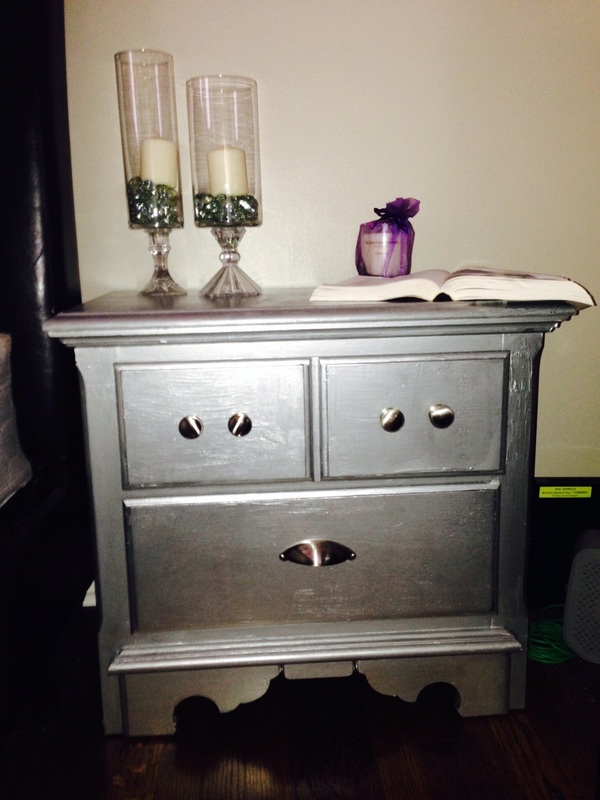
Hi guys!! I want to tell you all about my night stand diy. The night stand came from Zo's (Hubby) old house. He wanted to throw it out because it was really banged up. I convinced him not to. I must say it is very difficult to find a night stand that is solid wood, has character, and storage. Let's talk about how I turned this trash into treasure!As you can see the top of the nightstands have water stains from cups without cup holders (men!) Here is what you will need:Let's walk through the steps 1. Remove all hardware with screwdriver. 2. Clean the nightstand inside out. 3. Sand the nightstand. Make sure you have a smooth surface. 4. Make sure you remove all the sand dust. 5. Prime the entire dresser with very smooth coats. 6. Let the primer dry for a few hours. (I usually touch it to determine when its ready). Always read the label on the primer for dry time and additional instructions. 7. Spray paint even coats on the nightstand. 8. Let the spray paint dry for at least 3-4 hours. 9. Put on the hardware of your choice. 10. Enjoy your new nightstand. I lined the inside of the drawers with contact paper. Let me know if you liked this trash turned treasure!!!
See ya later!!!!
0 Comments
Hi guys!!! I'm glad to have you back. If it your first time checking my blog out, take a look around! I hope you like what you see. Today I am going to talk about shopping our friends and family home for home decor, clothes, shoes, and furniture. How many times have you went to your bff's house and said OMG I love the picture or that lamp??.. I do it all the time. Friends also do it to me. What if we all just went to our loved ones homes and asked them what they are willing to swap or give away? Stick around and I will show you several things that I got from friends and family. The moral of the story is to ask your friends if they have any goodies they no longer want. The worst they can say is no. Also, don't forget to return the favor to them. I always let my friends and family go through my unwanted pile before I donate it. What is the best freebie that you were gifted?? Comment below.
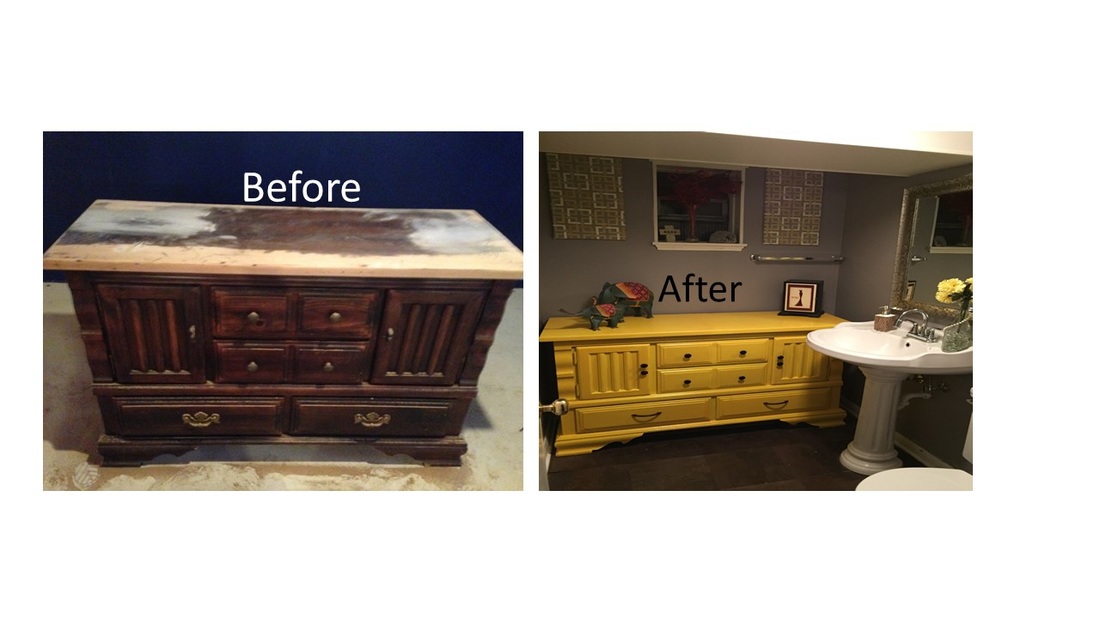
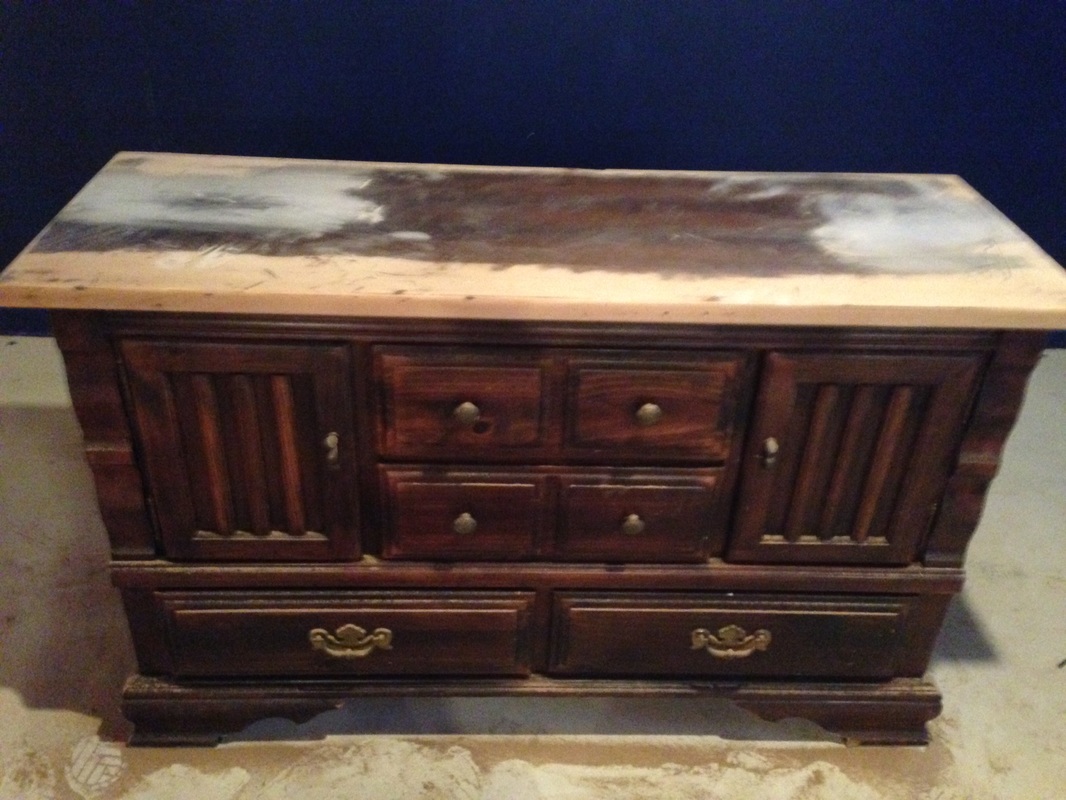
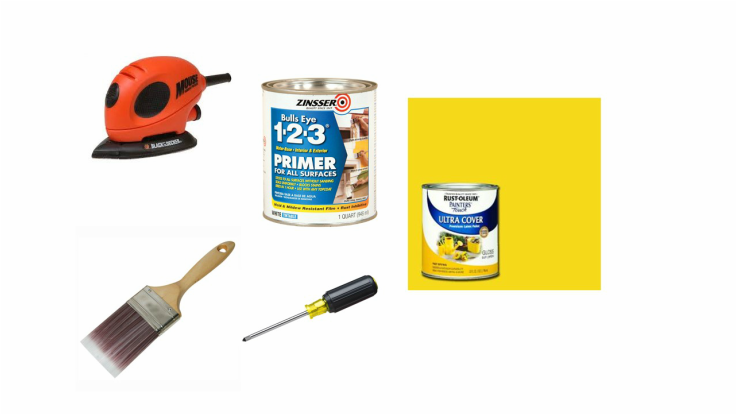
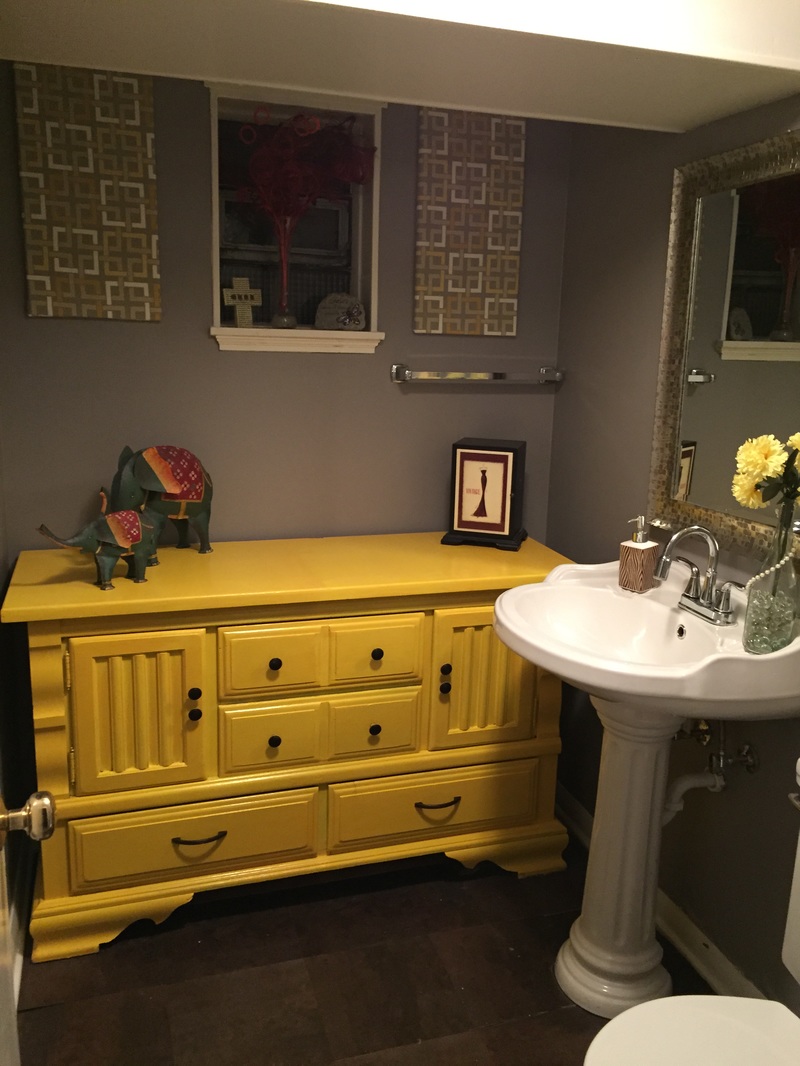
See ya Later! Hi guys, So I picked up this beauty from the goodwill for $2.99!!!!! Yes! $2.99!! I had to do a double take when I saw this price. It is solid wood and very durable. I cant believe that someone would give this thing away. Let's walk through the process of repurposing this beauty: 1. The first thing I did was wipe the dresser down. 2. Remove all of the hardware with a screw driver. 3. I went on to sand the dresser with my black and decker sander. (This took quite a while). 4. After the sanding was complete I wiped the dresser down thoroughly . 5. Priming was next. Make sure that all of your strokes are as even as possible when you prime. 6. I let the primer dry for about 2-3 hours and then began to paint. (Watch a movie, clean the house, or do something else fun during this time!! ) 7. The paint color I used was Rustoleum Sun Yellow. Here is the link http://www.homedepot.com/p/Rust-Oleum-Painter-s-Touch-32-oz-Ultra-Cover-Gloss-Sun-Yellow-General-Purpose-Paint-1945502/100196452. 8. I brought the hardware from Hobo's. I think I may change out the hardware soon. I want a more glam look for this piece. It probably took me about 2 hours to paint the entire dresser. Put on your favorite tunes or favorite show and get lost in a project like this! Materials you will need:I absolutely love this dresser and the way it turned out. I use it for additional storage in my basement washroom. I thought it would be SUPER cool to put a dresser in the bathroom. This dresser is a conversation piece for sure! People are always shocked and amazed that I put a dresser in the washroom. They are also shocked by the bold color I chose. This is my favorite DIY to date. I love it some much
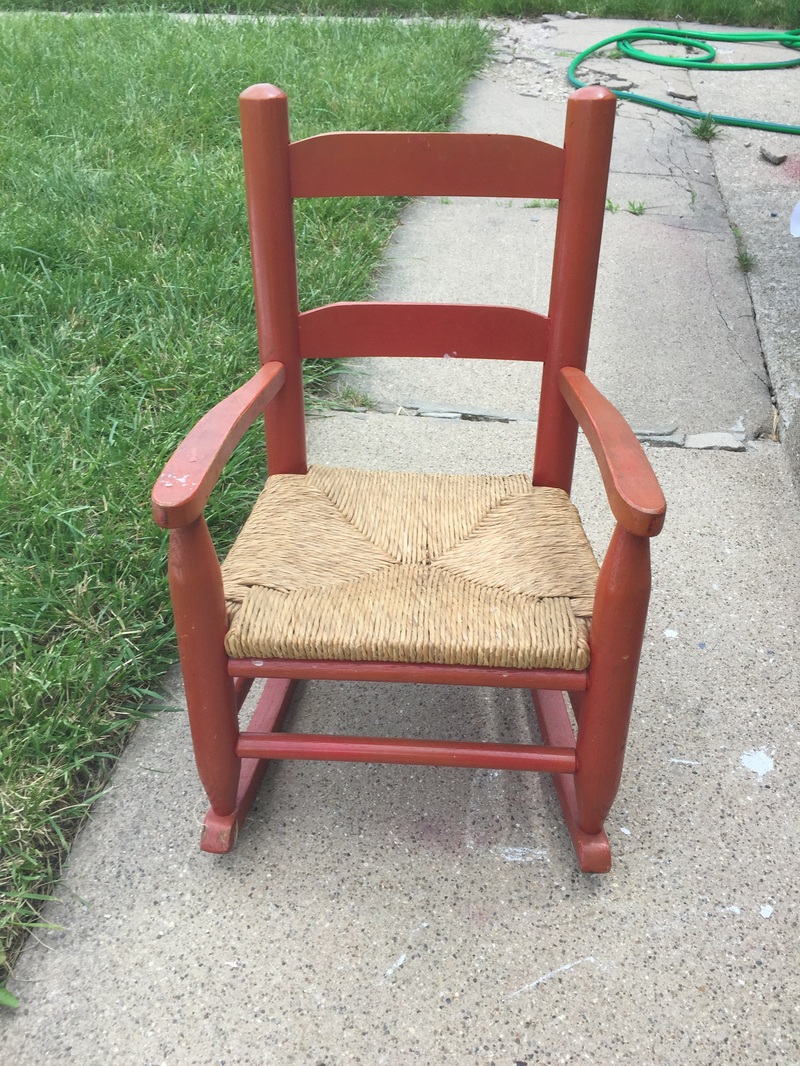
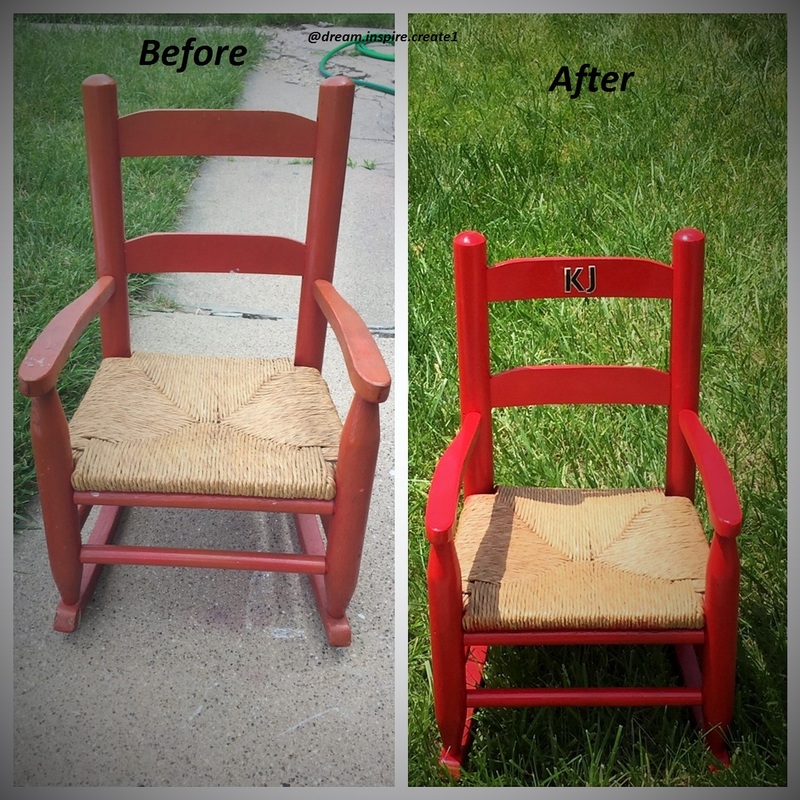
Comment below and share this on your social media. Hi Guys!! In today blog I will show you how I flipped this kids rocking chair. I brought this year and cant remember if I brought this from Goodwill or a yard sale. Anytime that I see kids pieces I pick them up immediately (this always makes a great gift). I am flipping this as a gift for my friend who just had a baby. Here are the tools you will need:Steps on how to Up cycle this Chair:
|

Welcome!
Hi I'm Shani! I'm a newlywed that loves Jesus!! I am passionate about living a frugal life style, but still having a beautiful home on a budget, I will show you how to tackle different projects for those starting out with Diy. Archives
January 2020
Categories |


 RSS Feed