|
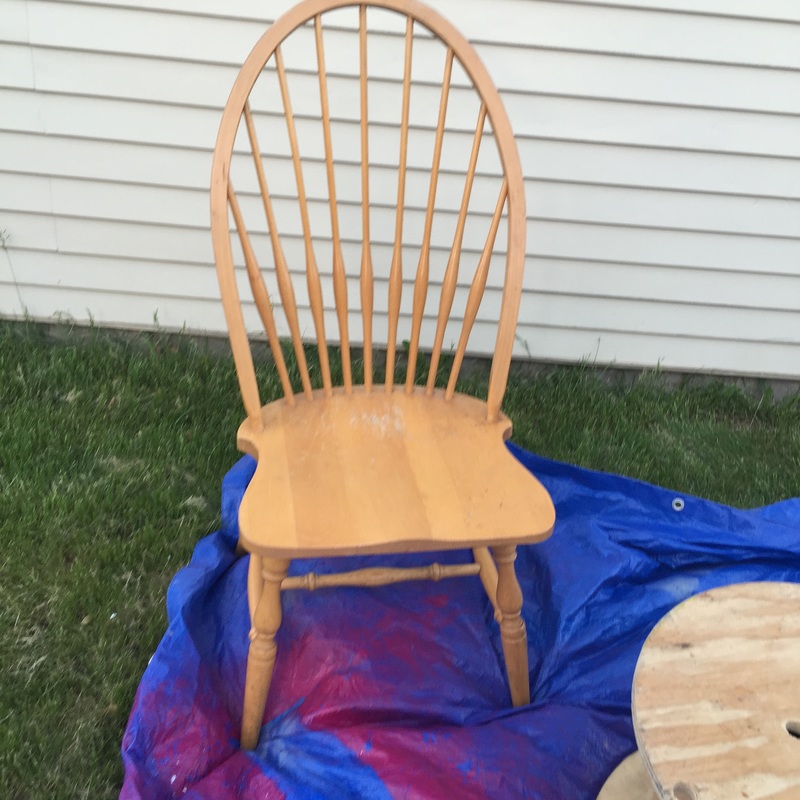
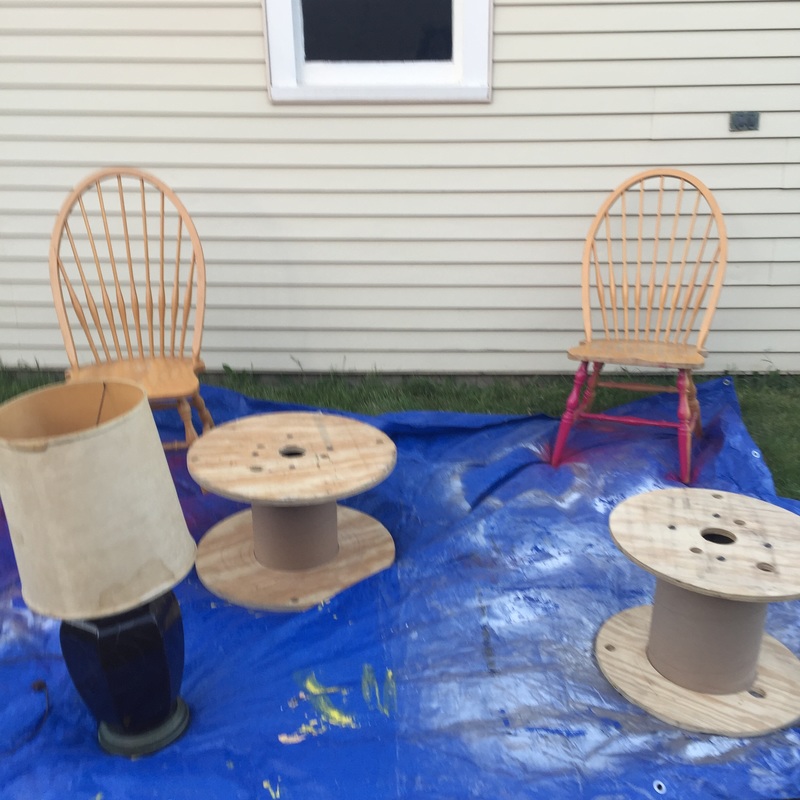
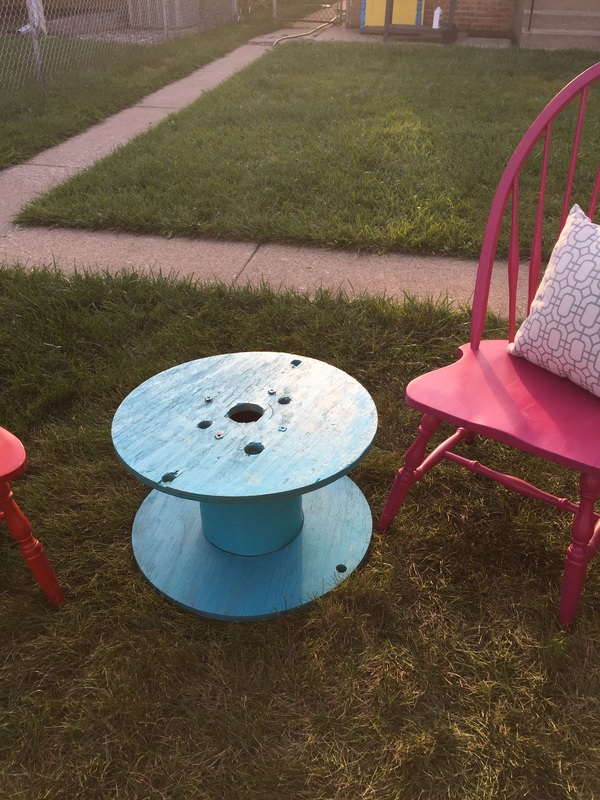
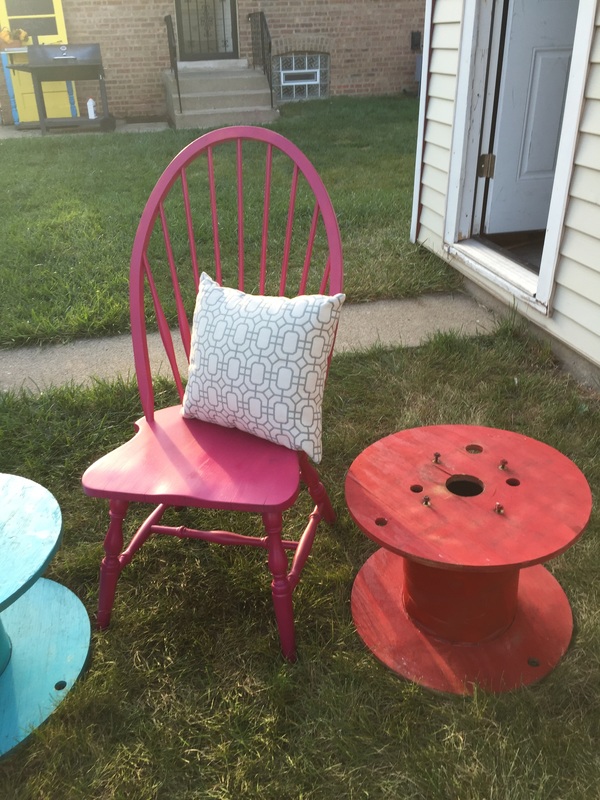
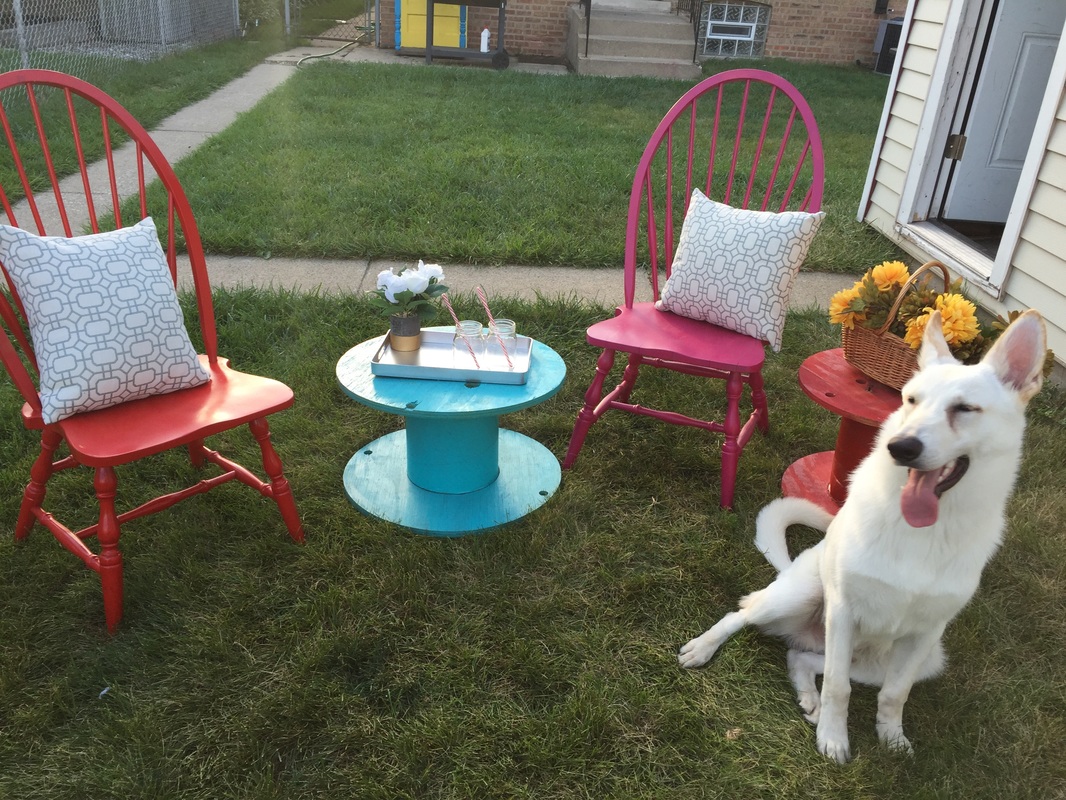
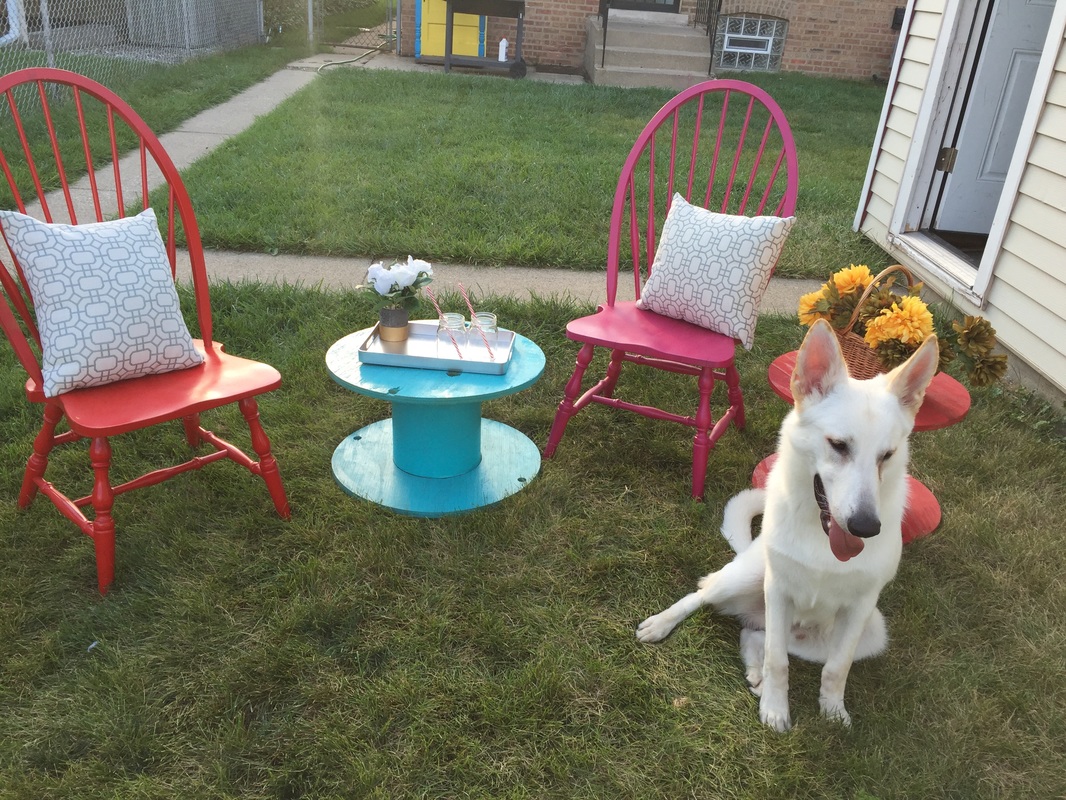
Hey guys!!! Summer is over and fall is here! Today I will be sharing with you how I to get and DIY outdoor furniture on an tiny budget. I am big on saving cost as most of you already know. I like to save money and splurge on travel and save for our future. Anywhoo... I am sure most people are like me and love to save a penny so lets jump into having outdoor furniture for discounted prices. 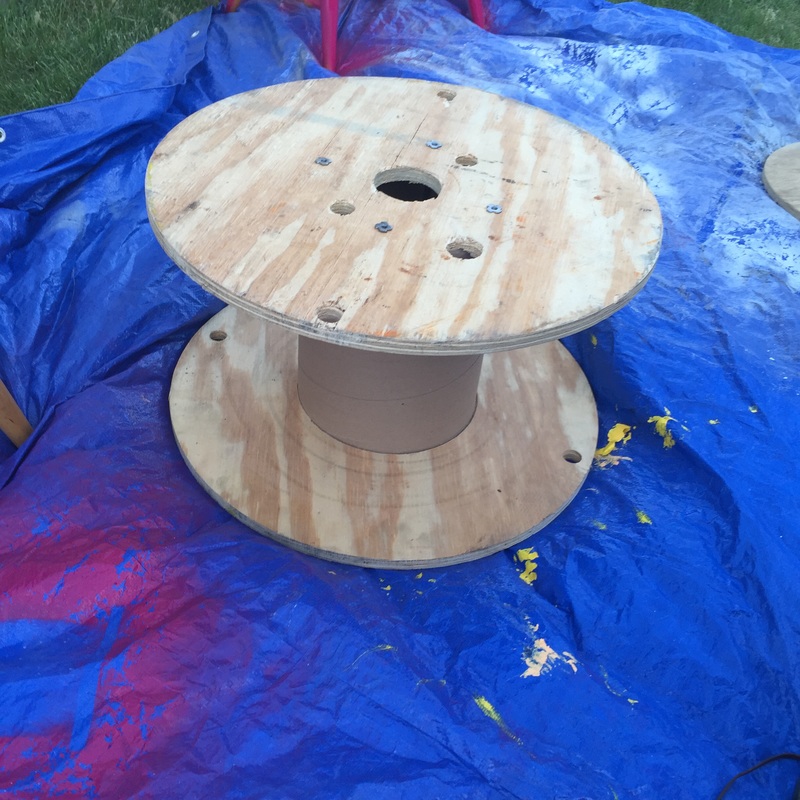 This is a FREE spool that I got from Home Depot! My mom actually told me about getting free spool from Home Depot. When the store is done with the spool they just toss it out. What a waste!! The trick to getting these for free is asking one of the sale associates for one that rarely has anymore product on it. There are some sales associates that may so no but just be consistent or go to another store. Here's what you will need:
1 Comment
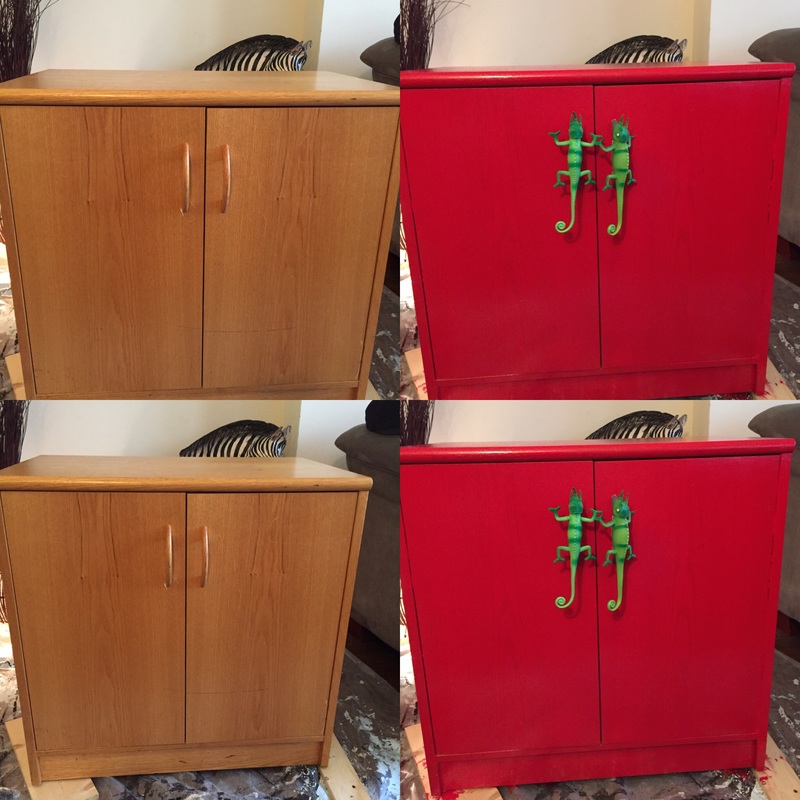
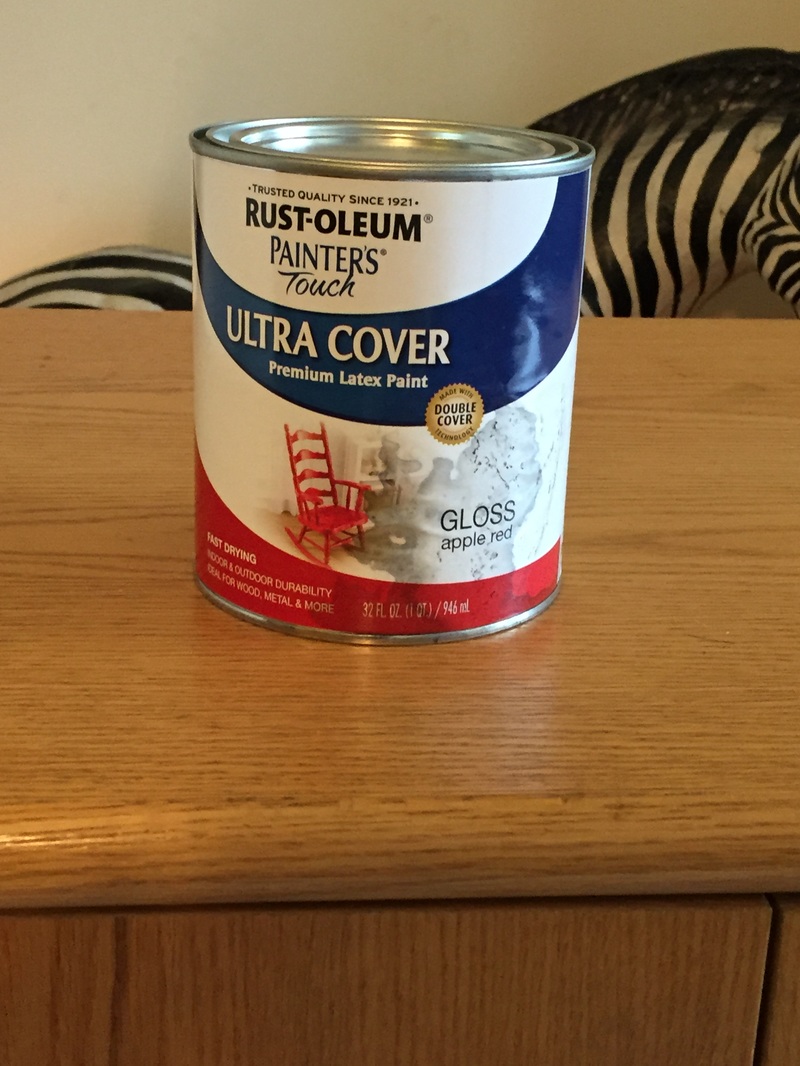
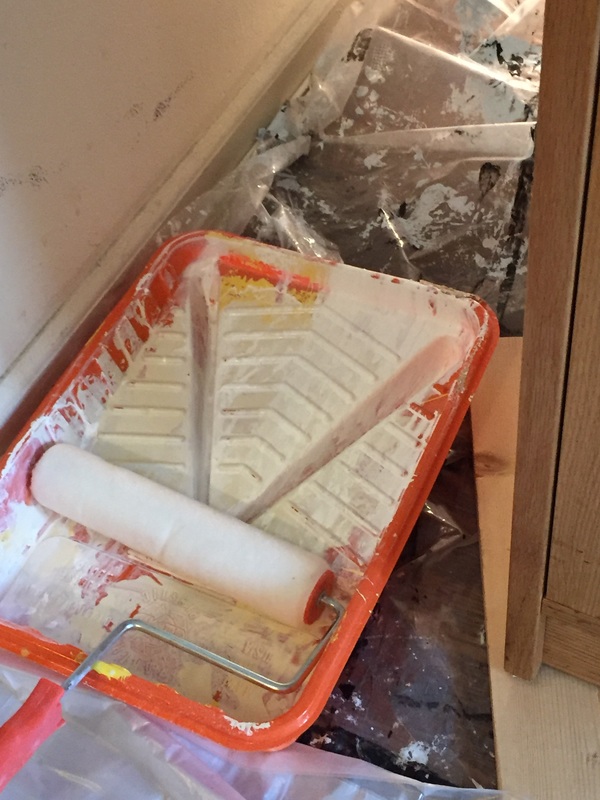
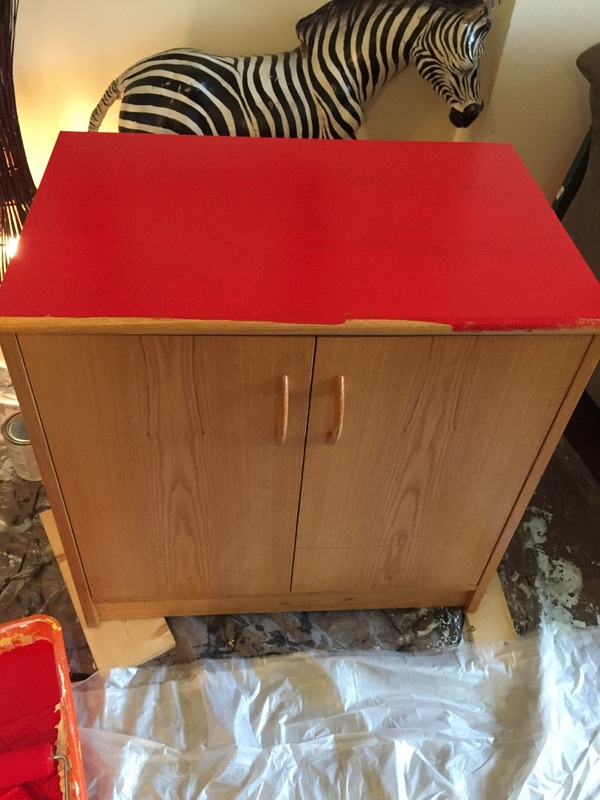
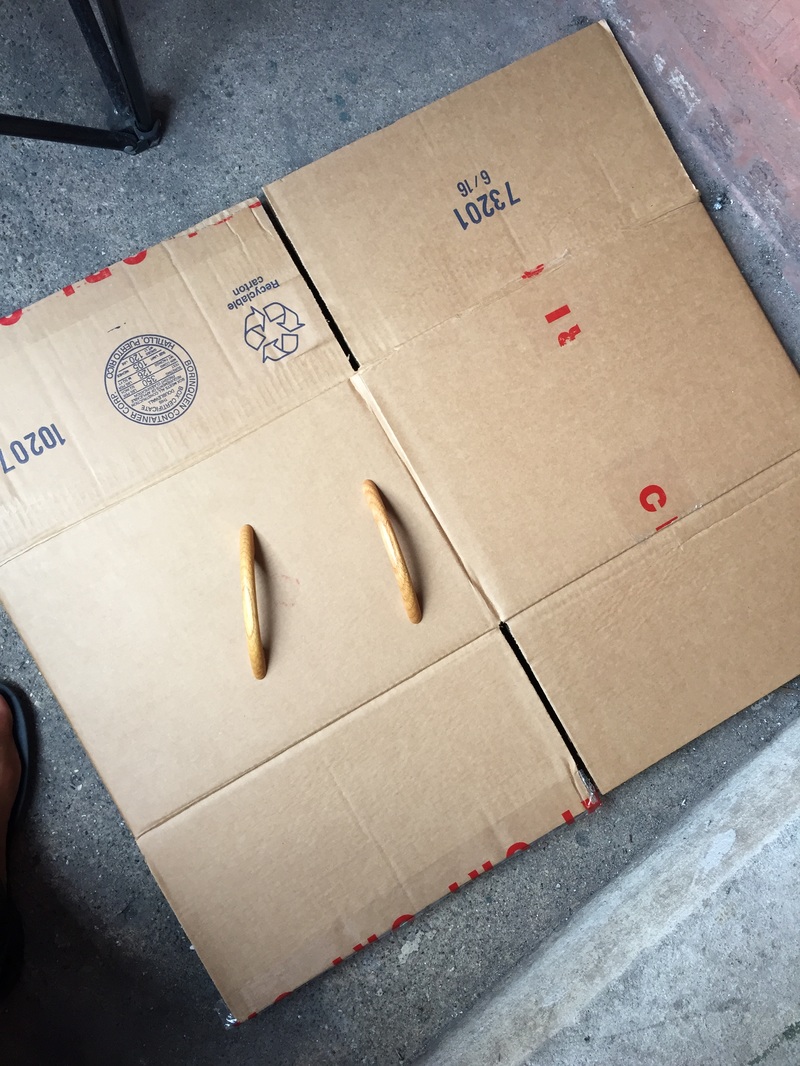
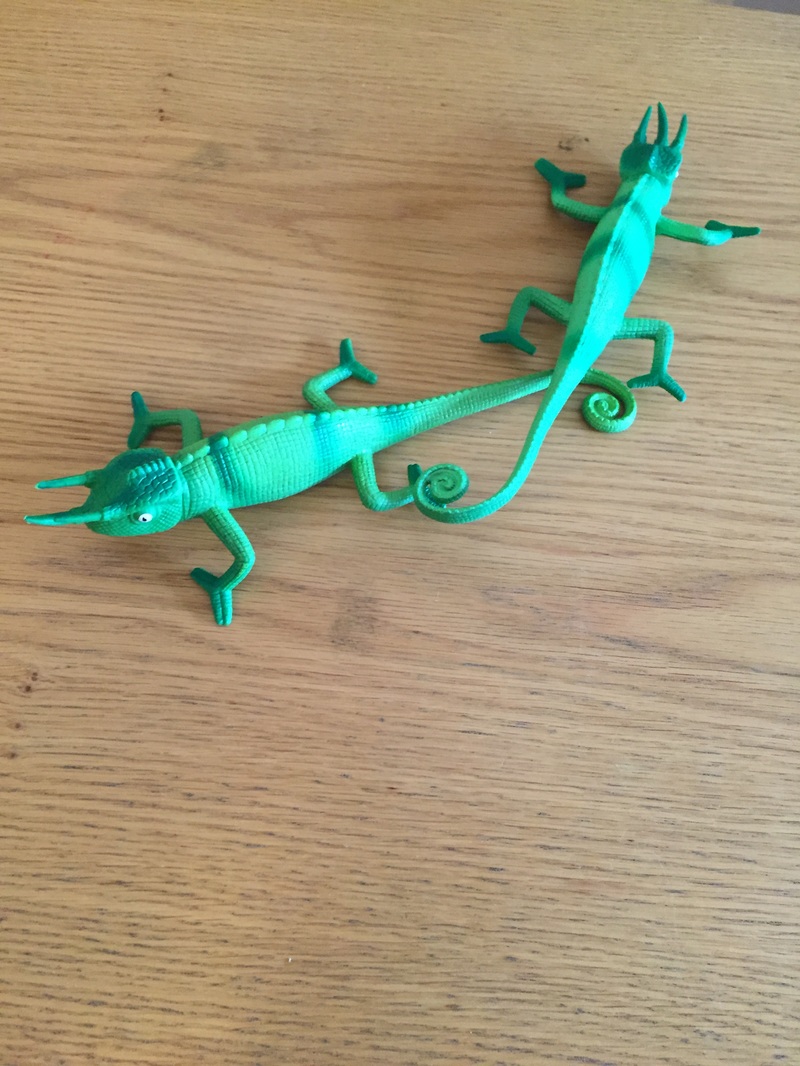
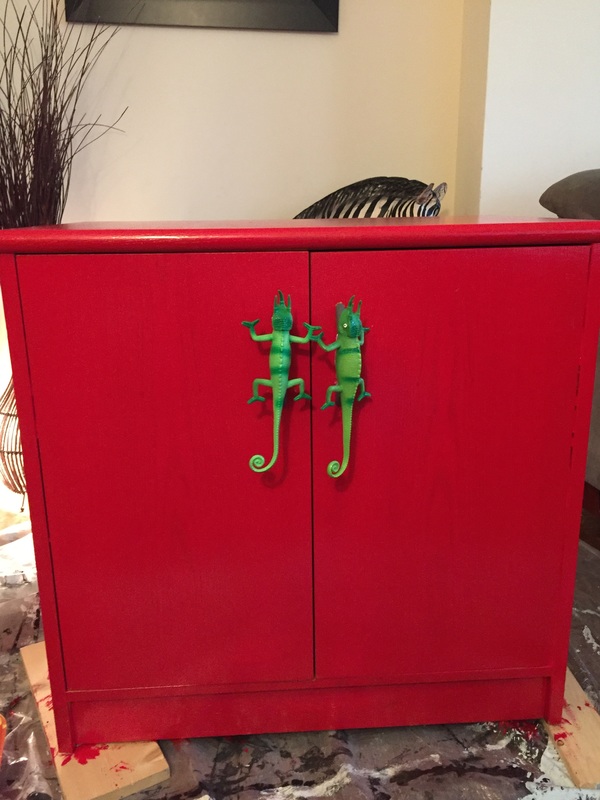
Hey guys!! In today's blog I will share with you how I flipped this cabinet and made custom door handles. This was a very easy project and great for beginners. Making the handles: You will need the following:
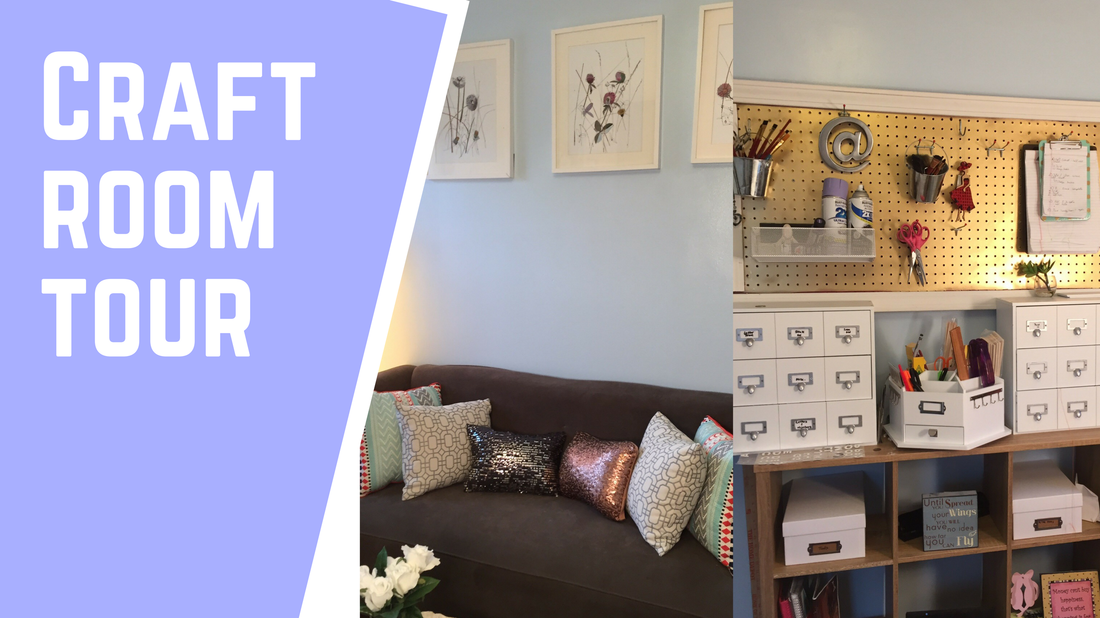
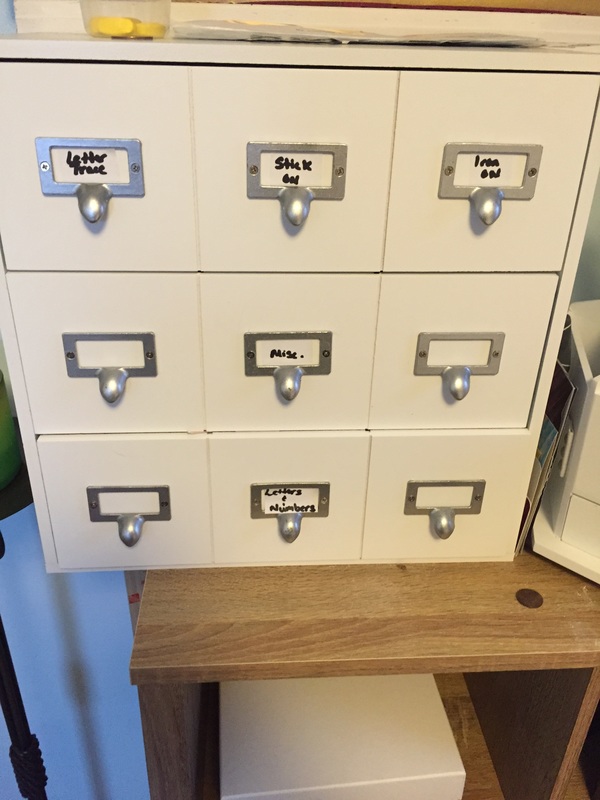
1. Cut the lizard down the middle. 2. Place glue on the door handle and the lizard (or toy). 3. Press firmly down for about a minute or so to attach the handle and toy. 4. Let dry for about 5-10 minutes. 5. After the handle is dry screw the handle back to the cabinet. 6. Wasn't that easy? Also, if you feel that this may not work for your child you can purchase these handles from Hobby Lobby. Hi guys! Welcome back! In today's blog I want to share with you my favorite place in my home. It took me a few times to get the craft room just how I wanted it. I will also be sharing some of my budget friendly storage solutions. 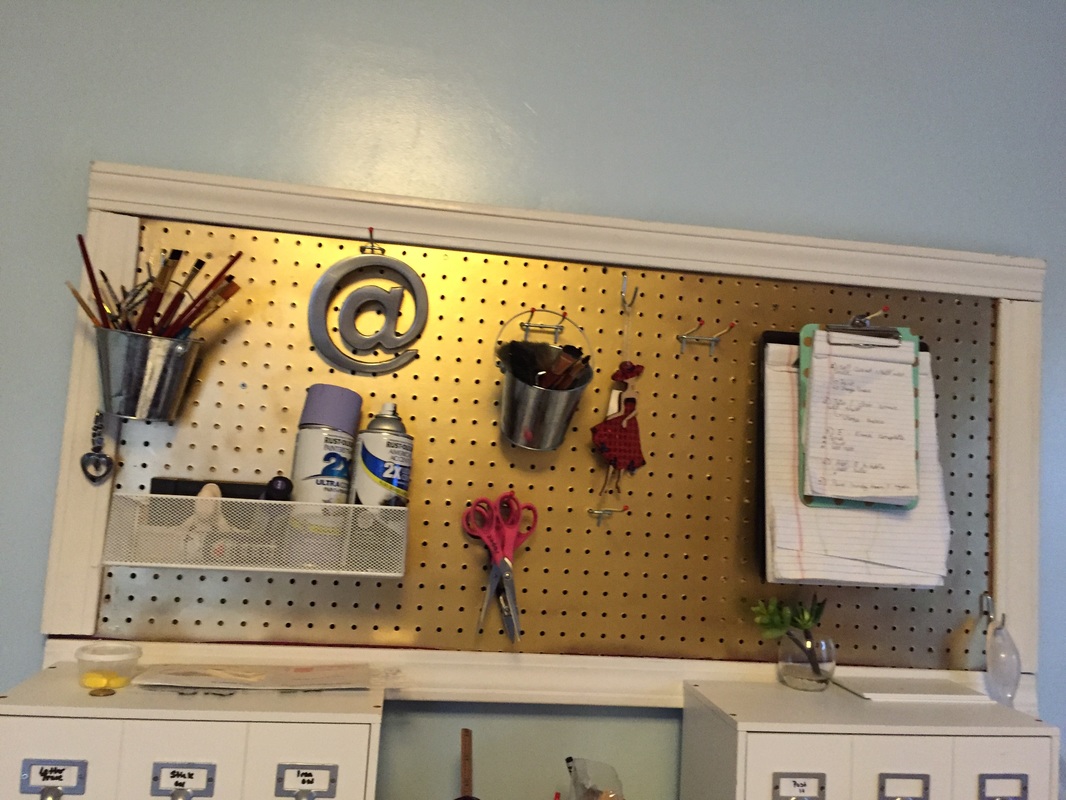 This is my peg board. It helps keep me organized. I brought the peg board from home depot. Here is the link http://goo.gl/6WgEUs. I think I may have paid about $10 for it. You can get organizers and hooks for your board at Tuesday Morning( $6 a pack). I use the peg board to hold my scissors, paint brushes, to do list, spray paint, and to hang cute accessories. The peg board came in a white color but I spray painted it gold and added white trim that was on sale at home depot. 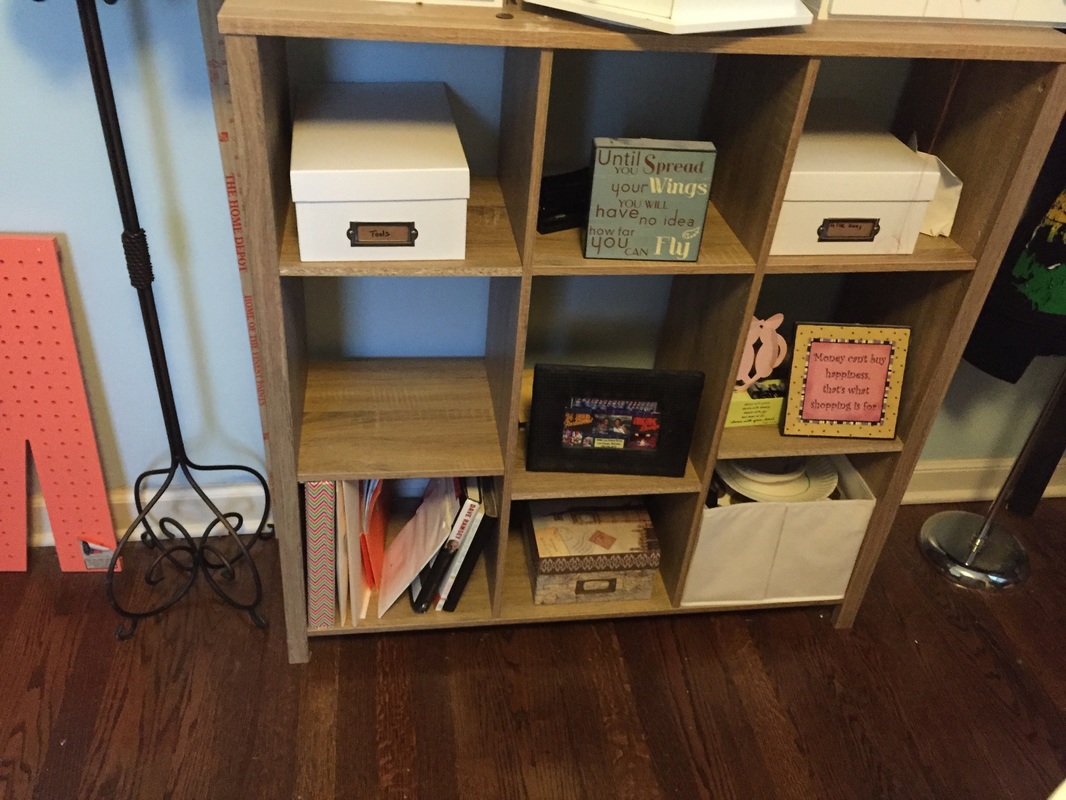 This is my bookshelf, it was purchased from Target last year around Christmas. I caught it on sale for $28. I will be building myself another one soon because this is sorta flimsy. I brought the storage boxes from Michael's when they have the boxes for $1-2 dollars. I use the boxes to store my craft tools and hot glue guns. I would like to create a binder of projects and add that to the shelf as well. I am hoping I will have sometime soon to get to this. 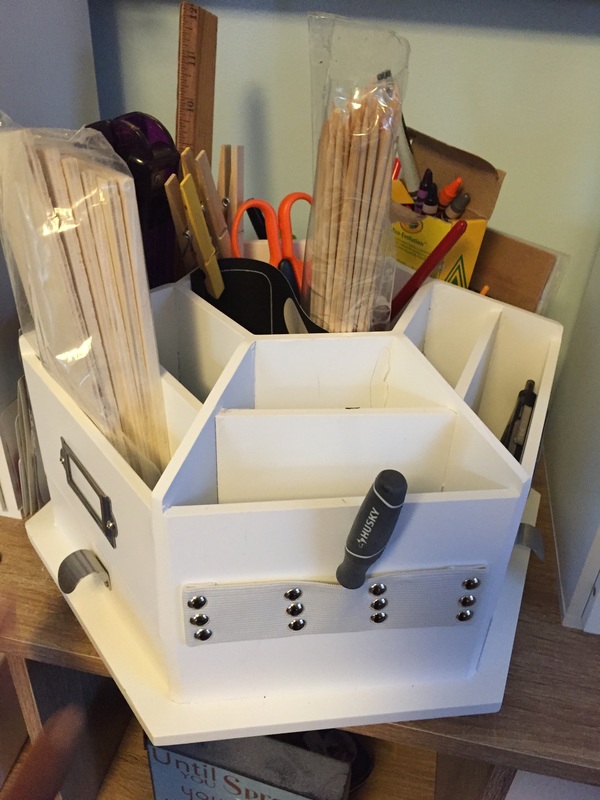 Here is the my handy Recollections Storage Desktop Carousel. It is amazing I brought it on sale for $20. I use this when I am working on projects. It is so nice to have everything you need at your finger tips. As you can see I have crayons and sticks in my Carousel. I made photo props with the stick. I would be happy to do a tutorial if any of you are interested. Let me know if you would like to see any additional things from my craft room in the comments below.
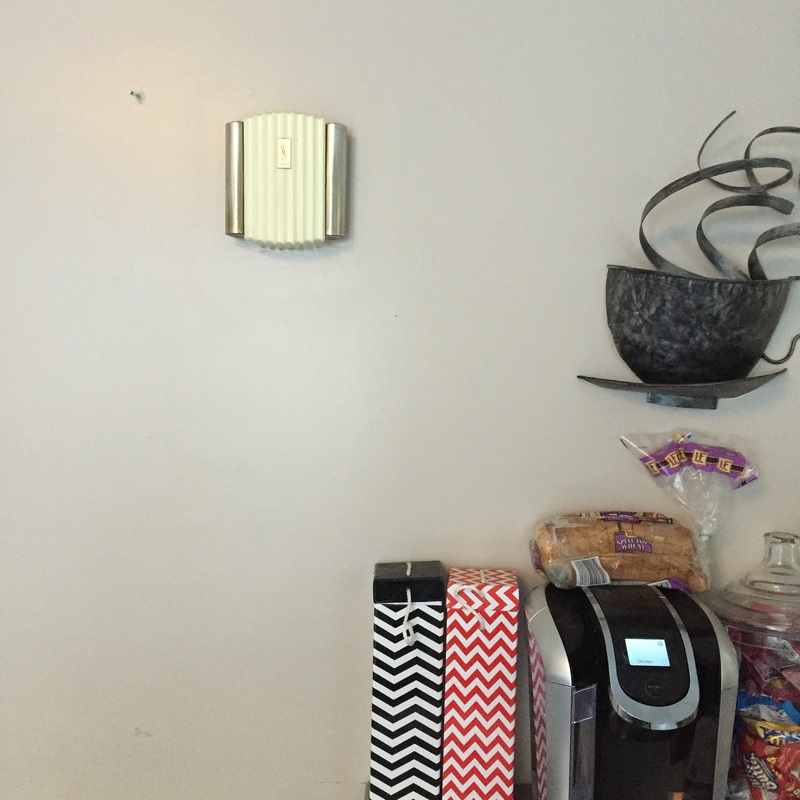
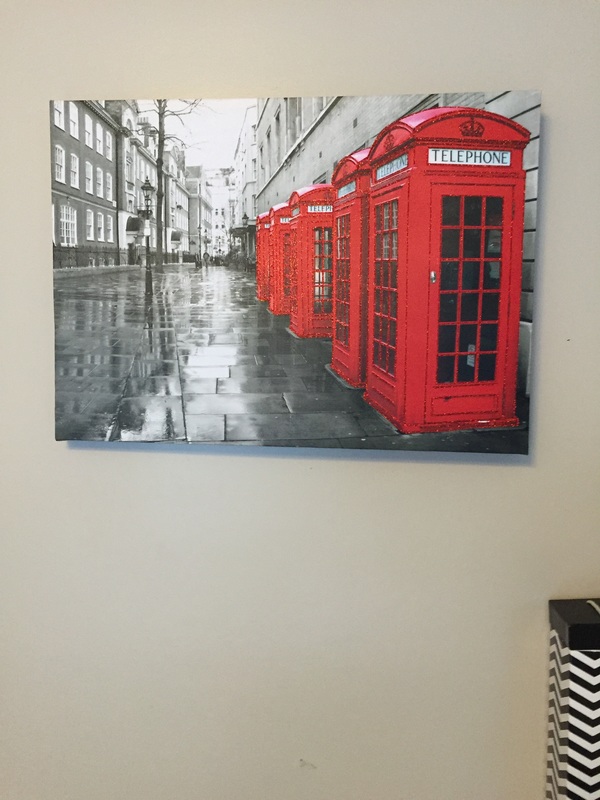
Hi guys!! Sorry for the delay in postings lately. We've had so many different things going on in our life including the death of a family member. I am back on a more structured schedule and plan to update the blog more often! In today's blog I will share with you a super simple way to cover up an eye sore in your house. My doorbell in my kitchen is so ugly to me and I hated looking at it. It is still functional so I did not want to get rid of it (I'm frugal)! The other day my mom gave me a late birthday gift which is a painting of London. I love London and went there about three years ago and had the time of my life. 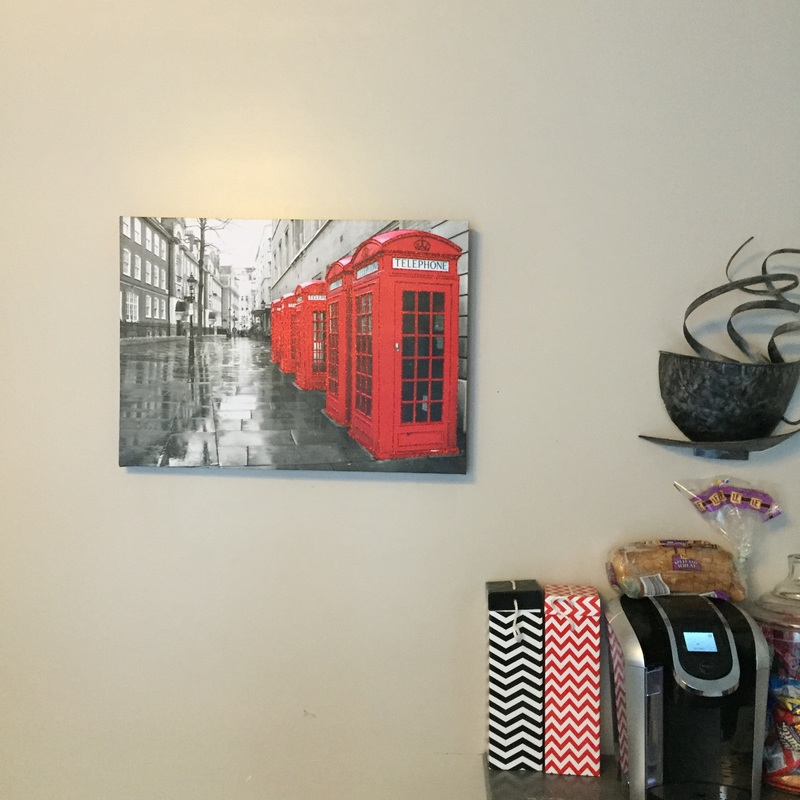 Here is the final product. I am very happy with how simple this was. My doorbell still functions just fine. It is now hidden behind some beautiful art. I hope this inspires you to cover up an eye sore you have at home! Let me know in the comments below if you have covered up something in your house. If so, please share! See ya next time! |

Welcome!
Hi I'm Shani! I'm a newlywed that loves Jesus!! I am passionate about living a frugal life style, but still having a beautiful home on a budget, I will show you how to tackle different projects for those starting out with Diy. Archives
January 2020
Categories |
 RSS Feed