DREAM.INSPIRE.CREATE., LLC
  • About
  • Blog
  • DIY Videos
  • Wedding Ideas
  • Consultations
  • Contact

​

Bathroom Floor Makeover

12/22/2017

3 Comments

 
Picture
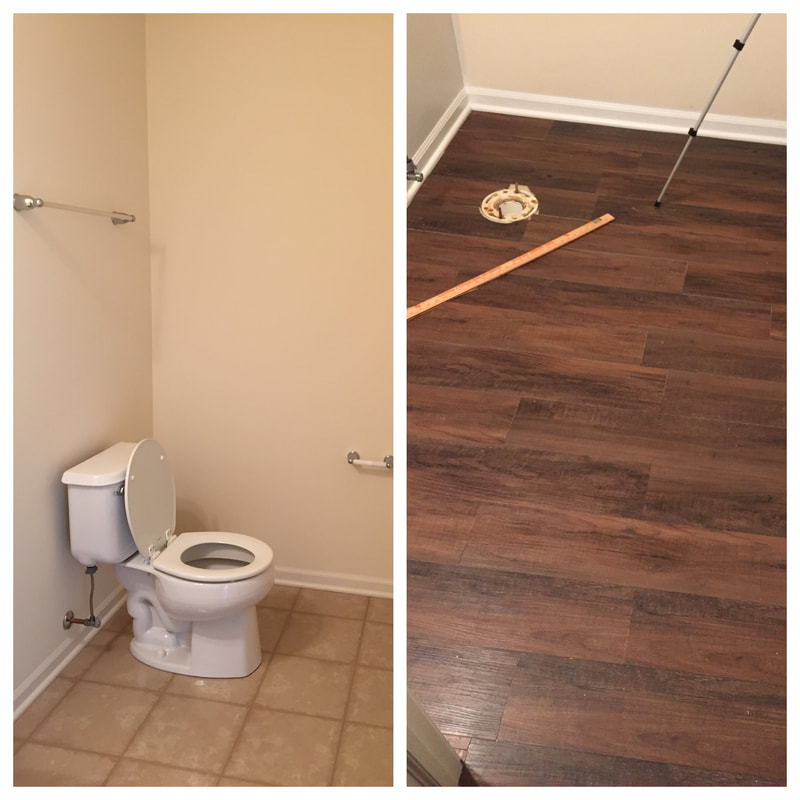
Hey guys!! Today I will be showing you how Zo and I gave our bathroom a much needed makeover! Here is a sneak peak of the before and after!
Picture
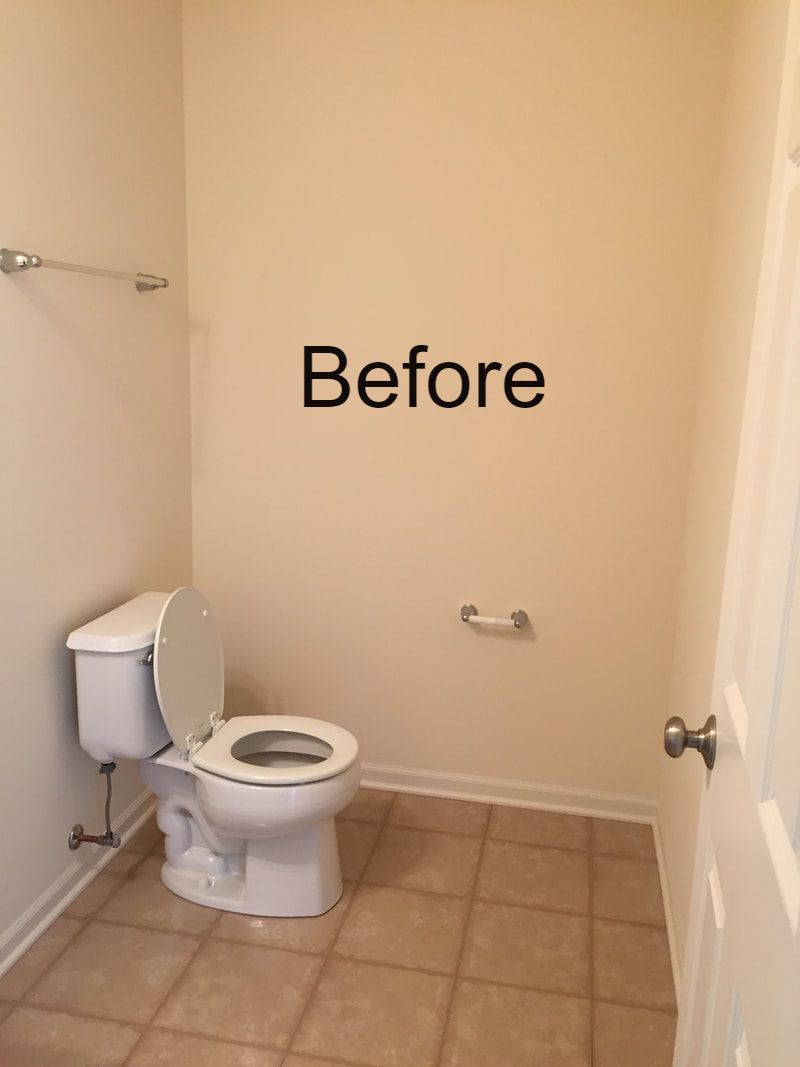
This bathroom before is so BORING! Next week I will be revealing the full bathroom.

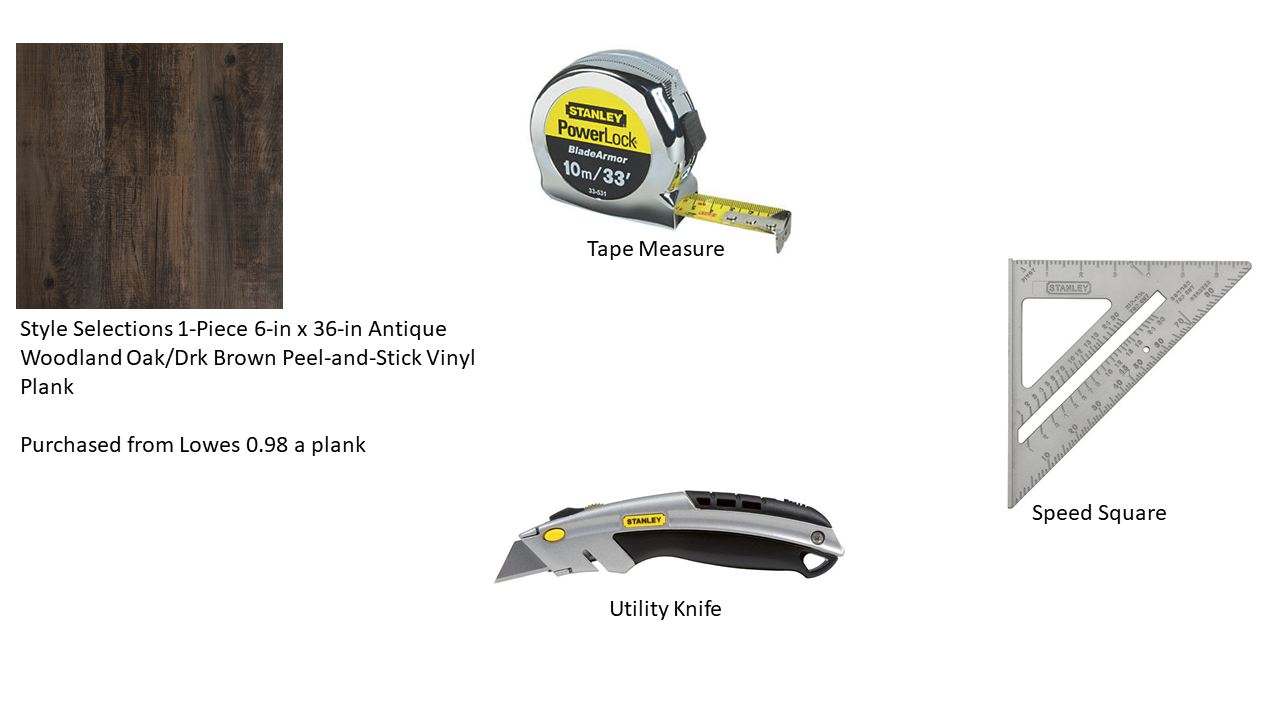
Here's What You Need:

Picture
Supply List:
  1. Woodland Oak Peel and Stick - https://www.lowes.com/pd/Style-Selections-1-Piece-6-in-x-36-in-Antique-Woodland-Oak-Drk-Brown-Peel-and-Stick-Vinyl-Plank/999957675
    1. We used almost 2 boxes of the peel and stick
  2. Tape Measure
  3. Speed Square
  4. Utility Knife 
Picture
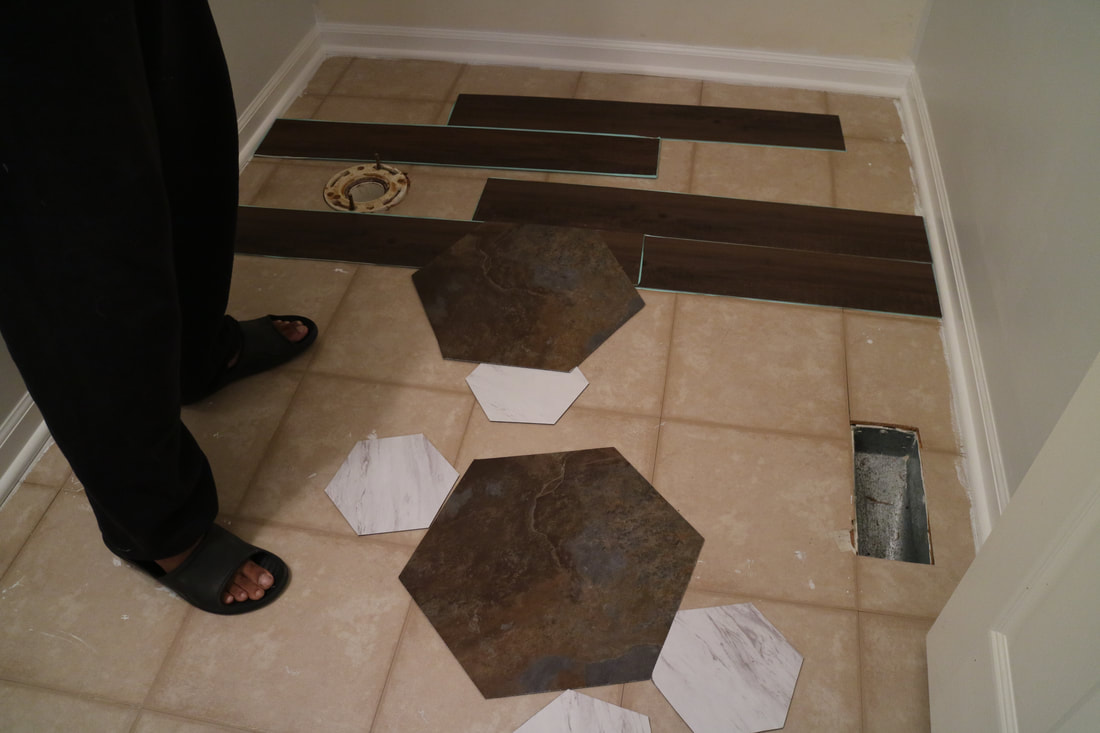
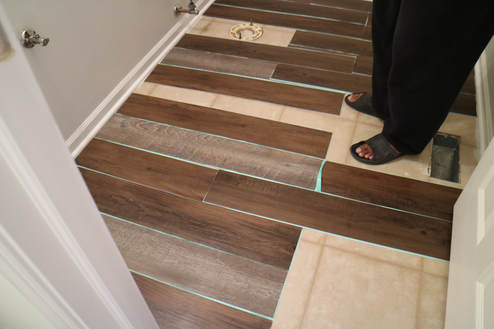
We played a round with a few patterns. We thought the hexagon pattern with the wood planks would be awesome! It did not work out for us. The color on the hexagon pattern did not go with the planks. We cut out about 5 hexagons.. so it wasn't a huge waste of time.
Picture
We played around with mixing two colors. We also purchased a white wash gray. We did not like this combination together.
Here is what you need to do:

Step 1: Measure your floor! Remove your toilet( You will thank me later) and remove your sink if need be!
Step 2: Determine the pattern that you want to lay your tile.
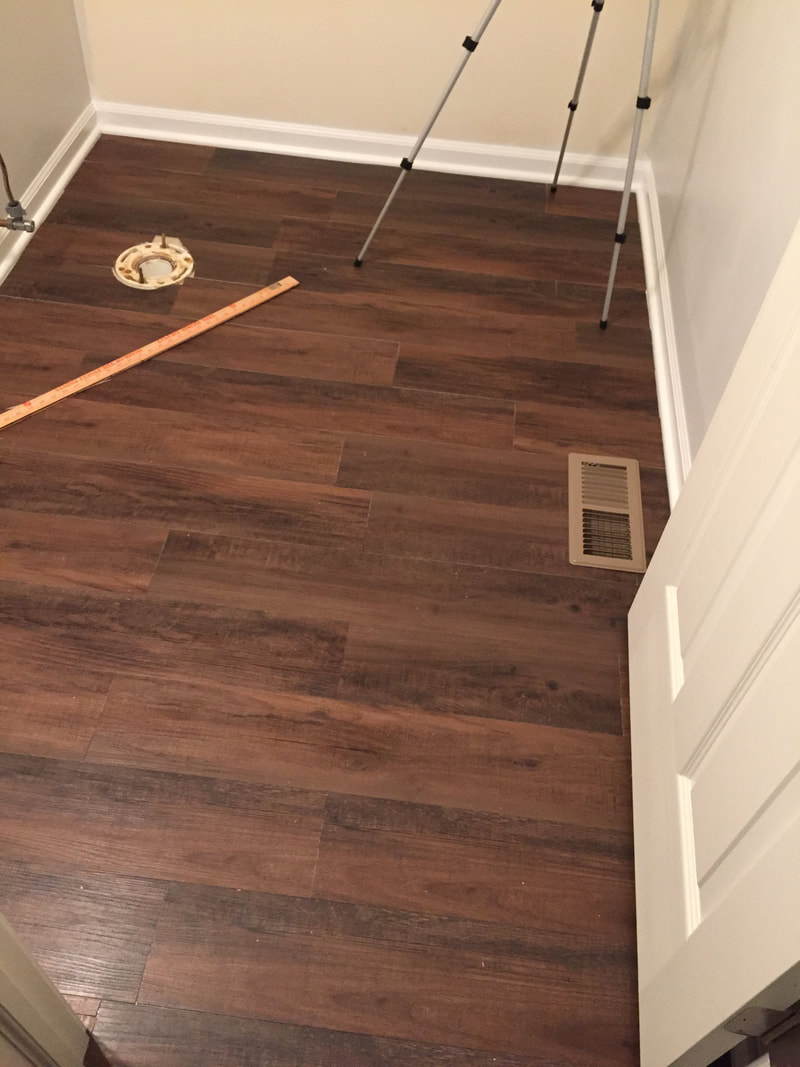
Step 3: Measure each plank before you apply it to the floor. We staggered each plank to give it a more organic look.
Step 4: After you measure you plank, tear off the paper and apply your planks carefully. I put a little pressure on each plank after I applied them. 
Step 5: Repeat the process. When you cut your planks make sure you are doing it evenly. Use the speed square for this process. 

Picture
Picture
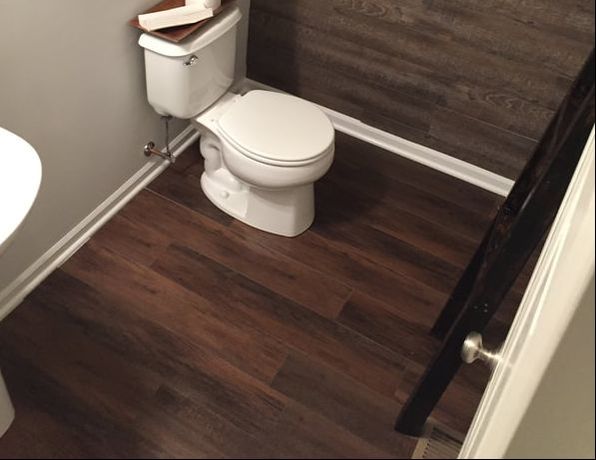
This is the after!!! I am very happy with this! This was done all under $120. It was so easy and took about 2 hours. We took our time when it came to cutting the planks. 
3 Comments
https://bestwritingservicesreviews.com/ link
2/8/2019 03:52:54 pm

I love wood designs, actually! The make over you didi for your bathroom was amazing because it became more livelier. The flooring doesn't look boring anymore as you put that tiles with such an impressive design. Actually, I am also on the process of redesigning my house, I am in search of different ideas on how to make every part of my house even more livelier. I am currently in talk with my architect. Hopefully, we can come up with the design anytime soon because I am very excited for that.

Reply
Troy link
12/4/2020 02:22:41 am

Great reading your blog ppost

Reply
Monterey Park Solar Panels link
9/30/2022 10:24:53 am

Interesting tthoughts

Reply


Leave a Reply.

    Picture
    ​Welcome!
    Hi I'm Shani! I'm a newlywed that loves Jesus!! I am passionate about living a frugal life style, but still having a beautiful home on a budget, I will show you how to tackle different projects for those starting out with Diy.

      Get Product Updates 

      ( I won't spam you I promise!)

    Subscribe to Newsletter

    Archives

    January 2020
    December 2018
    September 2018
    August 2018
    July 2018
    January 2018
    December 2017
    November 2017
    October 2017
    April 2017
    March 2017
    February 2017
    January 2017
    December 2016
    November 2016
    October 2016
    September 2016
    August 2016
    July 2016
    June 2016
    May 2016

    Categories

    All
    DIY Projects
    Tools

    RSS Feed

Proudly powered by Weebly
  • About
  • Blog
  • DIY Videos
  • Wedding Ideas
  • Consultations
  • Contact