|
Hey yall! It's been a while. My last post on this blog was Dec 2018 (insert shocked face). So much has happened since then. We sold our house in the suburbs and brought a house in the city! Our new home has so much character and I am very excited to decorate it! Check out our latest Youtube Videos to see what we have been up to. We plan to do a series called "House to Home" and it will document all the changes we do in our new home. We hope that it will inspire you to get some home projects done of your own. Our goal this year is to post once a week. We have tons of material so I think this is an attainable goal. Let me know if you would try this in your home? Also, what kind of projects would you like to see?
Xo, Shani
0 Comments
Hi Guys, Today I am bringing you some very inexpensive Christmas Gift ideas for a large group of people. Every year I give my staff and colleagues Christmas gifts. Its my way of showing them love during the holiday season. Now this can be very expensive especially if you have loads of colleagues. I get very creative when I want to save money and this is what I came up with! Here is What You Need
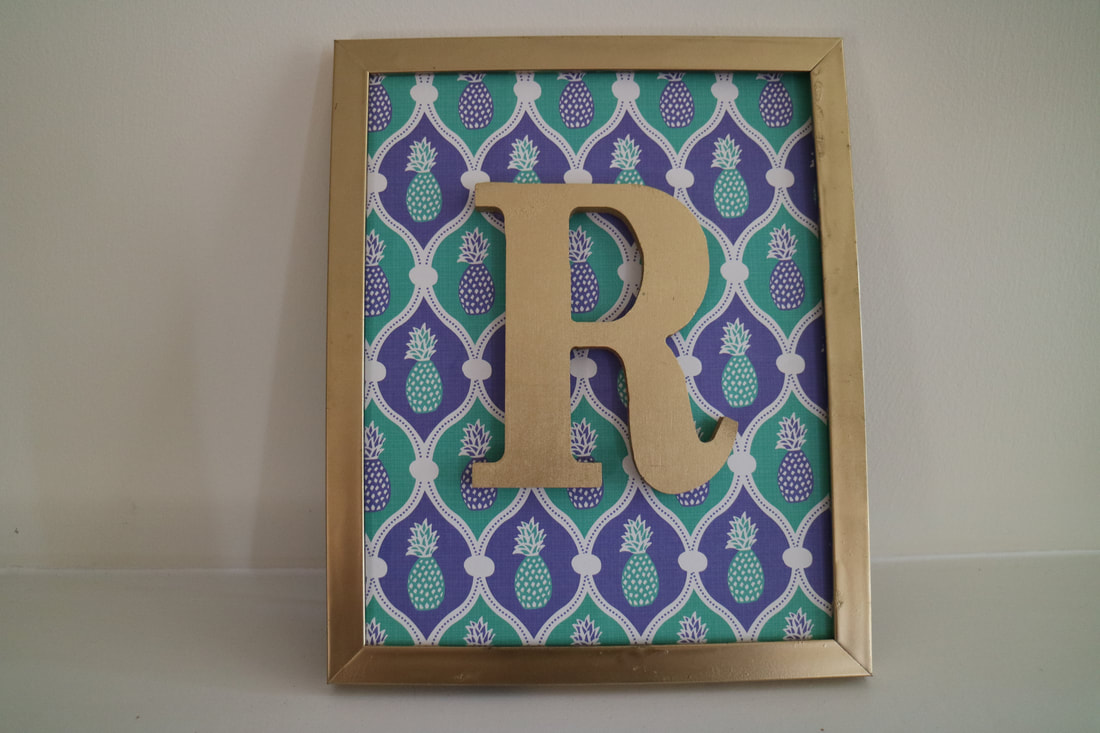 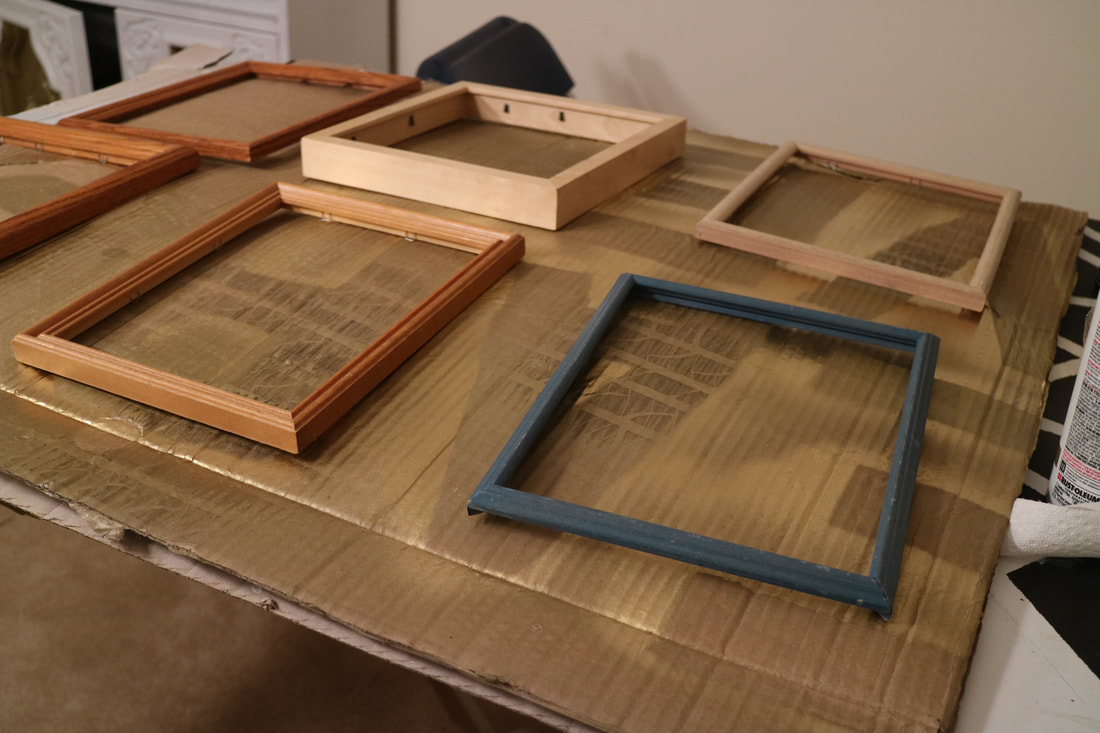 I always lay my pieces on cardboard before I spray paint. I do not like a lot of mess. Heres what You Need to Do:
Check out my youtube video for visual instructions youtu.be/vgU0eeR-O68 Leave a comment below and let me know if you will try this! Xoxo, Shani Here are the latest finds that I scored at thrift stores (Habitat for Humanity and Goodwill). I will keep you guys updated on the after once I makeover or spruce up each piece.
Hey guys!! I am so happy to announce that our Etsy store is now open. I would love for you to check it out. All of the products in our store are available for custom orders. www.etsy.com/shop/DreamInspireCreate1 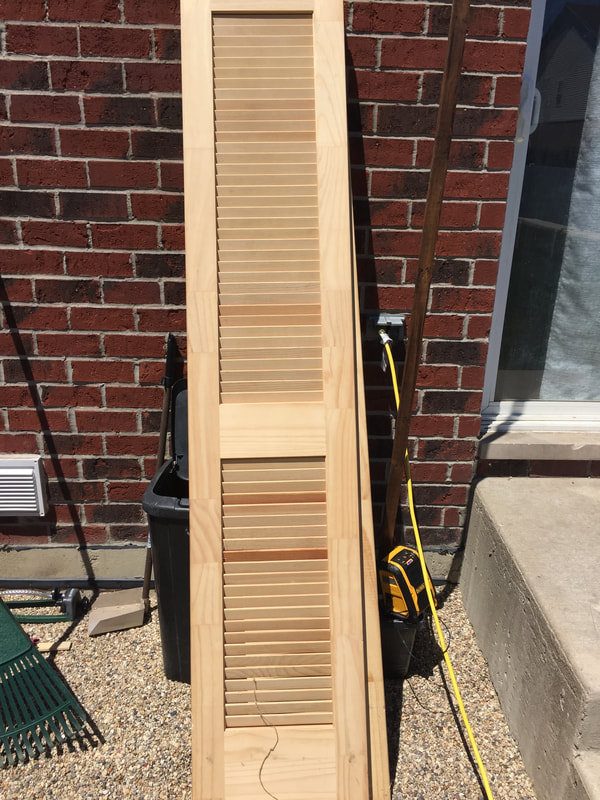 Hey guys! I've had these shutter for about 6 years. I brought them from Hobo's (a discount store). I brought them with the idea making something out of the box. Since we just finished our outdoor patio. I figured this would be the perfect place to use them. Here's what you need *Shutters *Paint or spray paint *Circular saw *Drill *Outdoor Screws *Tape Measure Step 1: Determine your measurements Step 2: Cut the legs Step 3: Attach legs with L Brackets (pre-drill all holes to prevent splitting the wood) Step 4: Attach 2-2x4 under the top of your shutters. This helps reinforce it. You will have people that will lean all of their weight against it. (Nobody wants it to crumble and fall, right?) Step 5: Spray paint of paint. I had to do two coats. Step 6: Use poly to seal your project 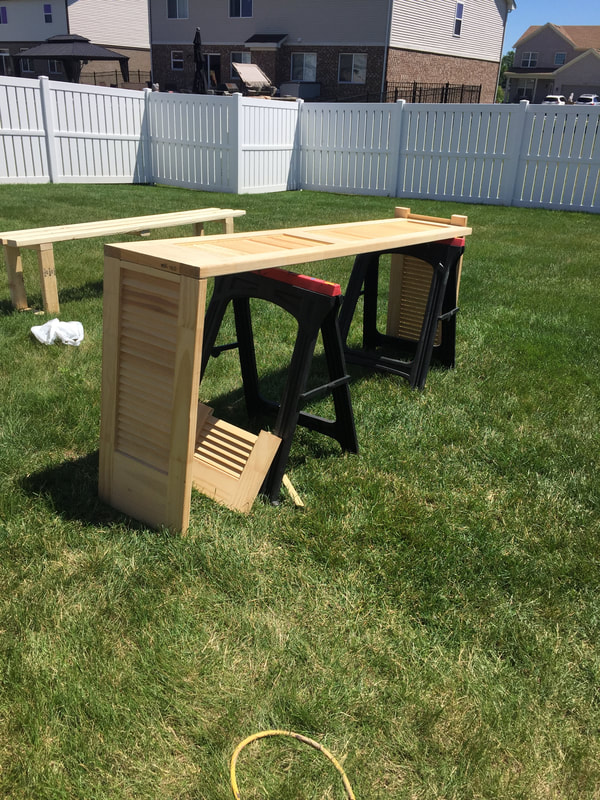 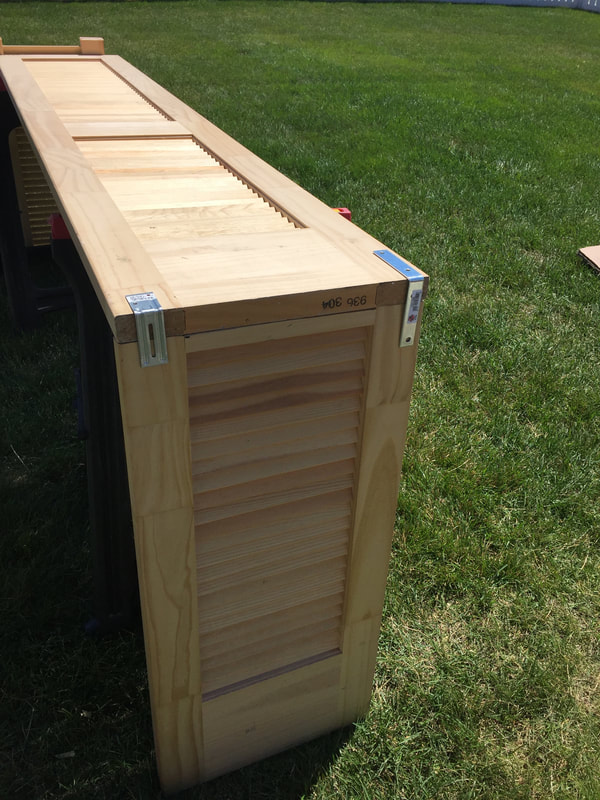 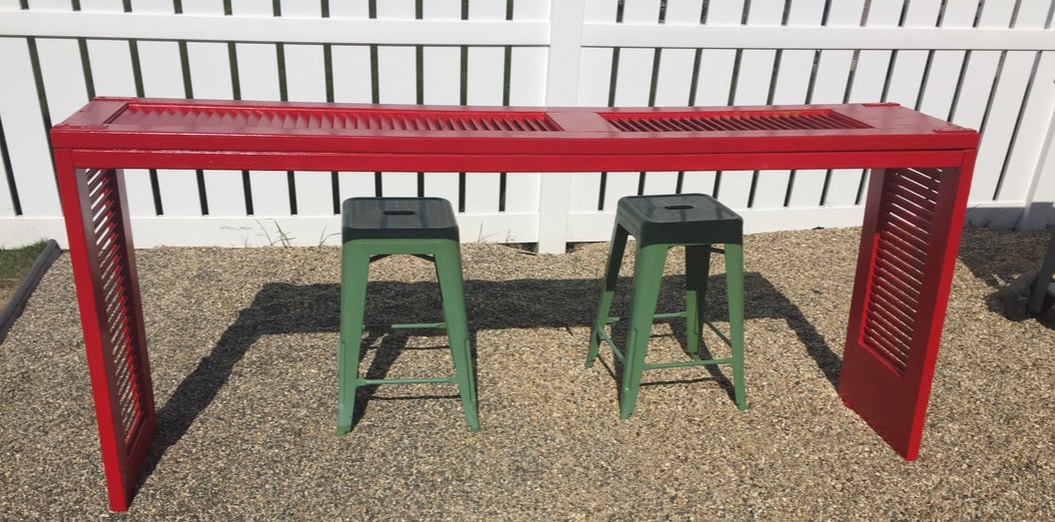 The finished results!! I love it!!
Thanks for stopping by! Xoxo, Shani  Hey guys!!! Today's blog is all about my outdoor patio. I am very happy with the way it turned out and it was not very hard to do. I chose to do a pea gravel patio vs. a traditional concrete patio and I love it. Our space is 45ft wide and 24ft long (1080 sq ft.) We achieved all of this for less than $400. We used 6 cubic feet of peal gravel that covers about 2 inches deep. **Tip get your pea gravel from a landscaping store or local nursery. Here's what you need to get started: *Pea Gravel *Rake *Landscaping Fabric *Yard Cart (it makes transporting the pea gravel a breeze) 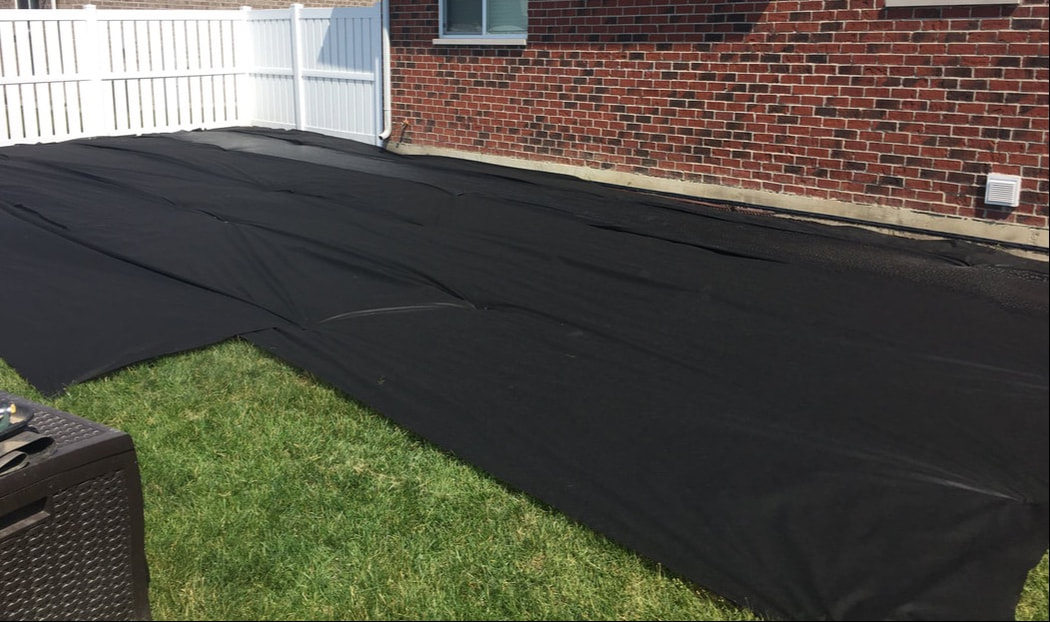 The first thing we did was kill our grass. We used spray from our local hardware store. 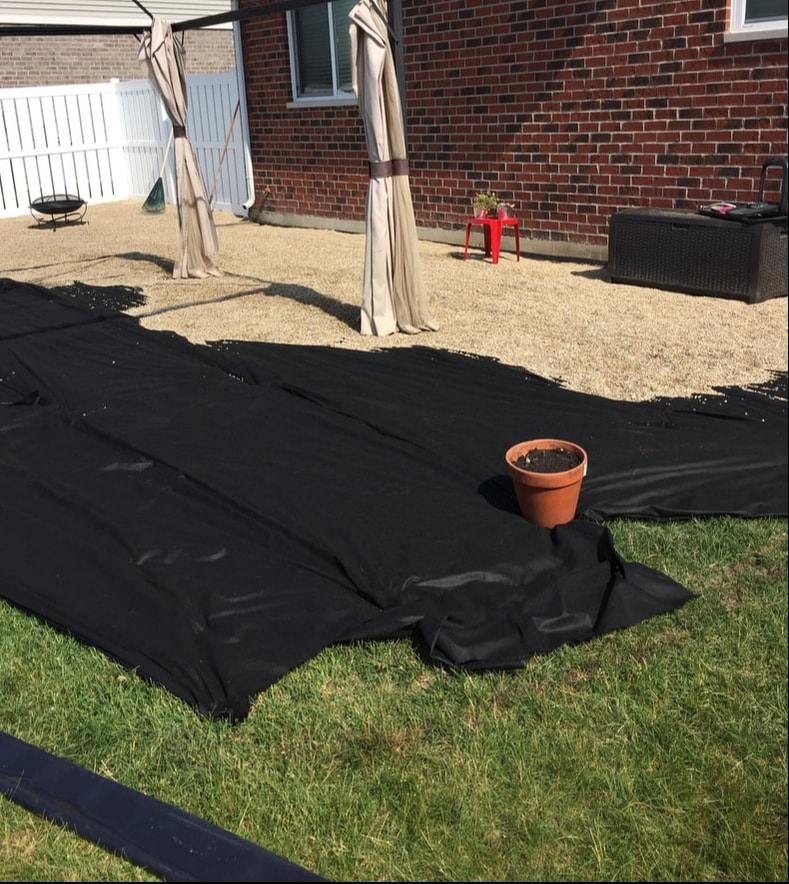 We had to stop mid project and order more pea gravel. We were originally going to do a smaller space but we figured go big or GO Home. We really wanted our outdoor space to be a second extension of our home and we wanted to use a lot of outdoor furniture. 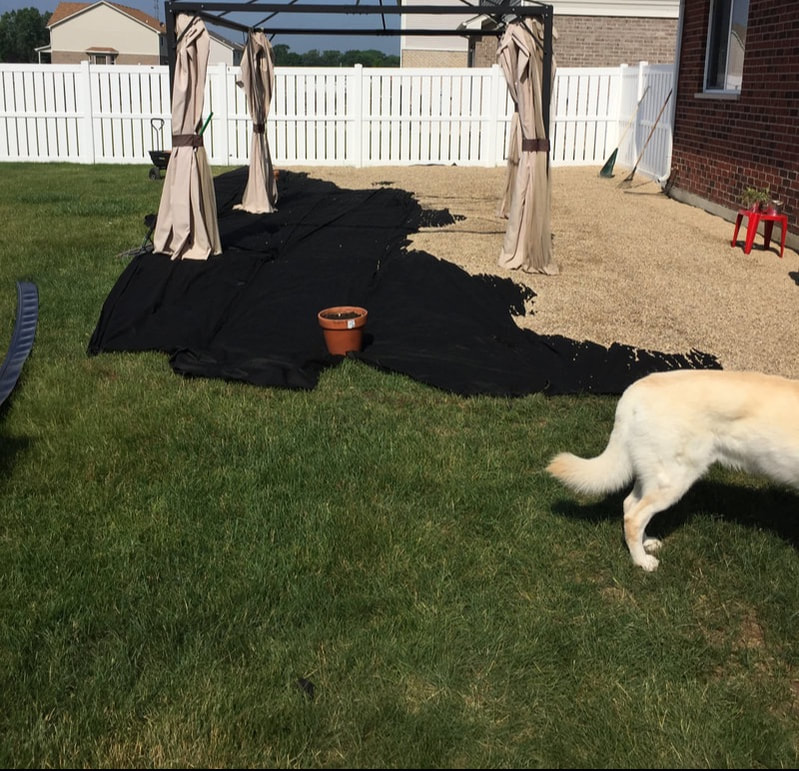 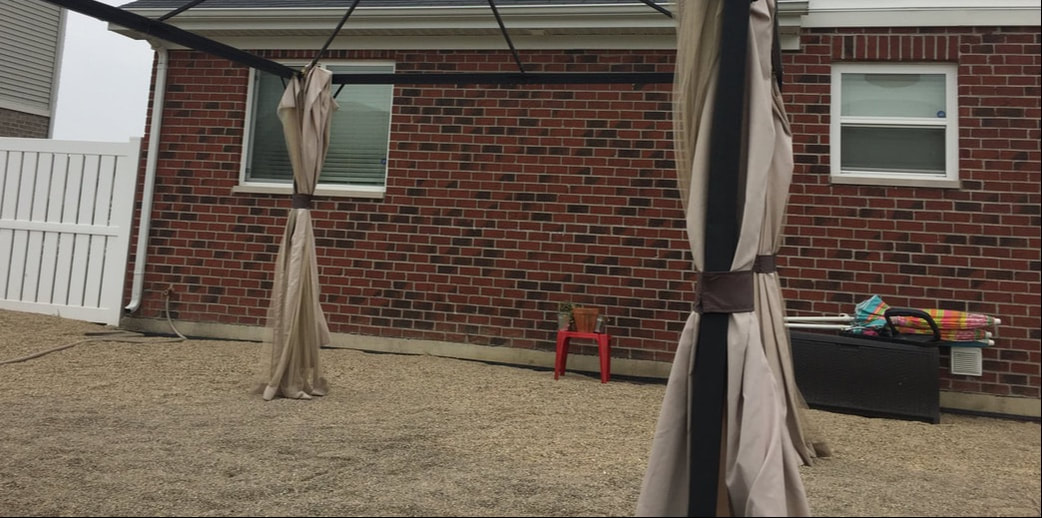 This is all the pea gravel down. It really gives us that beauty vibe and we love that. 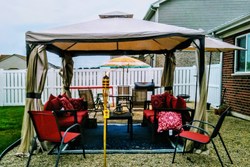 This is the after!!! Very happy with it.  We painted our sectional black and also changed out the cushions. This sectional has survived two Chicago winters without being covered. This year we plan to use furniture covers because our stain started to peel last year. I also chose to use an outdoor rug. I think it warms this space up. 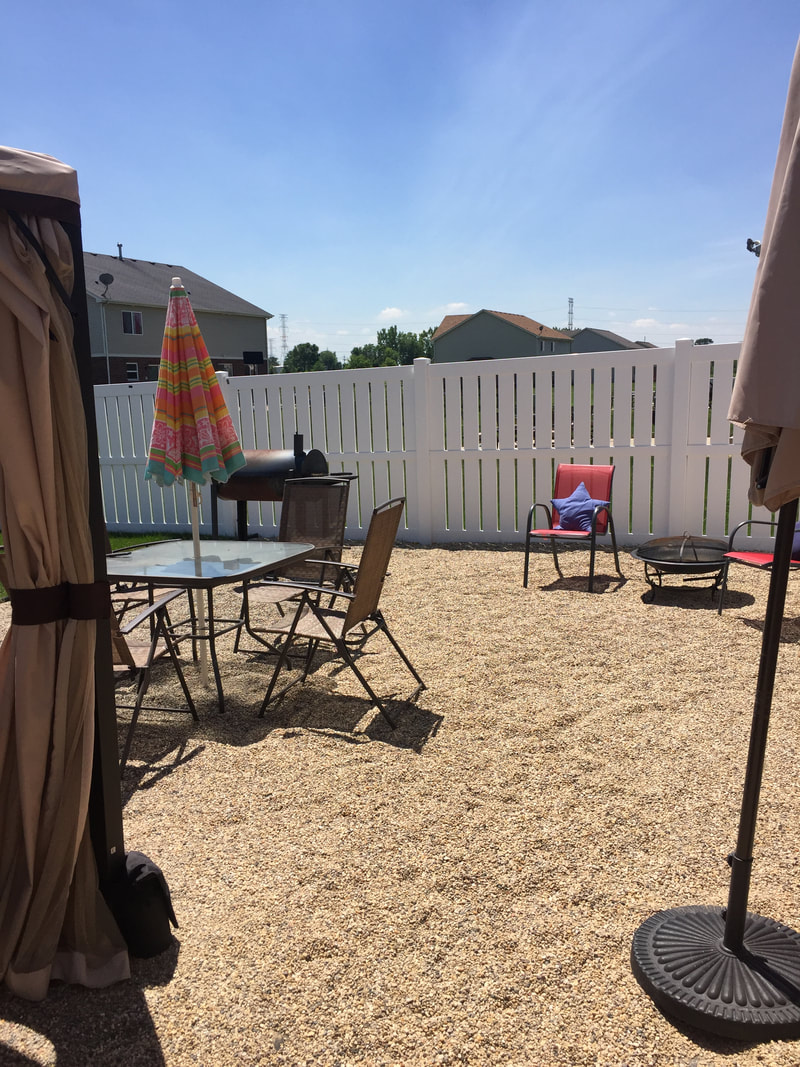 I plan to get rid of this table and build an 8 foot table out here. 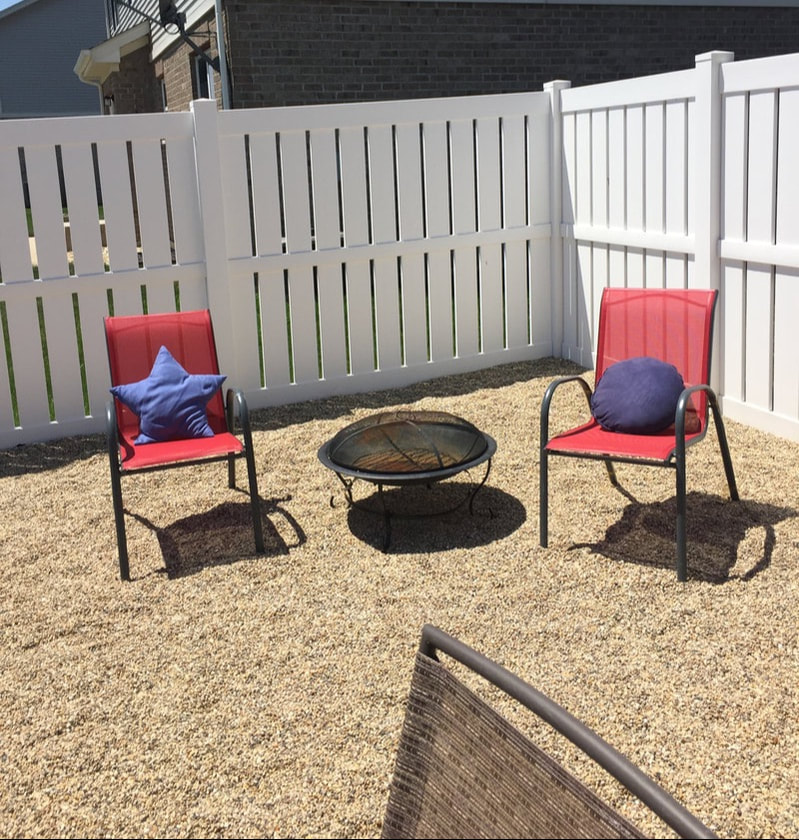 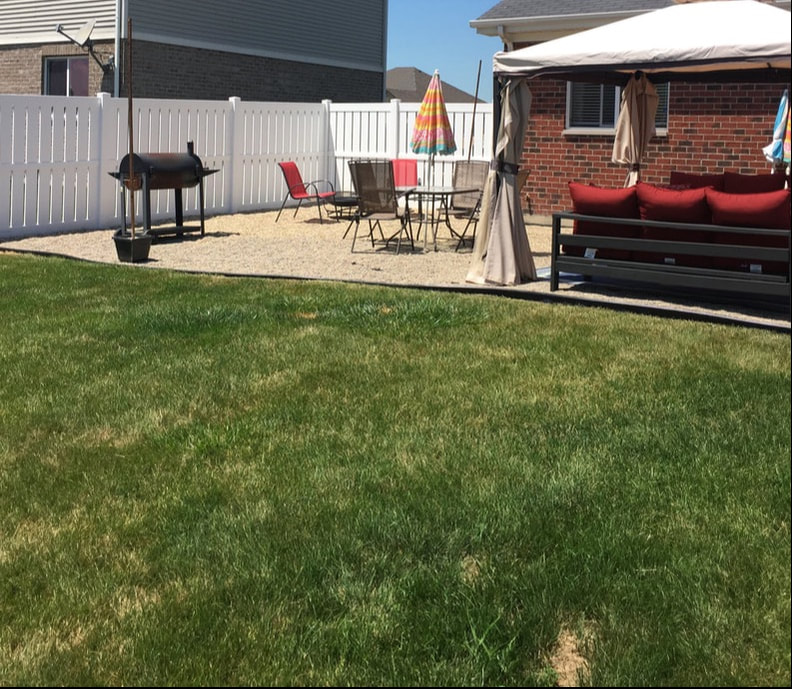 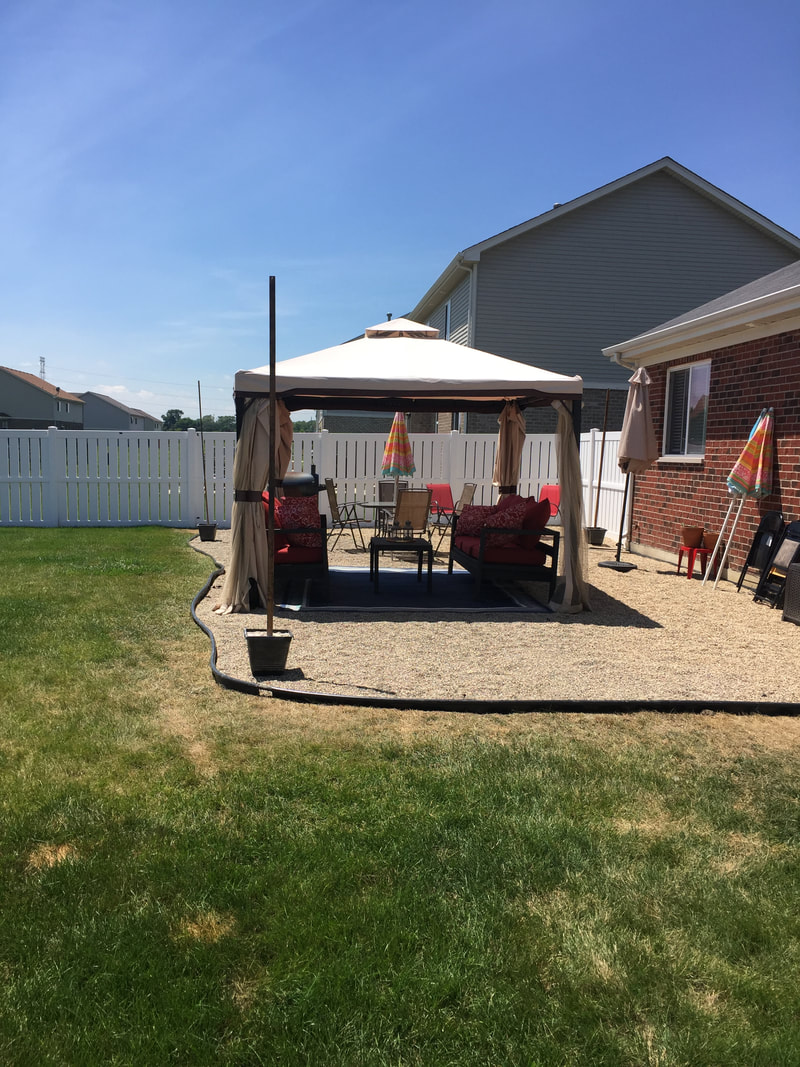 Thanks so much for checking this project out. I have one more outdoor blog coming soon!
Let me know if this is something that you would do to your yard?? XOXO, Shani 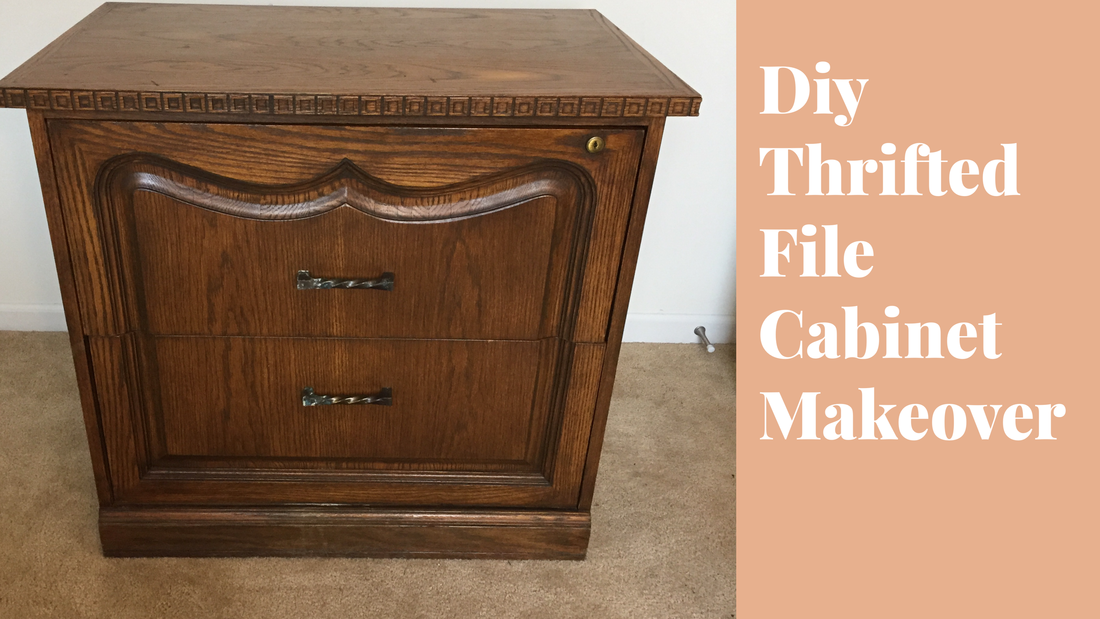  Hi guys!!! Welcome back! I thrifted this file cabinet for $55 from Habitat for Humanity Restore. I was looking for a nice for cabinet for months. I did not want to purchase the standard steel file cabinet because they are so ugly. I was so happy when I saw this at Restore! 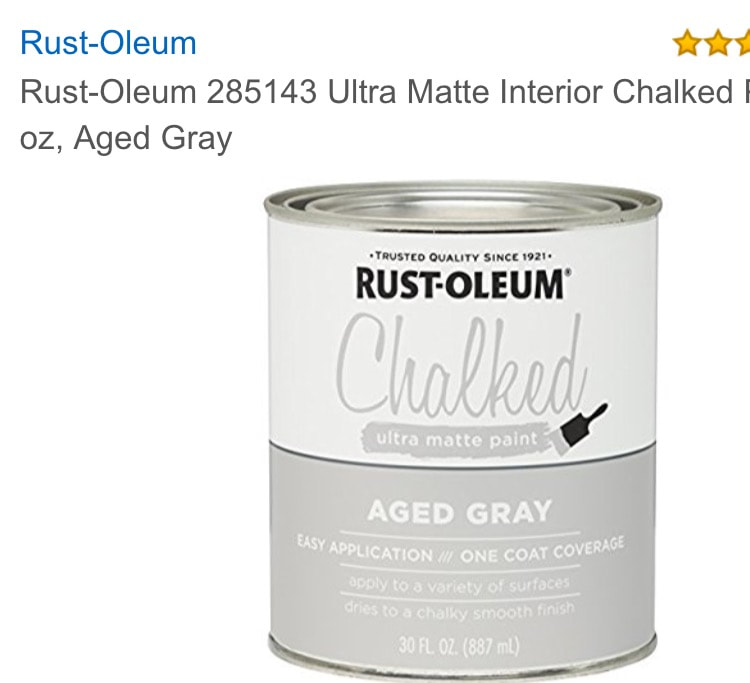 I used this Rust-oleum Chalk paint that I purchased from my local home depot. It is also available on amazon for about the same price. I brought this because I hate sanding and priming and this product eliminates that for me! Here is the link to it on amazon: www.amazon.com/Rust-Oleum-285143-Ultra-Interior-Chalked/dp/B010FEBFOA/ref=asc_df_B010FEBFOA/?tag=hyprod-20&linkCode=df0&hvadid=198091577722&hvpos=1o1&hvnetw=g&hvrand=6556508440845303078&hvpone=&hvptwo=&hvqmt=&hvdev=c&hvdvcmdl=&hvlocint=&hvlocphy=9021581&hvtargid=pla-319683248803&psc=1 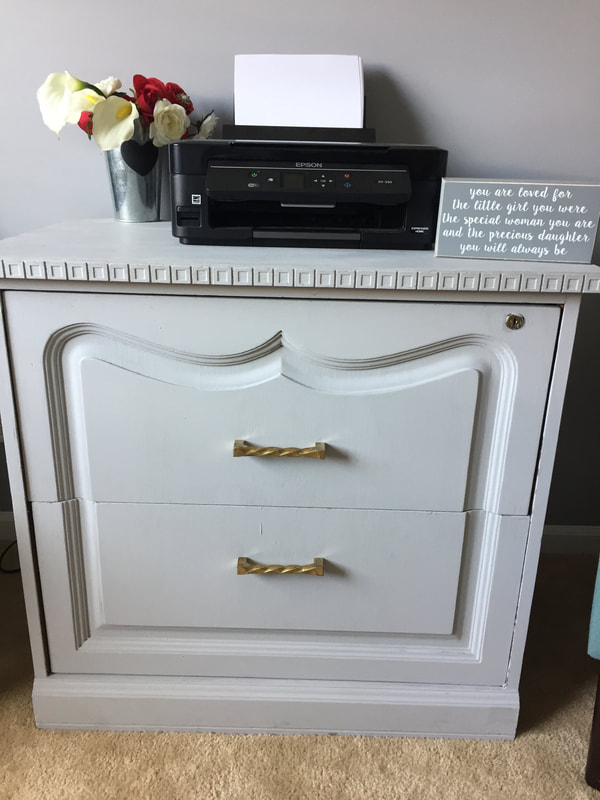 I painted two even coats and I love it. I also spray painted the handles gold. I didn't see a need to replace the handles. It looks great in my office and I am very happy with is. 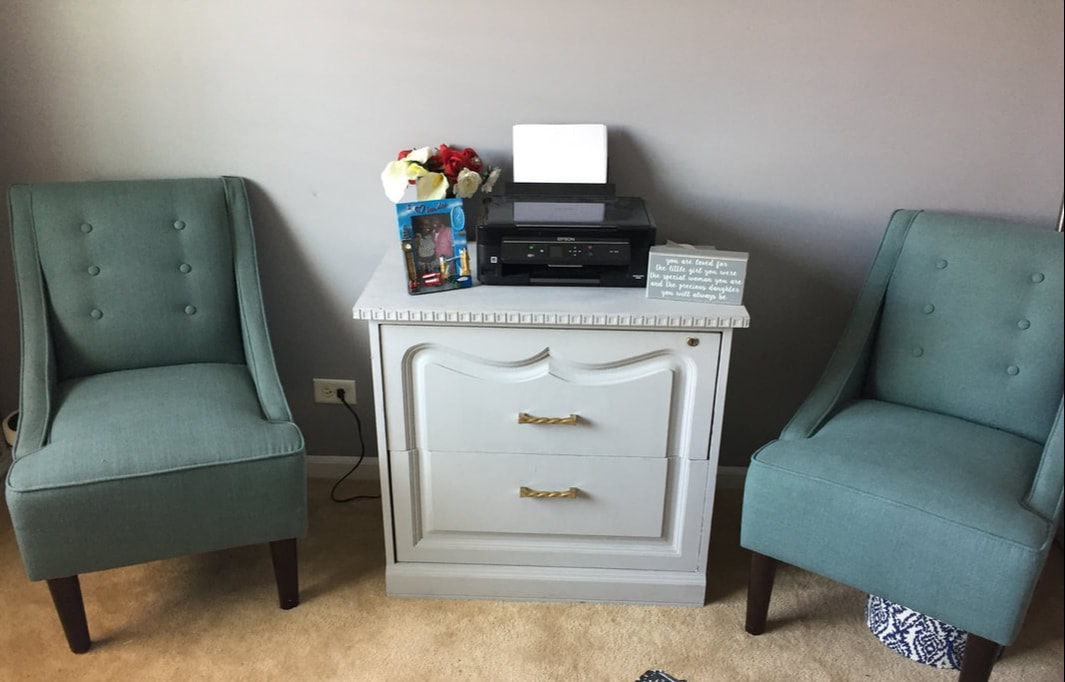 I also purchased these chairs from Habitat for Humanity and they were $110 for the pair. I think I got a great deal. It looks really nice in my new home office. Comment below if you want to see a home office tour.
See ya next time! XOXO, Shani 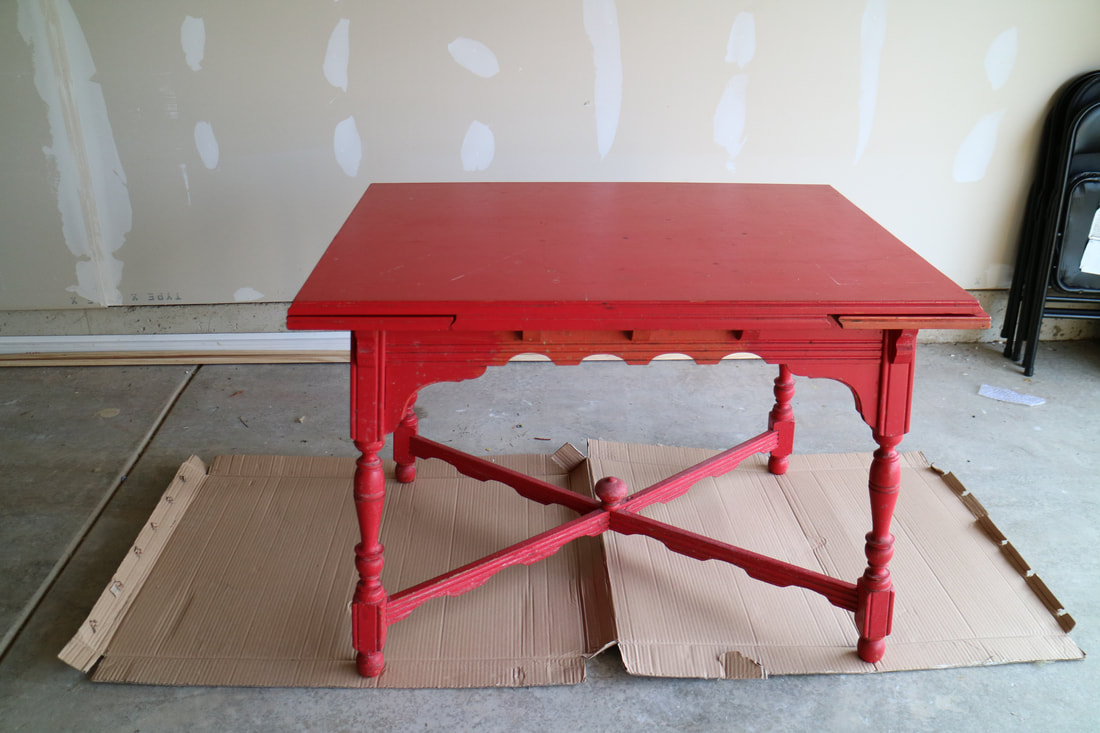 Hey guys! Welcome back to the blog. I brought this table from Habitat for Humanity. I purchased this for $35 and turned it in to a desk. Both sides of the table have an extension leaf. This is ideal for my office space. 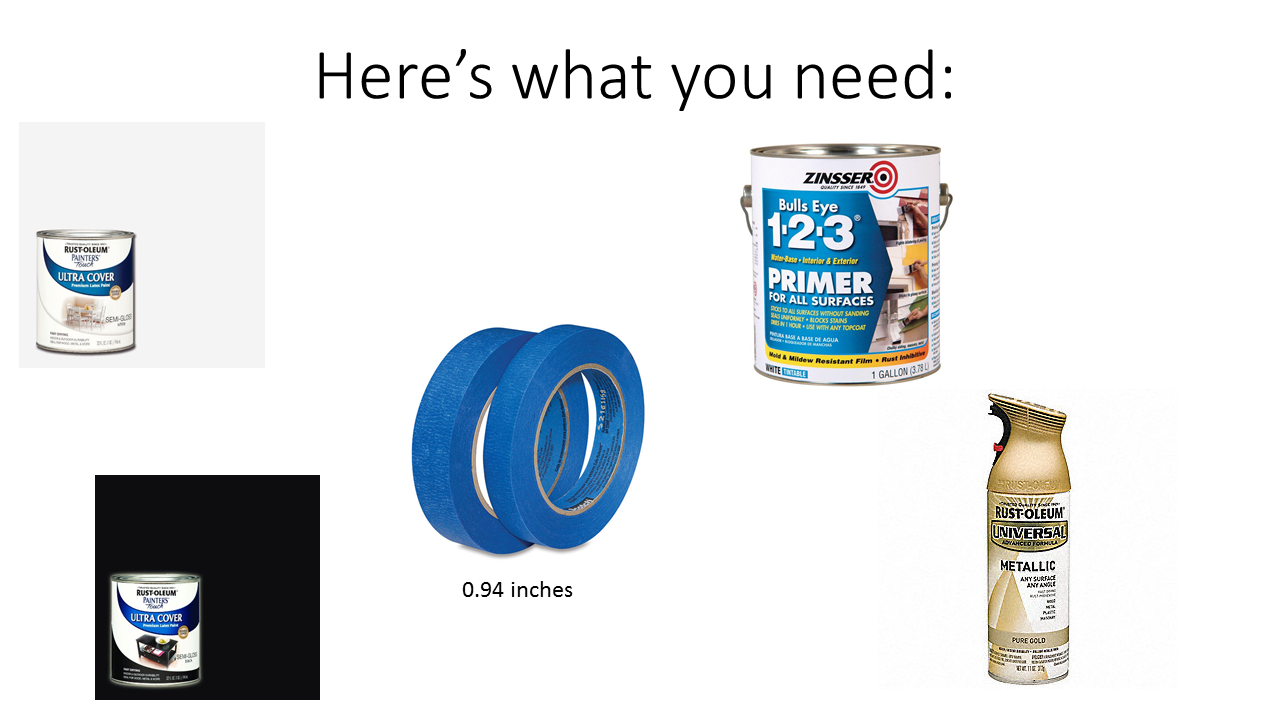 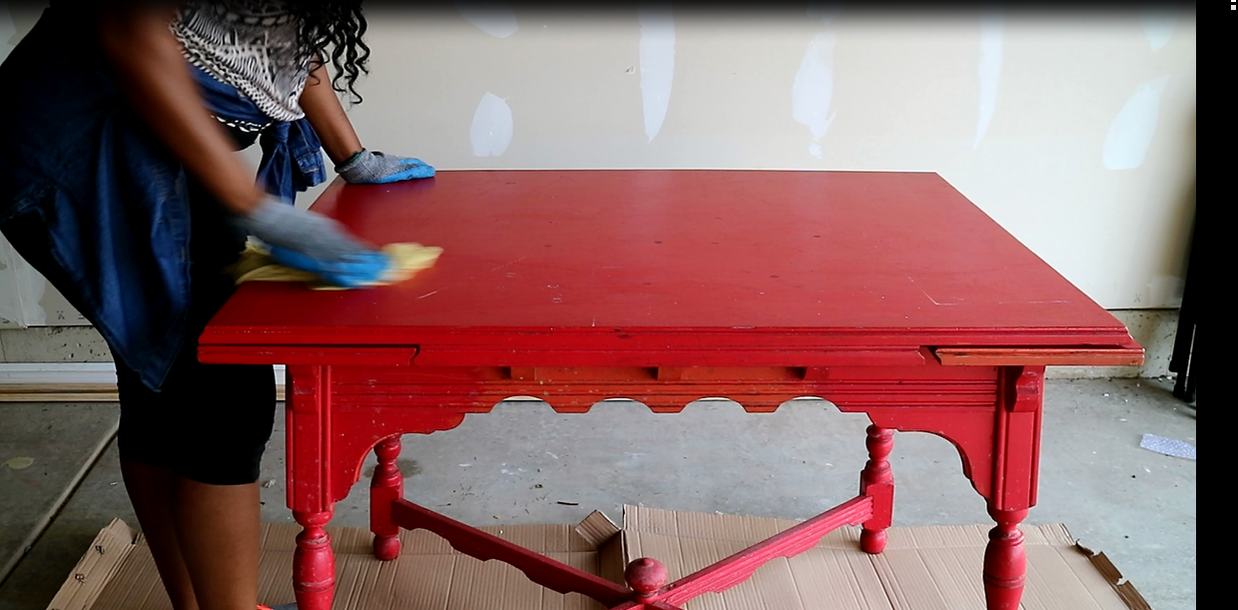 Step 1: This table was filthy so I cleaned it first. 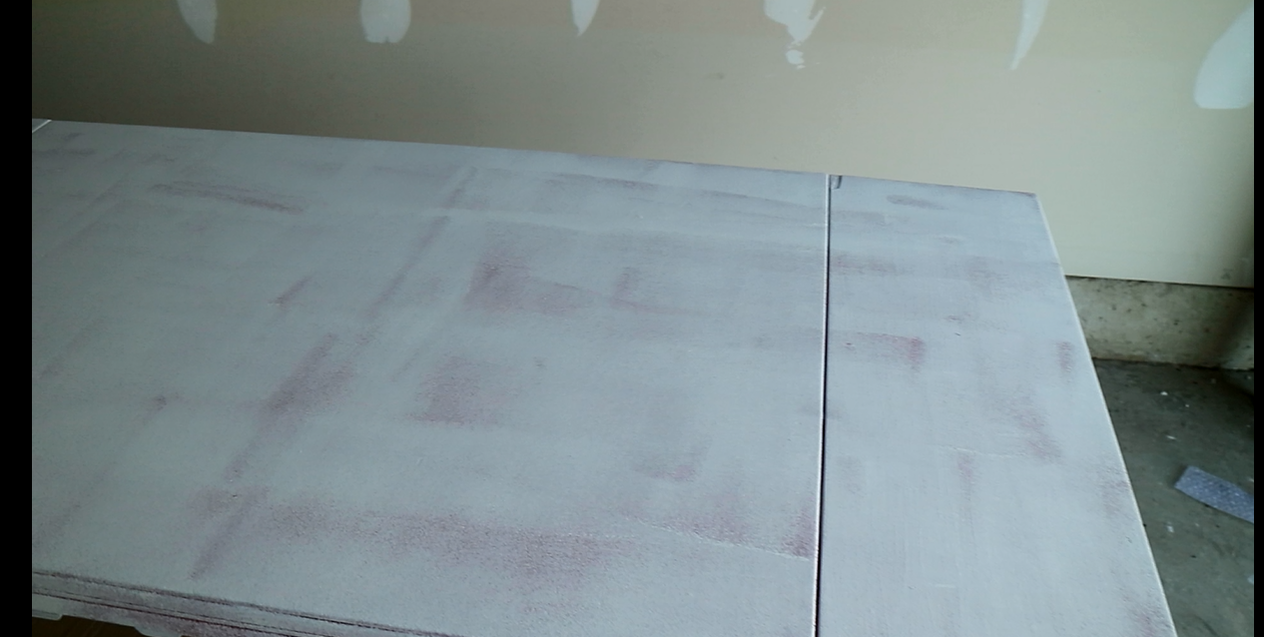 Step 2: Priming! 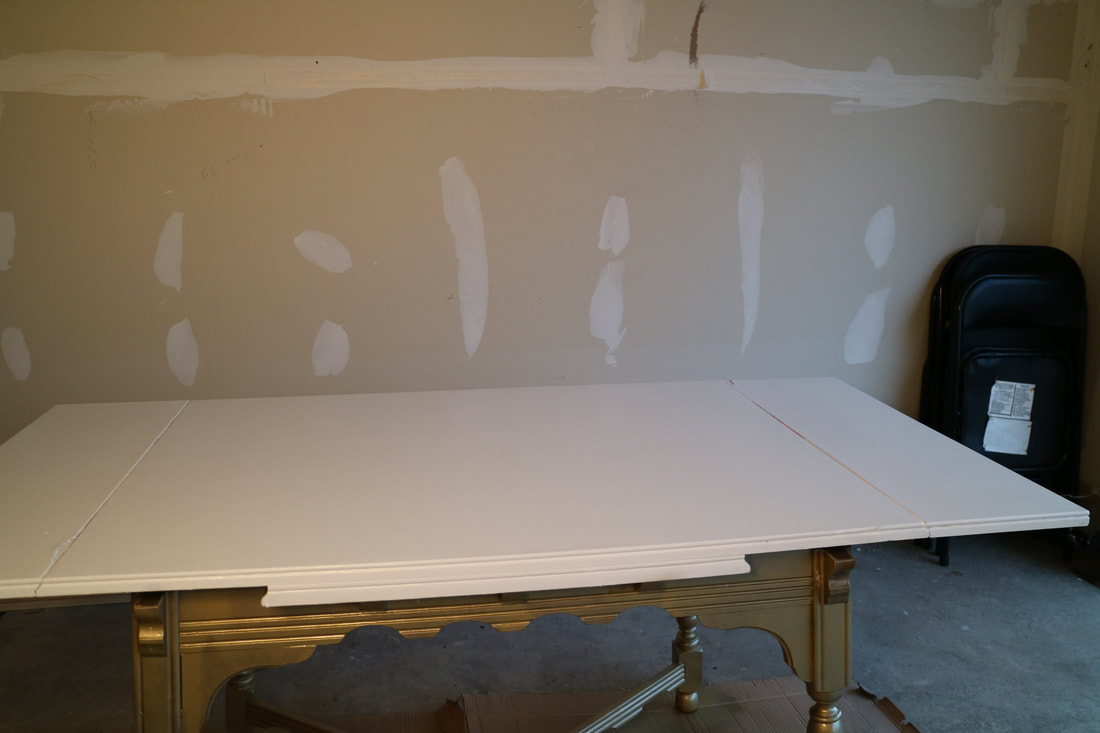 Step 3: After the primer dried;I spray painted the base of the table. After the spray paint dried; I painted the top of the table white. 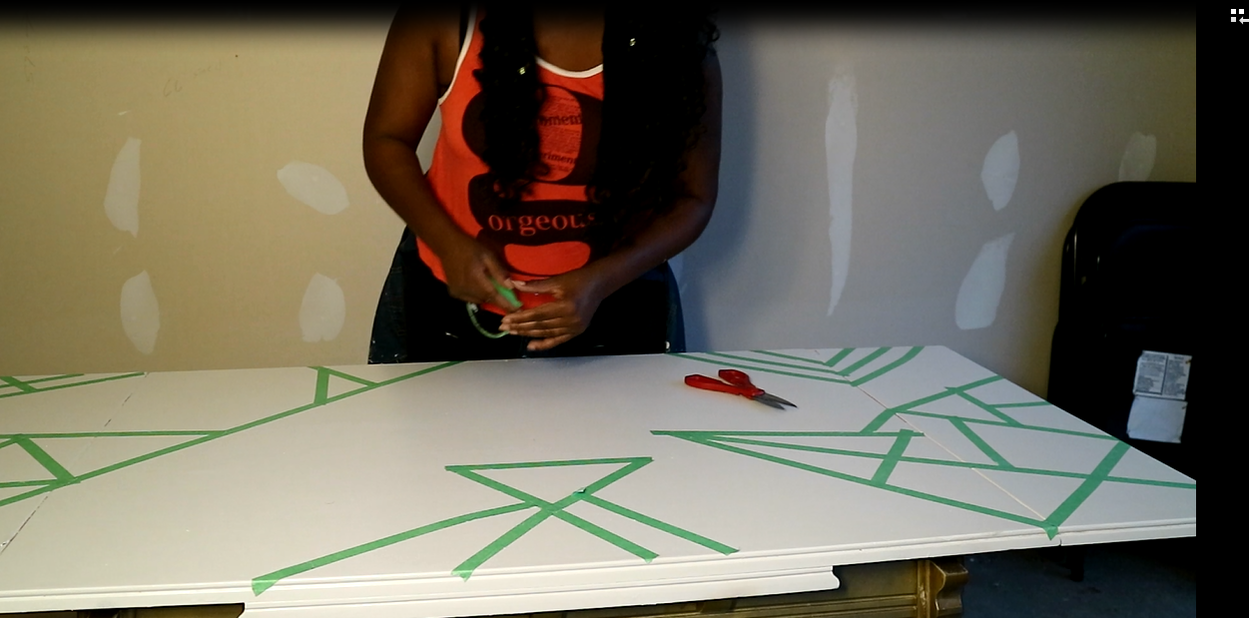 Step 4: I used painters tape and my imagination to come up with a design. I saw this on HGTV and thought it was a cool idea. 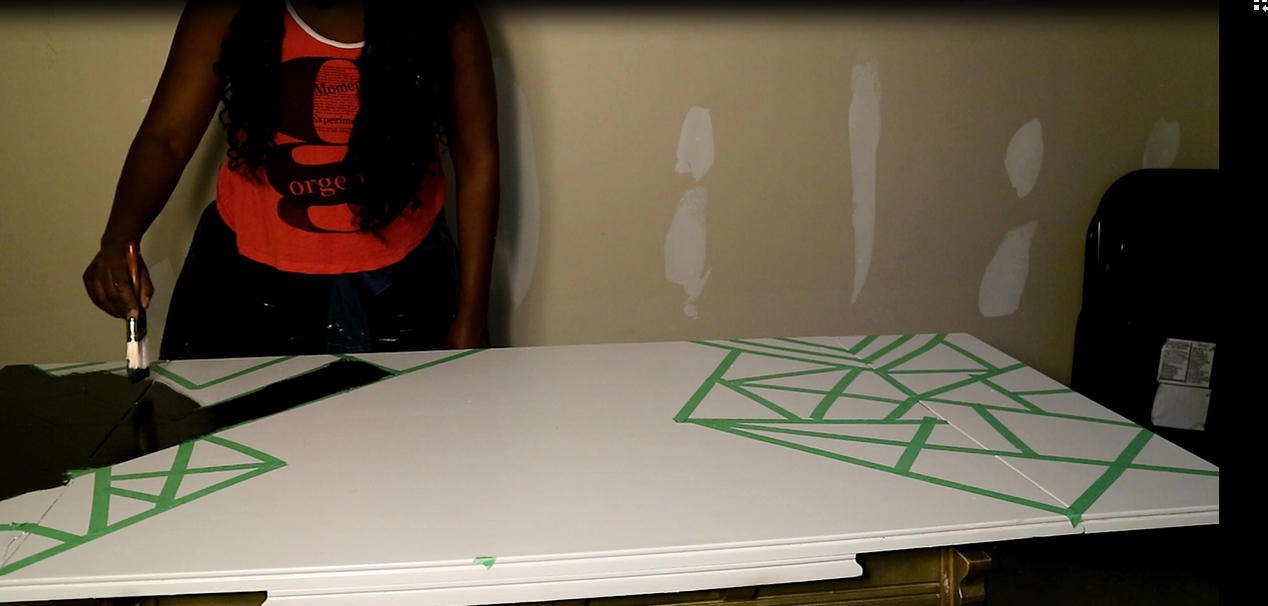 Step 5: Use the color of your choice and and over your custom design. 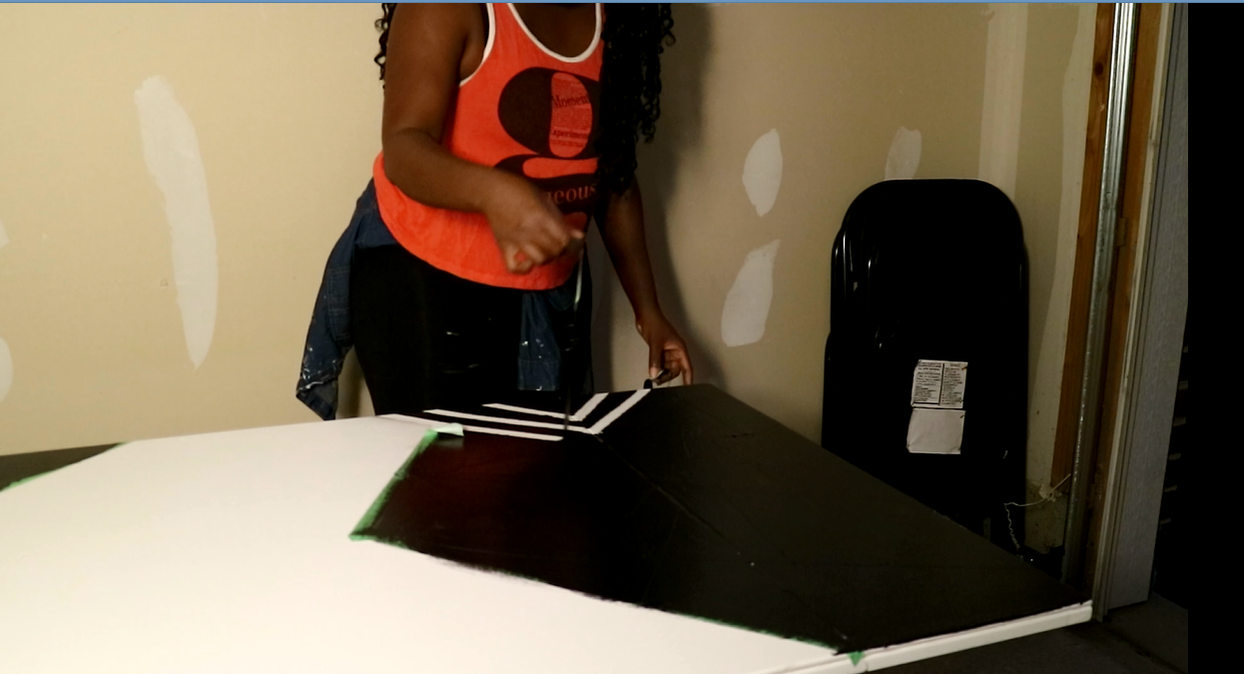 Step 6: I let the paint dry for a about an hour and then peeled of the tape. I wanted to remove the paint while it was still wet. It's harder for me to peel the tape when its completely dry. 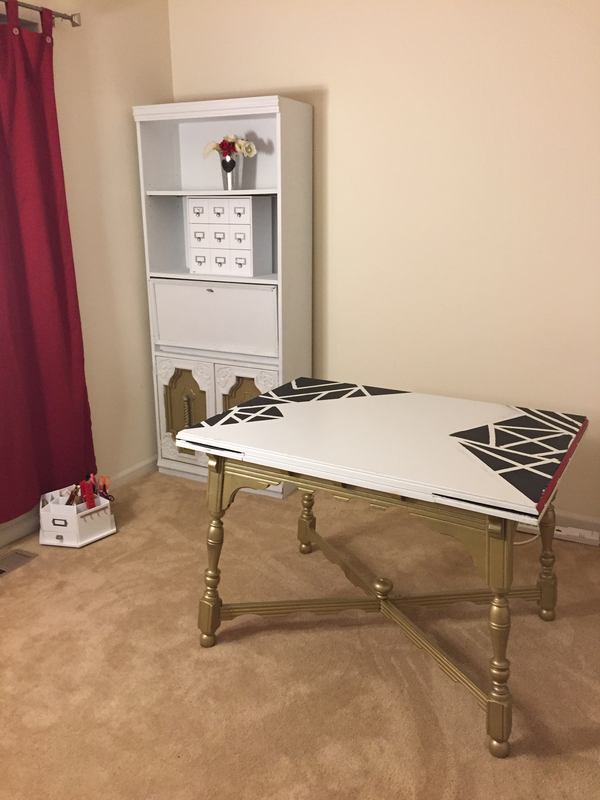 This is the finished project!I really love it.
Let me know your thoughts below! XOXO, Shani 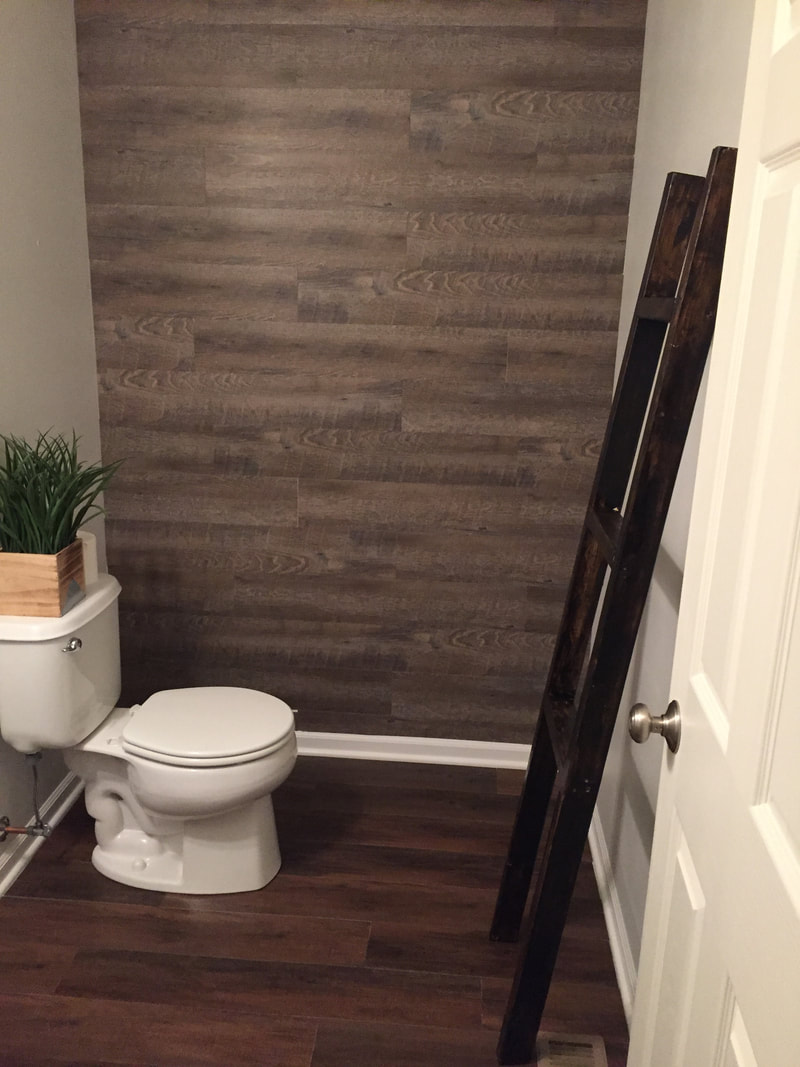 Hey guys! Welcome back to the blog! Today we will finish up my bathroom makeover. I am really happy with the results. It took about 2 days to complete the entire process. If you have a weekend to spare try it out. Now let's jump into the details... 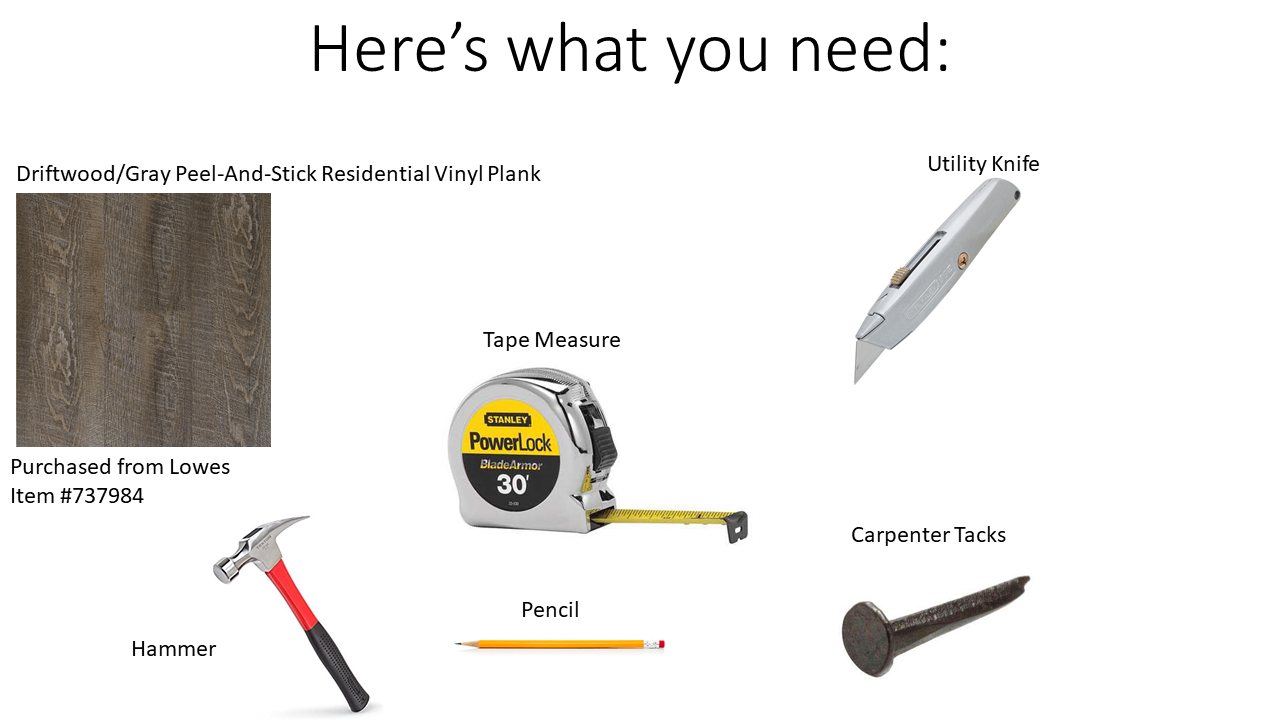 Material List Plank Floor (Lowes) 0.98 cent a sq ft https://www.lowes.com/pd/Style-Selections-6-in-x-36-in-Driftwood-Gray-Peel-And-Stick-Residential-Vinyl-Plank/999957677 We used almost an entire box.  Step 1: Make sure your surface is clean (free from all dust!) Step 2: Measure your space to determine the number of planks you need. 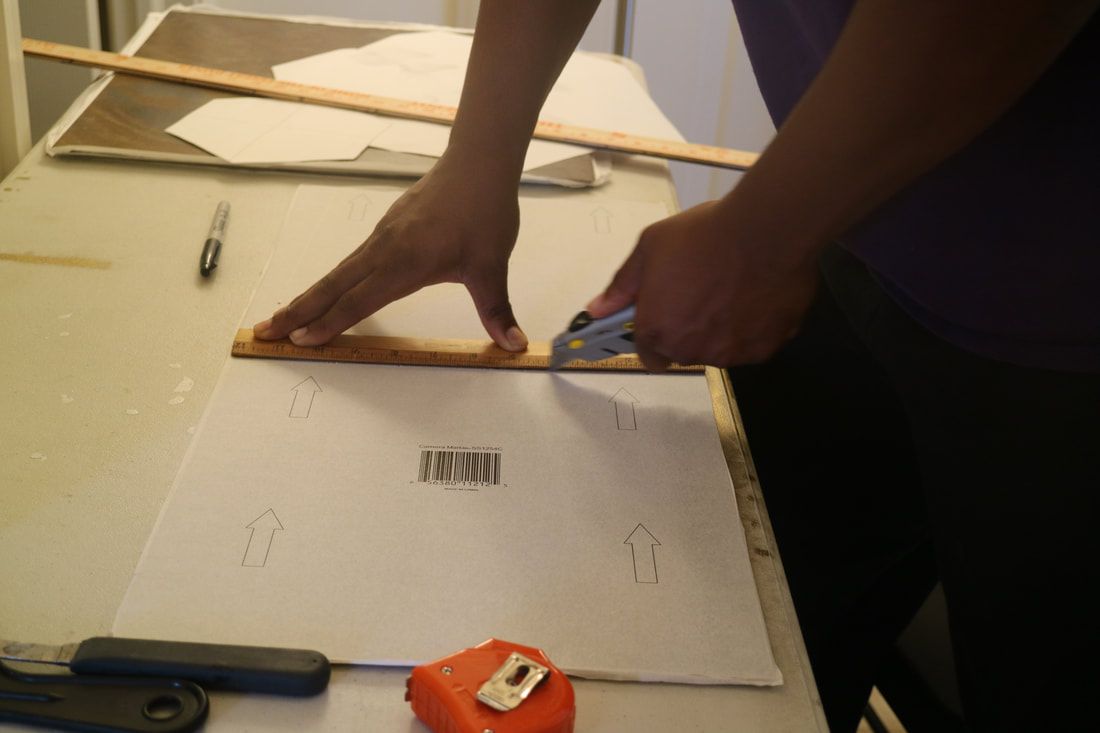 Step 3: Apply the plank to the wall. In order to apply your planks correctly -follow the arrows on the back of the plank. 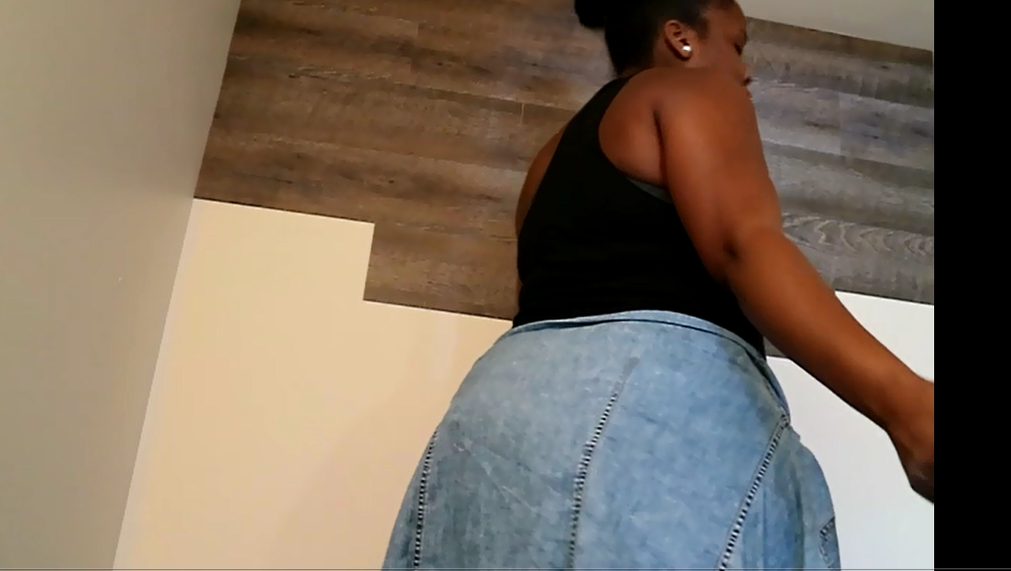 Ok.. this is not the best picture but I wanted you to see how I staggered the planks. I started on the left side then worked my way to the right. And repeated this process. I always started in the middle for every toher plank. Do this make sense? If not leave a comment below and I can walk you through it. 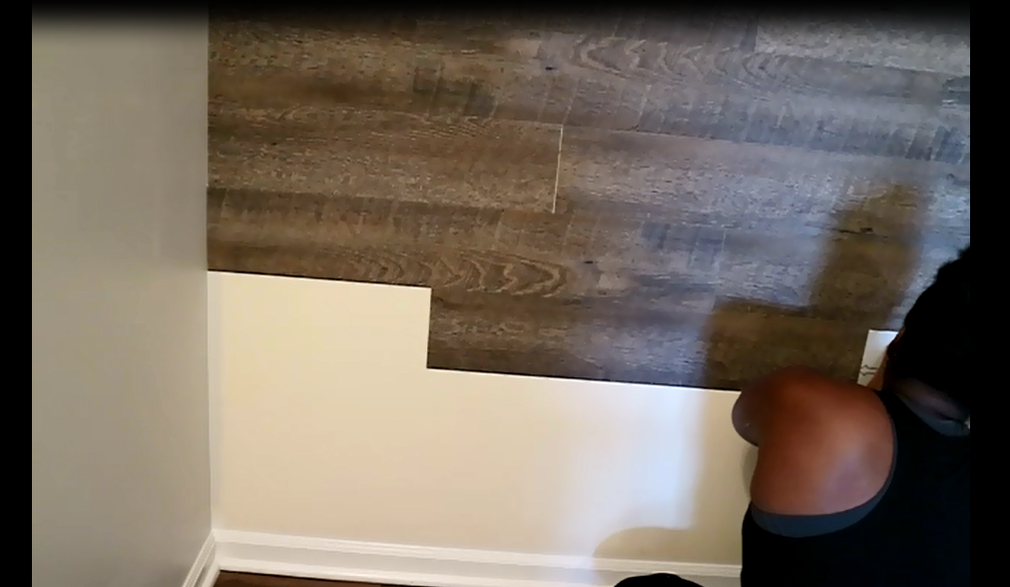 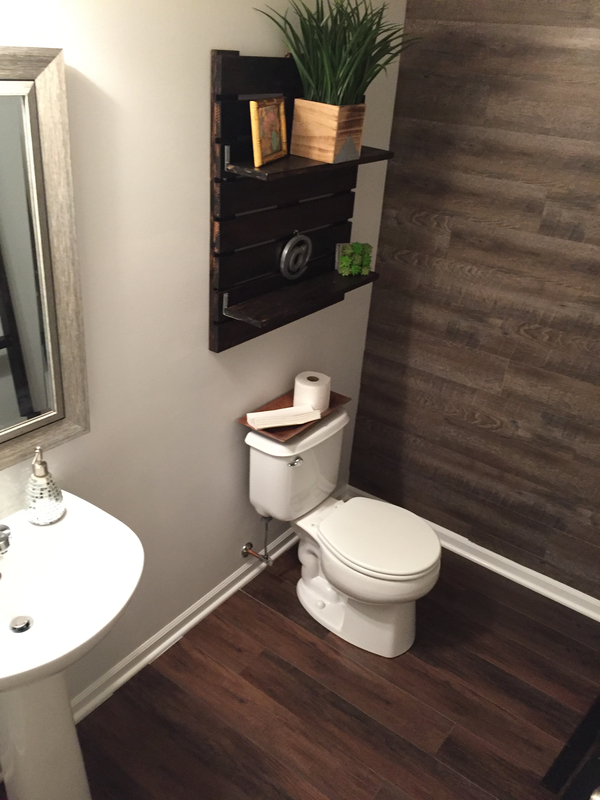 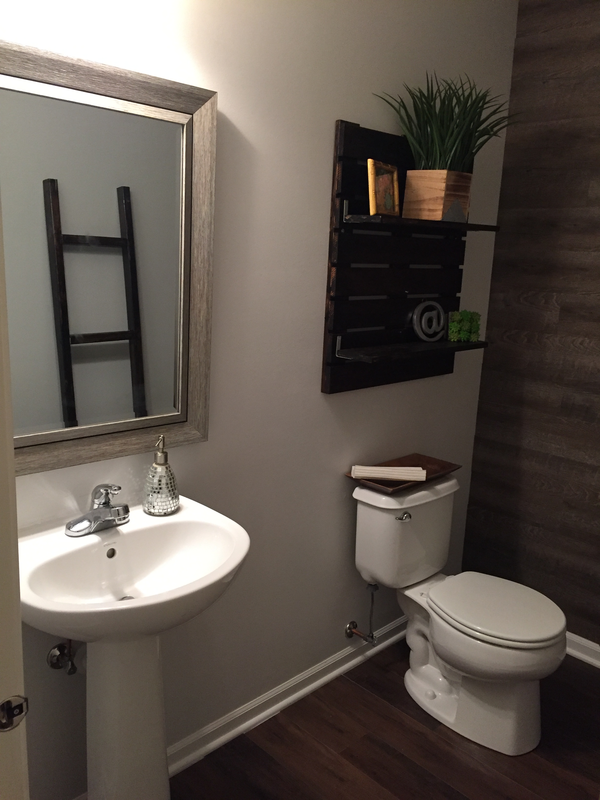 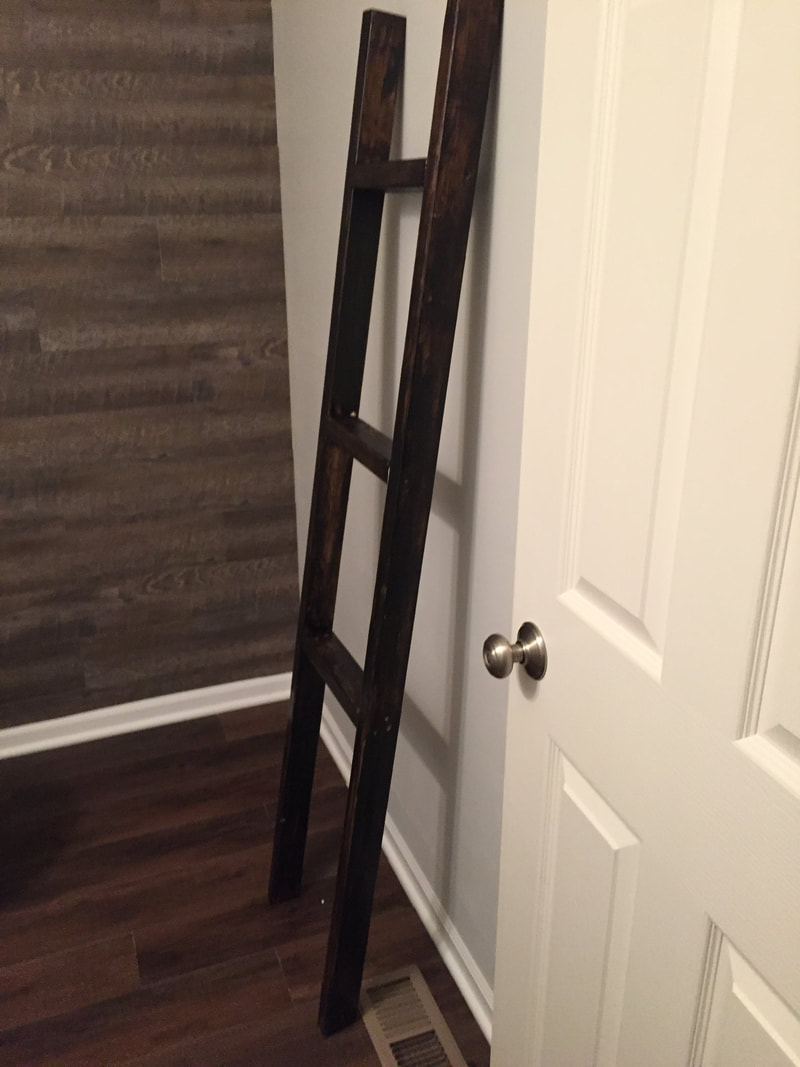 Step 4: After you apply of of your planks go through and add tack to the planks. We originally used the Self Stick Tile Primer and it did not work well for us. The day after we put up our wall it fell down do to gravity. We went and brought black carpenter tacks and we have not have any problems. The wall has been up now for 4 months.
I hope you enjoyed this super easy affordable diy! Let me know your comments below! XOXO, Shani &Zo  Hey guys!! Today I will be showing you how Zo and I gave our bathroom a much needed makeover! Here is a sneak peak of the before and after! 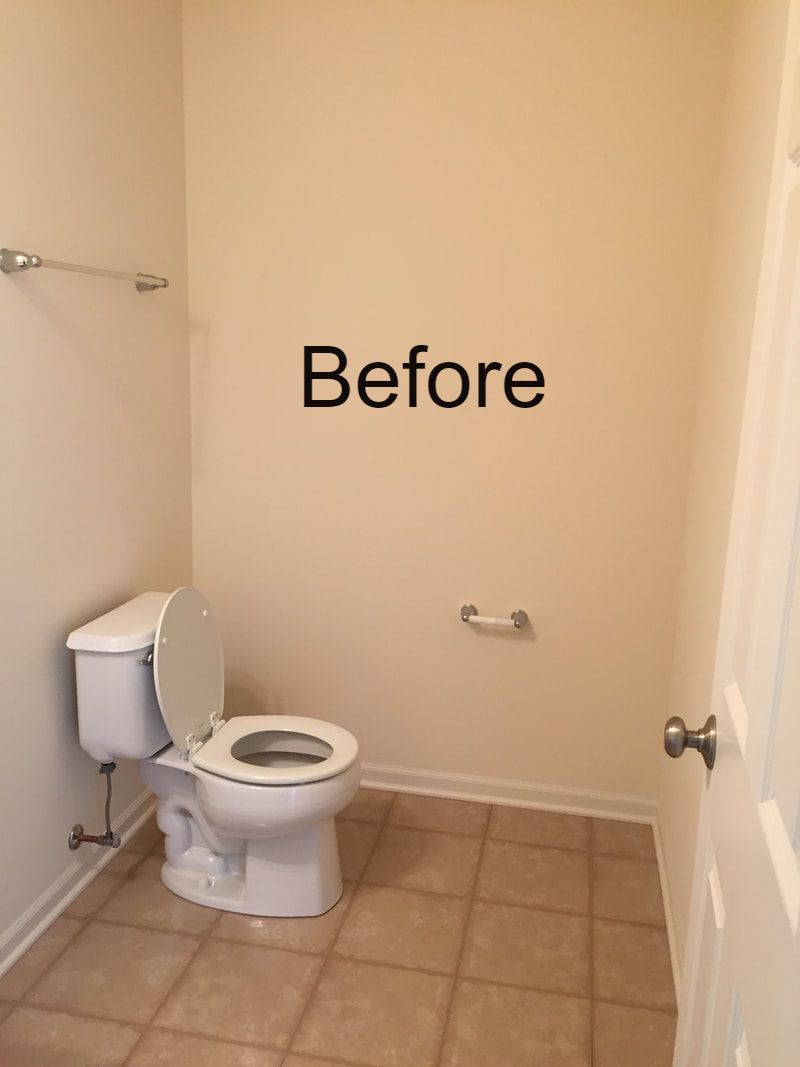 This bathroom before is so BORING! Next week I will be revealing the full bathroom. Here's What You Need: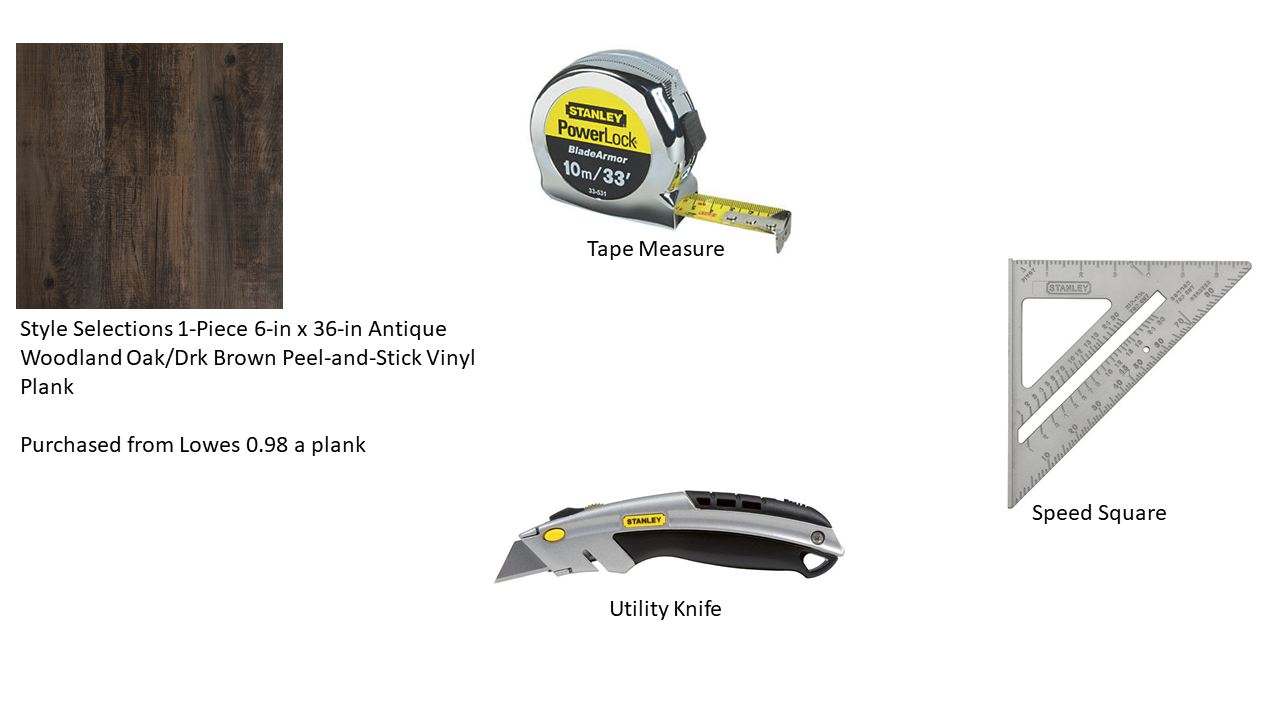 Supply List:
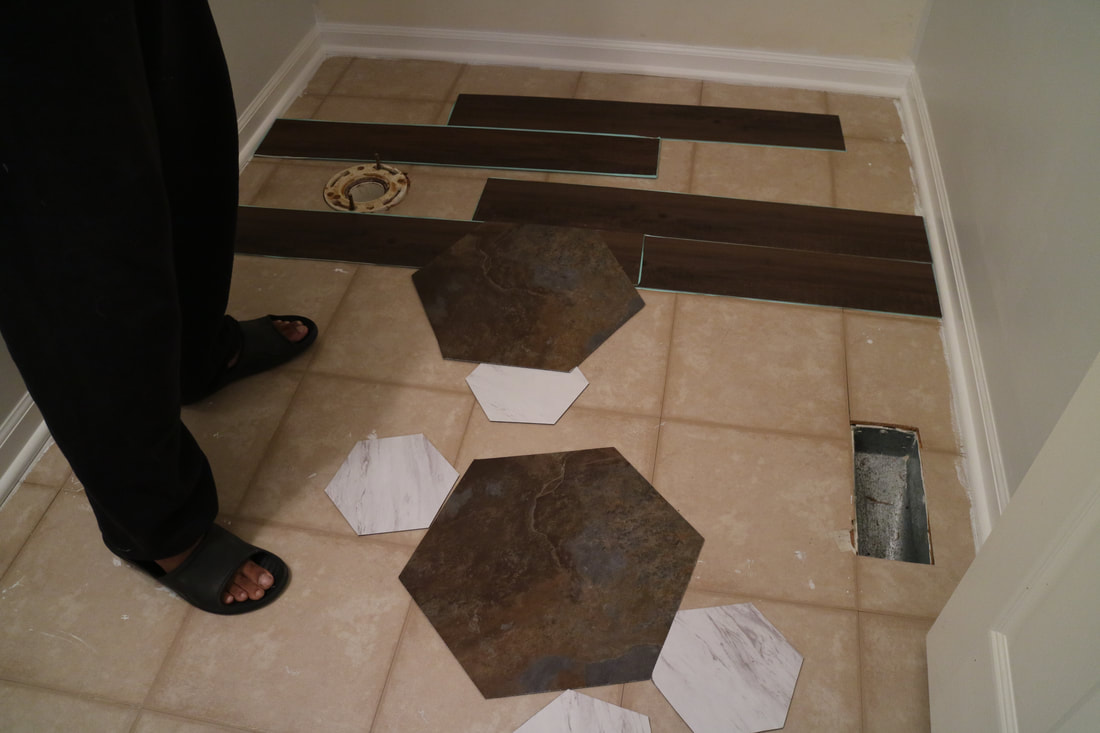 We played a round with a few patterns. We thought the hexagon pattern with the wood planks would be awesome! It did not work out for us. The color on the hexagon pattern did not go with the planks. We cut out about 5 hexagons.. so it wasn't a huge waste of time. 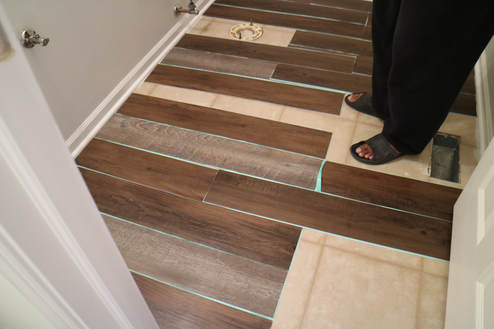 We played around with mixing two colors. We also purchased a white wash gray. We did not like this combination together. Here is what you need to do: Step 1: Measure your floor! Remove your toilet( You will thank me later) and remove your sink if need be! Step 2: Determine the pattern that you want to lay your tile. Step 3: Measure each plank before you apply it to the floor. We staggered each plank to give it a more organic look. Step 4: After you measure you plank, tear off the paper and apply your planks carefully. I put a little pressure on each plank after I applied them. Step 5: Repeat the process. When you cut your planks make sure you are doing it evenly. Use the speed square for this process. 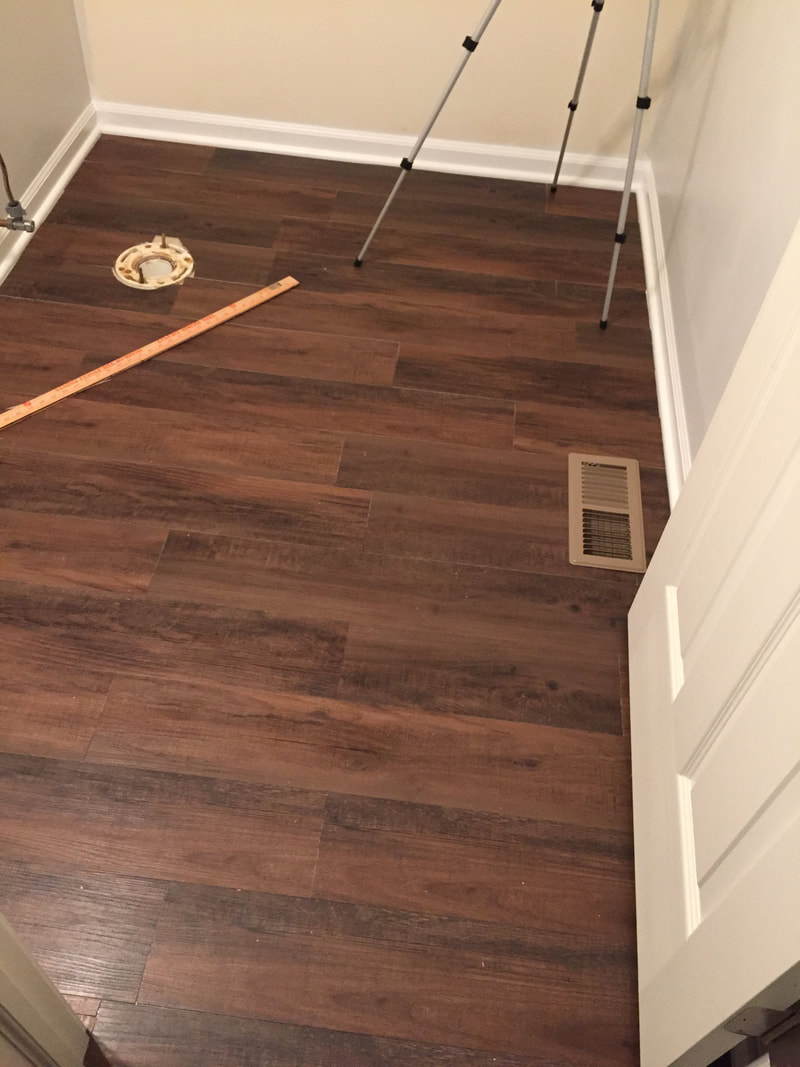 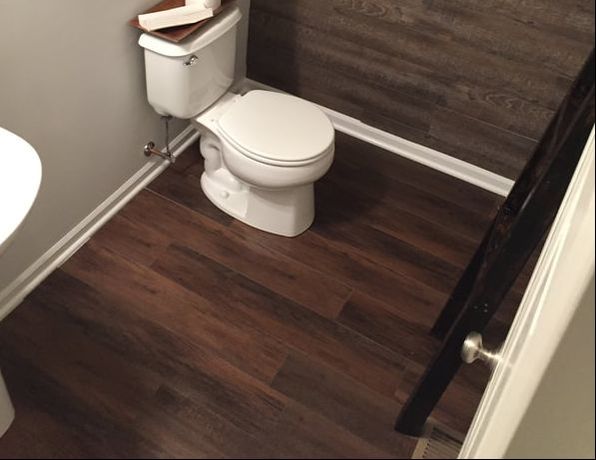 This is the after!!! I am very happy with this! This was done all under $120. It was so easy and took about 2 hours. We took our time when it came to cutting the planks.
|

Welcome!
Hi I'm Shani! I'm a newlywed that loves Jesus!! I am passionate about living a frugal life style, but still having a beautiful home on a budget, I will show you how to tackle different projects for those starting out with Diy. Archives
January 2020
Categories |
 RSS Feed